One food item that almost everyone has in their home is bread.
It is a staple of our pantries that is simple, extremely versatile, and tasty! Not to mention there is a large variety of recipes for making it.
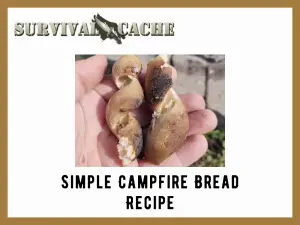
One of my all-time favorite bread recipes is one that I learned as a kid. Now I am not a baker by any means, and usually I do not have the patience for making bread even though I do love it. But the recipe in todays article is so simple that you really cannot mess it up and it is super quick to make!
The beauty of this bread is that it requires only two ingredients! That’s right, two ingredients! And it is cooked over a fire, which gives it some great flavor.
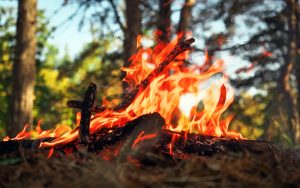
I believe this recipe that was taught to me so many years ago is based on how to make ash cakes, which is a bread that soldiers use to make in the field with minimal supplies. Let’s talk about those supplies, starting with the heat source.
SKIP AHEAD
Heat Source
As just mentioned above, I will be using an outdoor wood fire to cook this bread so you are going to want to make sure you have an area where you can get a fire going and be sure to have plenty of firewood.
Next, there are a couple of different ways that the bread can be cooked. It can be cooked on a stick (which is my preferred method) on a flat piece of wood/rock, or directly on the hot ashes.
You are going to want the same size of a stick as you would use for roasting marshmallows or hotdogs over a campfire. A piece of wood that is several feet long and roughly the same diameter as your finger should work nicely.
When using a rock/flat piece of wood the size of the rock or wood does not matter. The surface only needs to be as flat as possible, and large enough to support the dough. Finding the right kind of rock for this may be difficult so using a piece of wood seems to be a more popular choice.
The last method is to place the dough directly on a pile of hot ash, which for the most part is pretty self-explanatory.
Survival Campfire Bread Recipe
There are two variations of this recipe, the basic recipe and one that can be personalized based on the basic recipe.
Basic Recipe
Here is what you will need:
- 2 cups flour
- 1 cup of water
- A small bowl or cup to mix the dough
- That’s it!
I use all-purpose flour but that can be swapped out for any flour that you prefer.
You can add a mixing utensil or rolling pin to the above list but I just use my hands.
Personalize It!
The above recipe may be a too bland for some people but consider trying the basic version first as cooking over a wood does make it taste good.
However, the recipe can be spiced up a bit by adding whatever appeals to your tastebuds. A pinch of salt, sugar, some nuts, or a few pieces of dried fruit.
Preparation
I tend to stick with the basic recipe because it requires so little that it can easily be made in the field next to a campfire.
The first thing that I like to do is to get my fire going so that it is ready to go once I am done mixing the dough. A large roaring fire is not required but you will want a good base of hot embers.
After the fire is going the flour and water need to be combined into a small bowl and mixed. This is where you may need to add a little more flour or water as you work the mixture.
I aim for a consistency of dough that can be held in the hand without it being so sticky that the dough clings to your skin. If the dough is too sticky add in a little bit of flour and mix. Repeat until the right consistency is reached.
Cook Time!
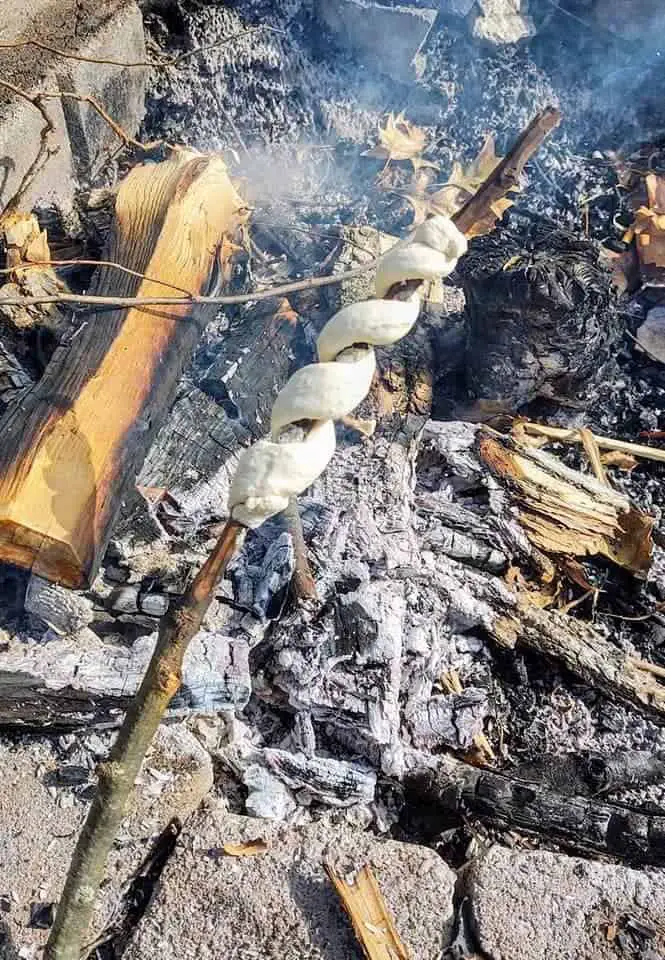
My favorite way to cook this bread is by using the stick method. Once I find the right stick, I like to use my pocketknife to shave the bark away from the last eight inches or so from the end. I then place this peeled end of the stick over the fire to help dry it out.
Next, I grab some dough that is roughly the size of one to two golf balls. I place them in my hands and roll it out into a long rope shape.
I take this rope shape and twist it around the cooking end of the stick. As the dough is twisted on, the sides of the wrap can be touching one another or spaced out. It does not matter how you do this, but I will add two quick bits of advice.
The ends of the dough sometimes do not like sticking to the wood causing the ends of the dough to hang down. So, I usually stretch each end out a bit and press it into the nearest dough section.
Lastly, when the dough is continuously around the stick so that all the dough is touching, it tends to bake more like a croissant. The entire outer layer browns, holding the bread together. After cooking, the whole thing should slide off the stick as one piece.
When it is all ready to go, I hold the dough over the coals for approximately fifteen to twenty minutes though the cooking time may vary depending on the thickness of the dough and the temperature.
The stick needs to be turned periodically so that all the dough cooks evenly and does not become burned on one side.
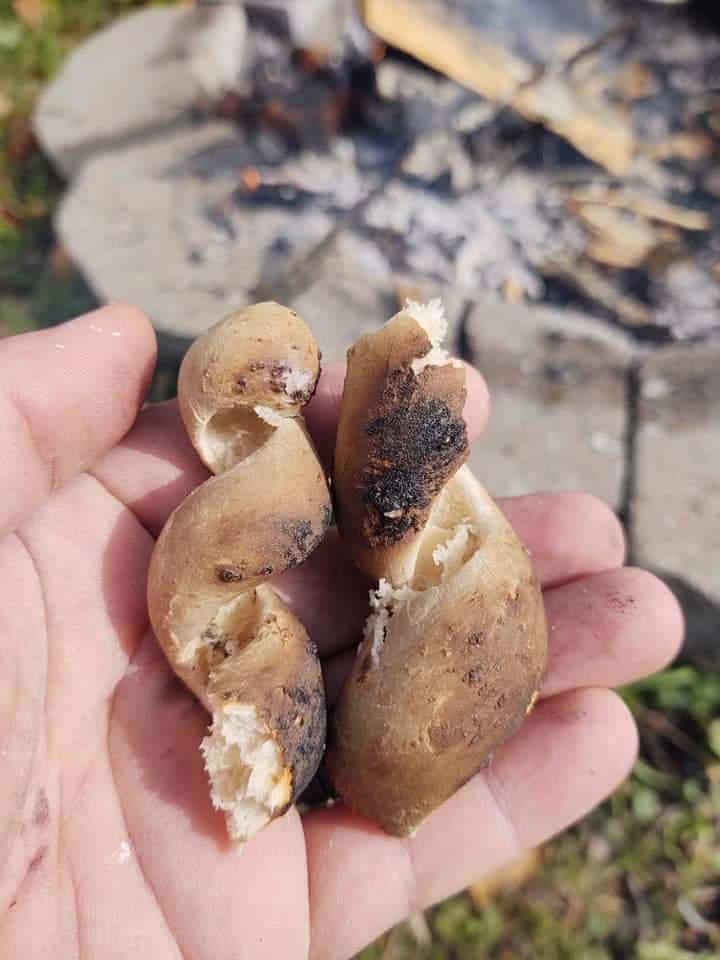
However, there may be a few small portions on the bread that become blackened but do not worry as that only adds some more flavor. But generally, I like to brown as much of the outside of the dough as possible without over cooking it.
Too busy to sit there and hold the stick? No, problem. If other tasks require your attention there is a hands-free method for cooking this.
After the dough has been wrapped on the stick, press the opposite end of the stick into the ground near the fire and angle the whole thing towards the heat source. You will still want to check the bread often and turn the stick to ensure it cooks evenly.
Once it is been cooked to your liking, the bread can be unwrapped from the stick or slid off.
The result is a crunchy outer layer with a warm soft inside, like a hot soft pretzel you can buy from a mall or outdoor vendor.

Raw Dough 
Cooked Bread
You would not think that something as simple as flour and water would be all that appetizing, but the fire and smoke give this bread a surprising flavor!
This bread will keep for a few days in a sealed container. But it tastes the best when it is eaten warm right off the stick or within an hour or so of cooking.
Alternative Cooking Method
I decided to look up making ash cakes, just to double-check my procedure, and I found a great YouTube video on this topic produced by the Townsends channel. So, the following cooking method is in part based on their method.
The same recipe as above is used for the dough but there is a slight difference in how the bread is cooked.
The first method is to spread the dough out on a flat piece of wood or stone. Position the stone near the fire and stand it up so that it is near vertical, allowing the heat to cook the dough.
Be careful when angling the wood or stone frame so that the dough does not fall off into the fire.
Once the bread is nice and brown on top and around the edges it should be done and can be peeled off the cooking frame.
Direct Heat
The second cooking method is as easy as it gets because a flattened piece of dough is placed directly onto the hot ashes to cook. Most likely this is how ash cakes got their name!
The cook time depends on the thickness of the dough, but it should only require a few minutes per side to cook since it is sitting directly on the heat source. Be sure to flip the dough at least once so that both sides get cooked.
Once the dough is browned pull it from the fire and blow off any remaining ash. There may some ash embedded in the dough but that is okay as a little bit of ash is not harmful to consume.
Wrap Up
I love the simplicity of this recipe because it can be easily used with a backyard fire pit, on a camping trip, or even when someone is deep on the trail.
Its simplicity also makes it a great activity for getting kids. It gets them outside, they can practice their fire making skills, and they can learn how to make their very own bread.
When away from home, flour can be transported in a resealable bag or sack that can be carried in an outdoor pack.
Once you reach your destination the flour and water can be mixed in a small cooking pot or drinking mug. No special utensils or cookware is needed, making this one of the simplest breads to cook!
Thanks for reading and keep baking!
Do you have a favorite outdoor bread recipe? Sound off in the comment section below and let us know!
