Years ago, I came across a project for making a rocket stove out of aluminum soup cans at home. I think it is a great project for anyone who is wanting an outdoor stove but may be on a budget, who wants an extra stove around “just in case,” or for someone who likes repurposing materials into useful items.
What’s great about making this style of rocket stove is that it is incredibly affordable and requires minimum tools. Also, it can easily be completed in an afternoon.
But why else would you want to make a rocket stove? To answer that let me explain how a rocket stove works.
SKIP AHEAD
How Does a Rocket Stove Work
Overall, the design and operation of a rocket stove is pretty simple.
It consists of a chamber and chimney where the fire burns and a side chute where the fuel (wood) is fed into.
Once the fire is going the heat travels up the chimney and at the same time oxygen is pulled into through the fuel chute.
This steady flow of additional oxygen helps the fire to burn more efficiently and hotter. Not only does the fire burn hotter but much less smoke is produced.
Building a Rocket Stove
There are a couple of different rocket stove designs and a few of the styles are used for indoor heating. However, those designs require materials, skills, and tools that not everyone has.
For the average person, an aluminum can rocket stove is going to be the cheapest and easiest to make.
Before I get into the process of making the stove, I wanted to show you a quick overview of how all this goes together.
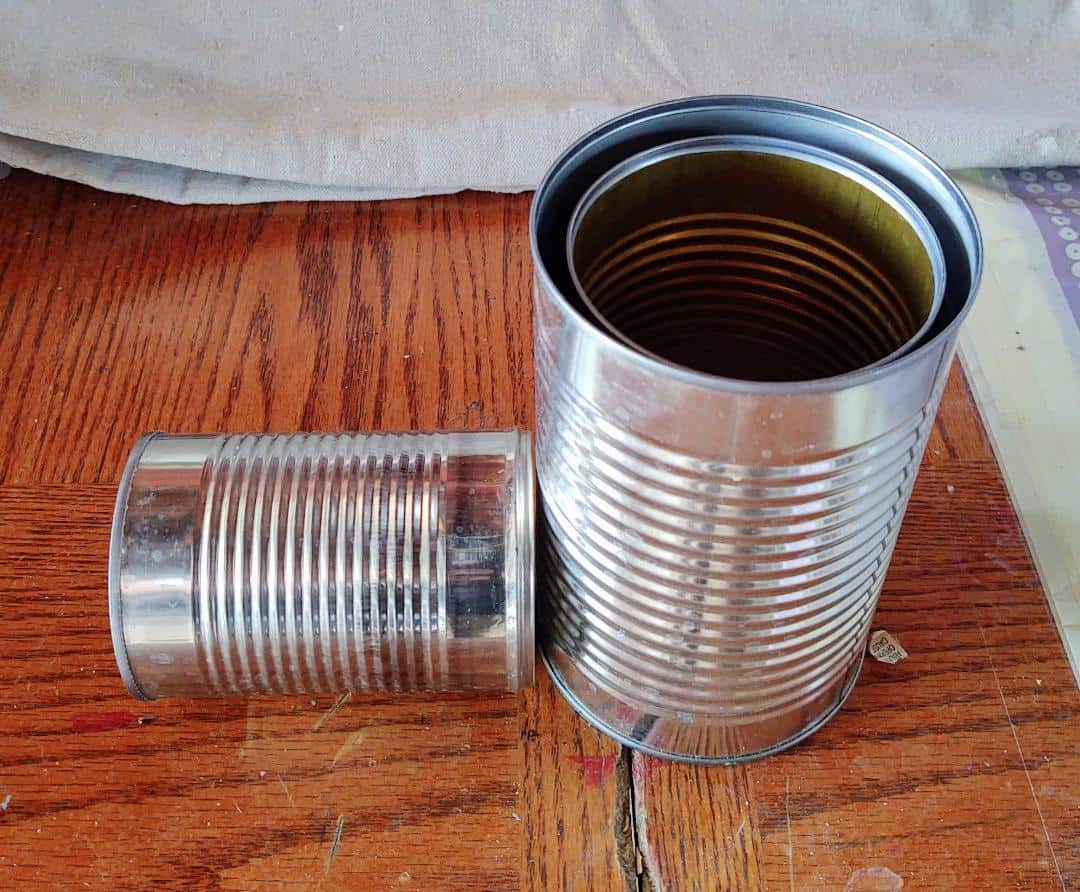
There is one large, one medium, and one small can. The medium can will stand upright in the large can and the small can will be inserted into the side of the medium and large can at a perpendicular angle.
Normally, these types of rocket stoves are constructed with #10 aluminum cans. I have made rocket stoves in the past using those cans and they work great. But I wanted to try something a little different for this article and use slightly smaller cans because not everyone buys #10 cans.
The cans I will be using are easily found at most grocery stores. Now, the steps for making the rocket stove are the same no matter what size can you use, all you have to do is swap out the cans accordingly with minor measurement adjustments.
Here is What You Will Need
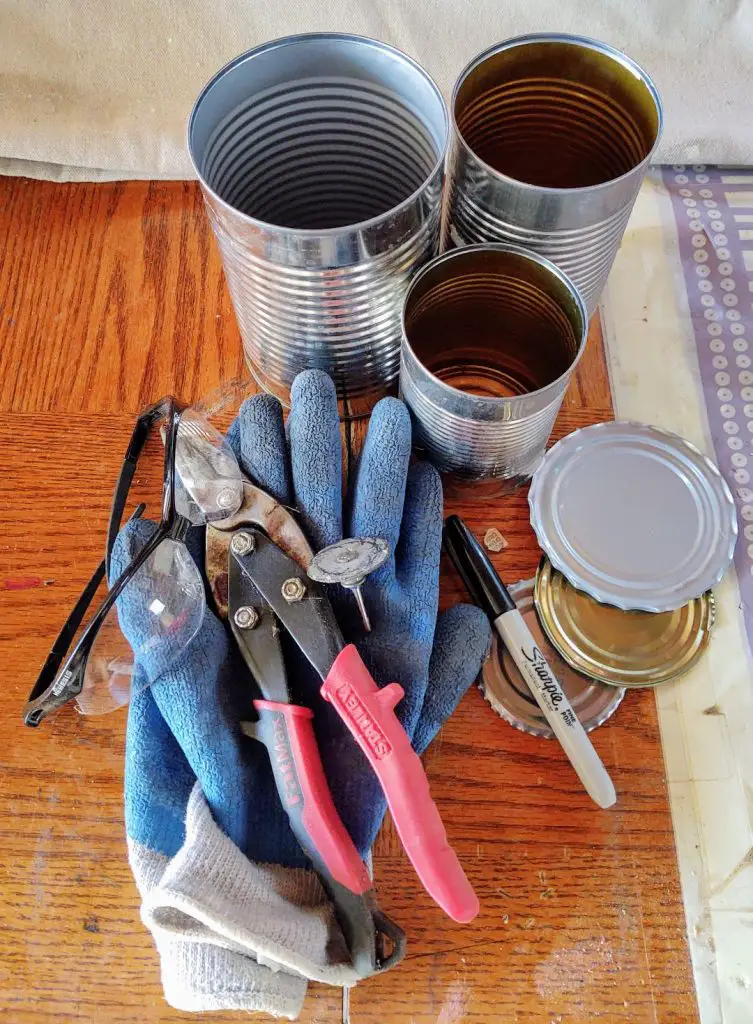
- 1 38oz aluminum can
- 1 28oz aluminum can
- 2 14oz aluminum cans
- Tin snips (a Dremel or rotary tool would be best)
- Safety glasses
- Gloves
- Permanent marker
- Metal file
- Power Drill or awl
- Metal wire (optional if you do not want a carrying handle)
- Pliers
- Tape measure
Step by Step Guide
Safety Note: This project produces razor sharp edges and lots of sharp metal filings. Please be sure to wear safety equipment and take your time making this stove!
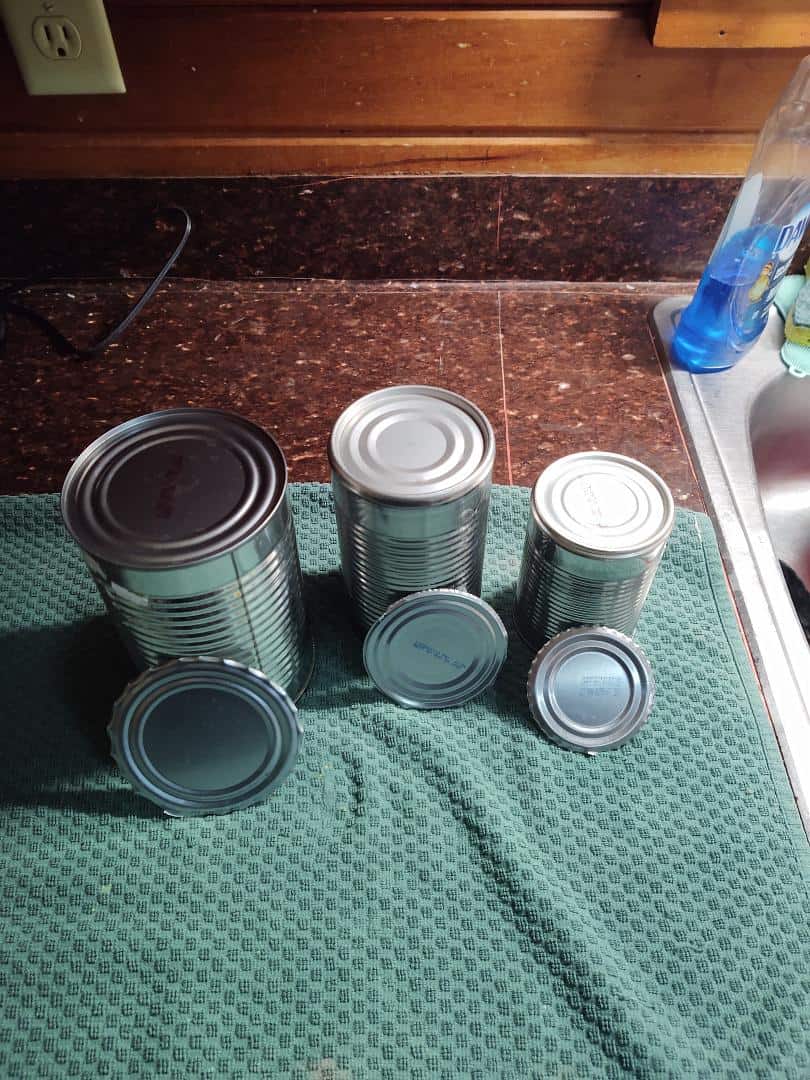
Step 1
If you are using new cans, transfer the food to a different container, wash the cans, and dry them out.
Be sure to keep the lids because they will be used later.
You are also going to want to remove the labels from the can. If you let the cans soak in water for a few minutes the labels will easily peel off.
Step 2
Use the lid from the small can as a cutting guide by tracing it onto the side of the medium and large can with the permanent marker.
Step 3
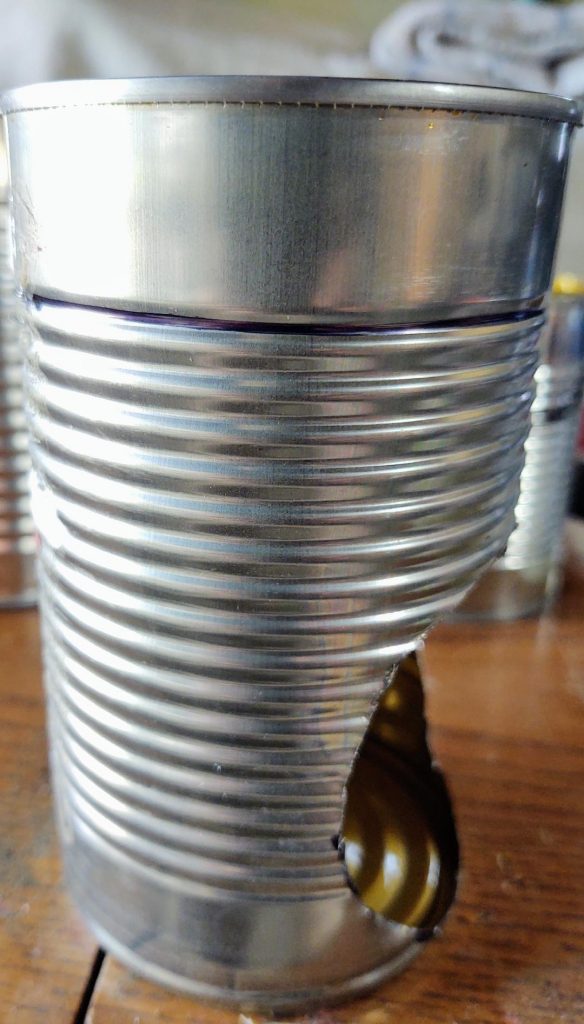
Use a Dremel to cut the circle out of both cans. If you do not have a Dremel, punch a hole in the center of the circle and use the tin snips to remove the metal.
After making the cuts, make sure the small can fits snugly through the holes.
At this point I realized the medium can was a little too tall when inside the large can. There needs to be some height difference between the two for there to be various tabs made with the large can later on.
So, I went ahead and drew a line around the top of the medium can, roughly an inch from the top, and cut the excess metal off.
Step 4
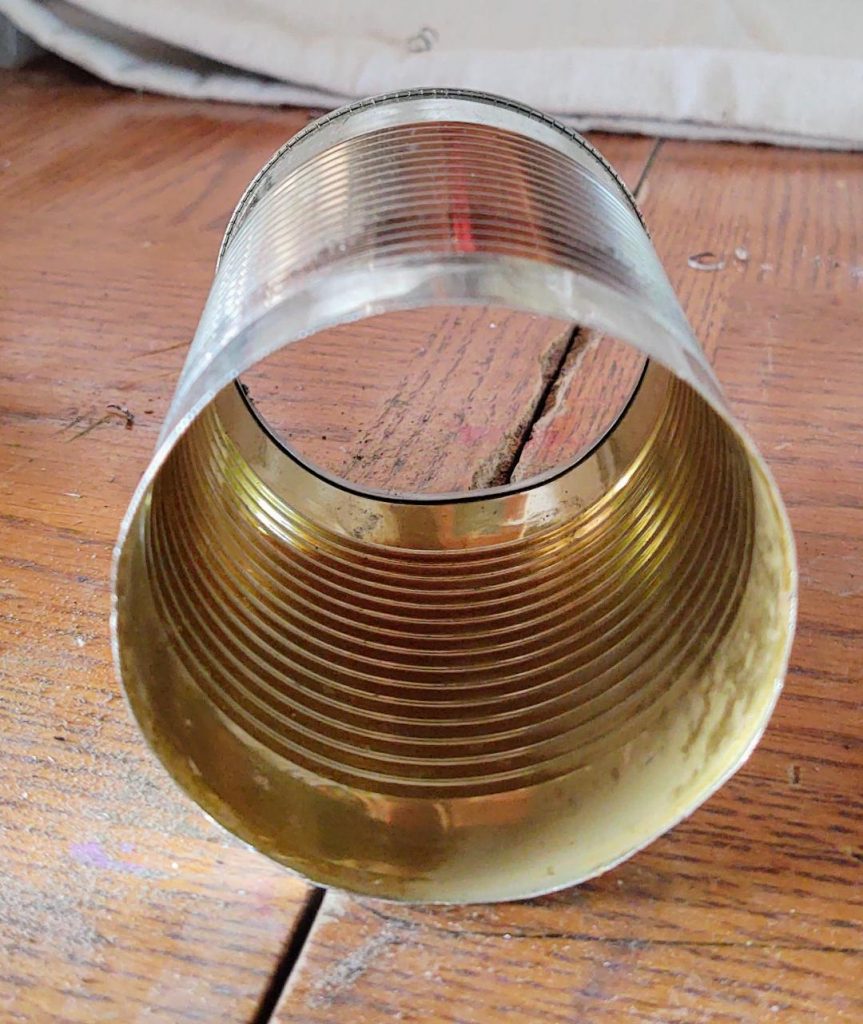
Cut the bottom out of the small can so that it now has two openings.
Step 5
Place the medium can onto the lid from the large can and trace a circle around it, center it as best as possible. Cut this circle out.
Step 6
On the small can use the marker to draw a few lines that can be cut out and used as folding tabs.
I find that it helps to reinsert the small can into both the medium and large can and then use the marker to trace a semicircle around the small can. This helps to give you the depths of the cut and a few straight lines can be drawn from the trace mark to the edge of the can.
Step 7
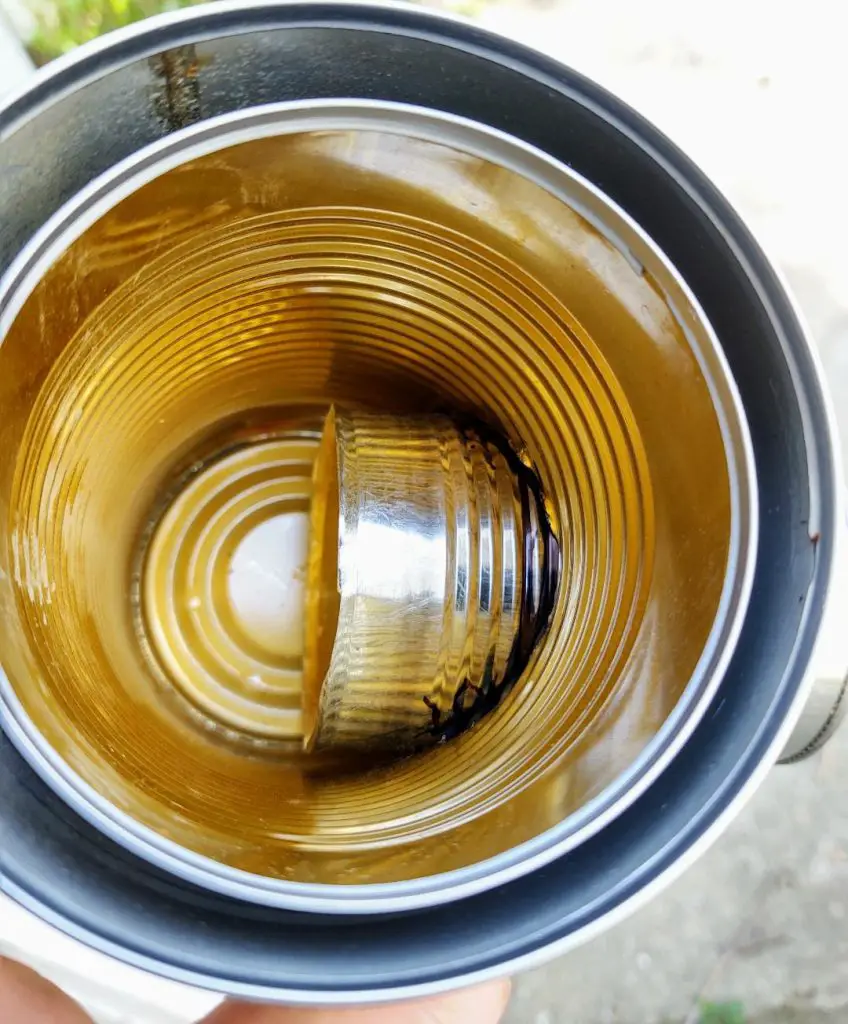
Place the medium size can into the large can and align the two holes.
Step 8
Insert the small can, the end with the tabs first, into the hole of the large and medium can.
Step 9
Hopefully, you have been wearing your gloves during all of this but if you have not then you are going to want them for this step.
Reach into the medium can and fold the tabs from the small can over so that they are flush with the sides of the medium can. This helps to secure and hold the small can in place.
Step 10
I chose not to but if you want you can insert household insulation in the can. Pack insulation into the gap that is between the large and medium can.
Step 11
Place the lid from the large can, with the center cut out, onto the medium can. This was a photo I took earlier where the small can was not put in yet, just imagine that the small can is in place.
Step 12
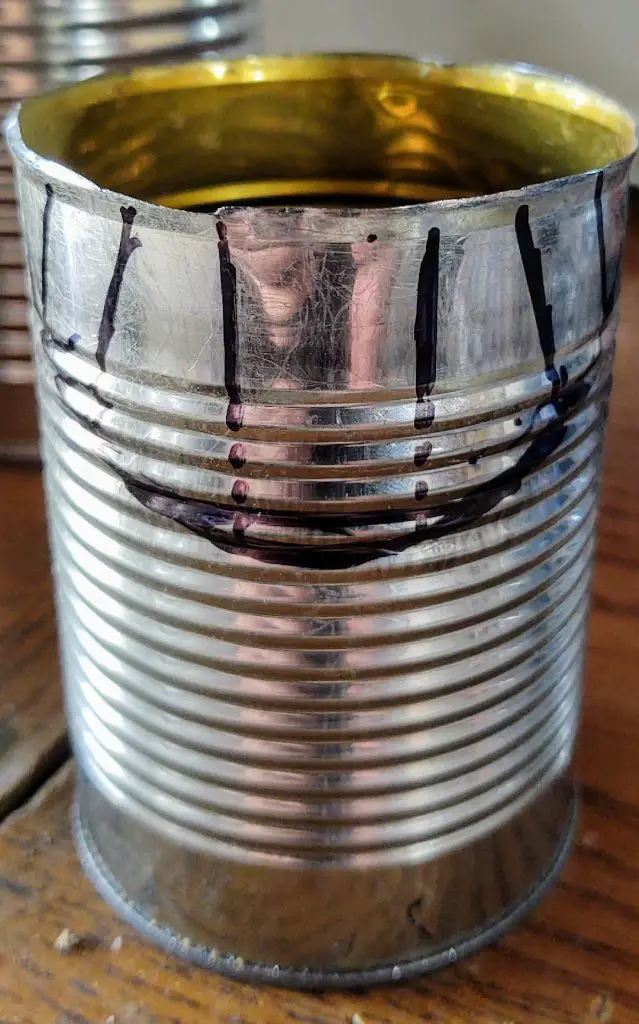
Use the marker to draw four tabs around the large can that are around the rim. These lines are roughly one inch long. Use the tin snips to cut along these lines but do not cut the metal out, leave them as tabs.
Step 13
Fold the four tabs from the large can over to hold the lid in place. It is up to you if you want to use the smaller tabs or the larger ones. I folded over the smaller tabs so that the larger tabs could be used to support cookware.
Use a hammer or other impact tool to lightly pound the tabs down. I then use a pair of pliers to crimp and fold the tabs into place.
Step 14
The stove itself is almost done, all that is left is to create a shelf in the small can that will elevate the fuel.
For this step I use an extra small aluminum can but if you have extra scrap aluminum use that.
First, I cut the can down its length and across the bottom so that the can will lay flat. Then I use a hammer or other impact tool to flatten the metal.
Next, I used the marker to draw approximately a three-inch-long piece with one-inch long flaps on the side. Use the tin snips to cut the excess metal out.
Step 15
Use the tin snips to make two one-inch-long cuts into the side of the small can. These cuts need to be at the same level.
Insert the shelf into the small can with the flaps sticking out through the cuts you just made. Once the shelf is in place, fold the flaps over to hold the shelf in place.
Step 16
The last step is attaching a carrying handle. This step is optional, but a carrying handle makes the stove easy to move or hang up out of the way.
Using a drill or an awl, create two small holes on the existing tabs that are sticking upright on the large can.
I used a piece of scrap copper wire that was about sixteen inches long. Use whatever wire you wish and adjust the length to your liking.
Insert one end of the wire into each hole and bend the end over with a pair of pliers. I do not like to completely crimp the ends of the wire so that the wire can easily be removed without tools, if you want.
Lighting the Fire!
The rocket stove is now done and ready for a test run!
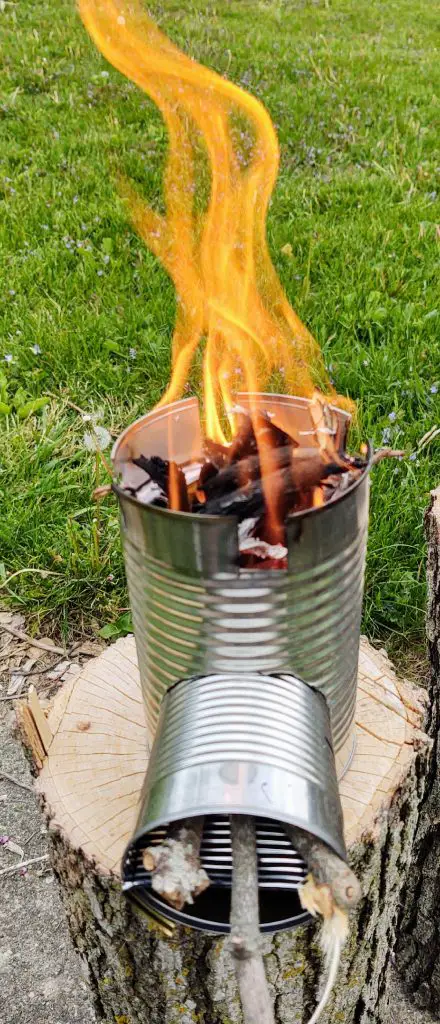
I find it easier to start the fire by inserting a fire tinder or wood from the top. Once you get some flames going, you can start adding wood in through the shelf via the small can.
As you can see, once the fire gets going there is little to no smoke coming out of the top of the stove. Also, as you can see, my German Shepard likes to be a part of the process so I let her be in the photo as well.
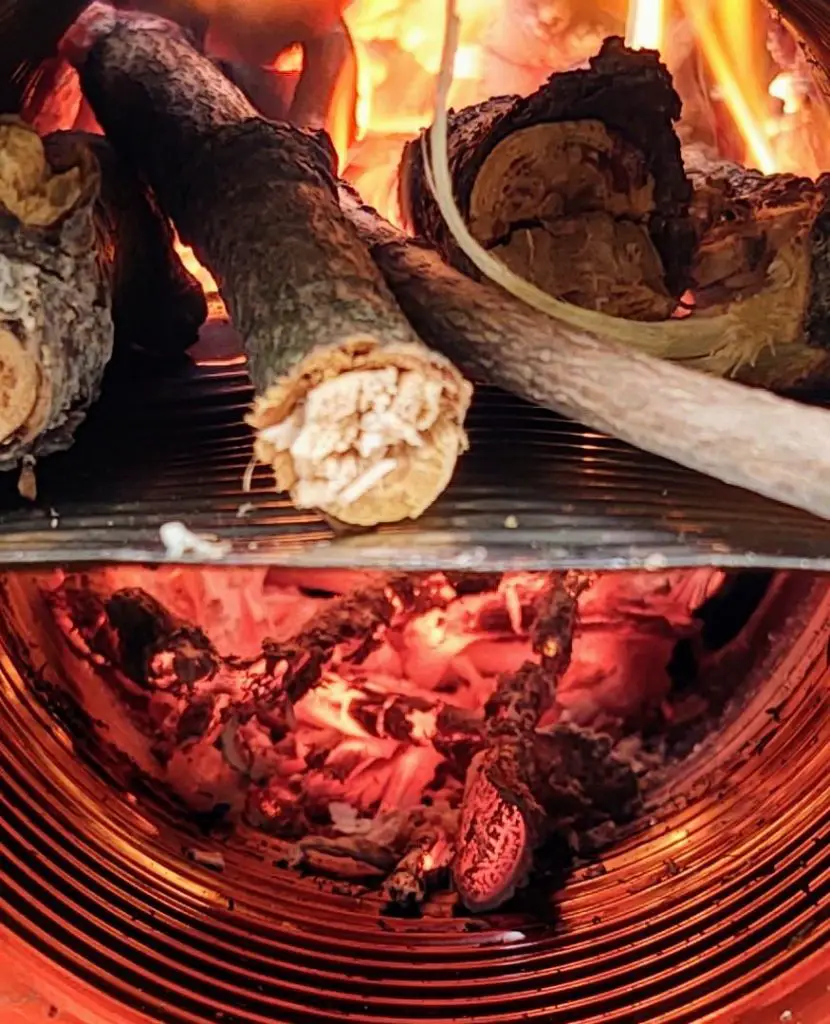
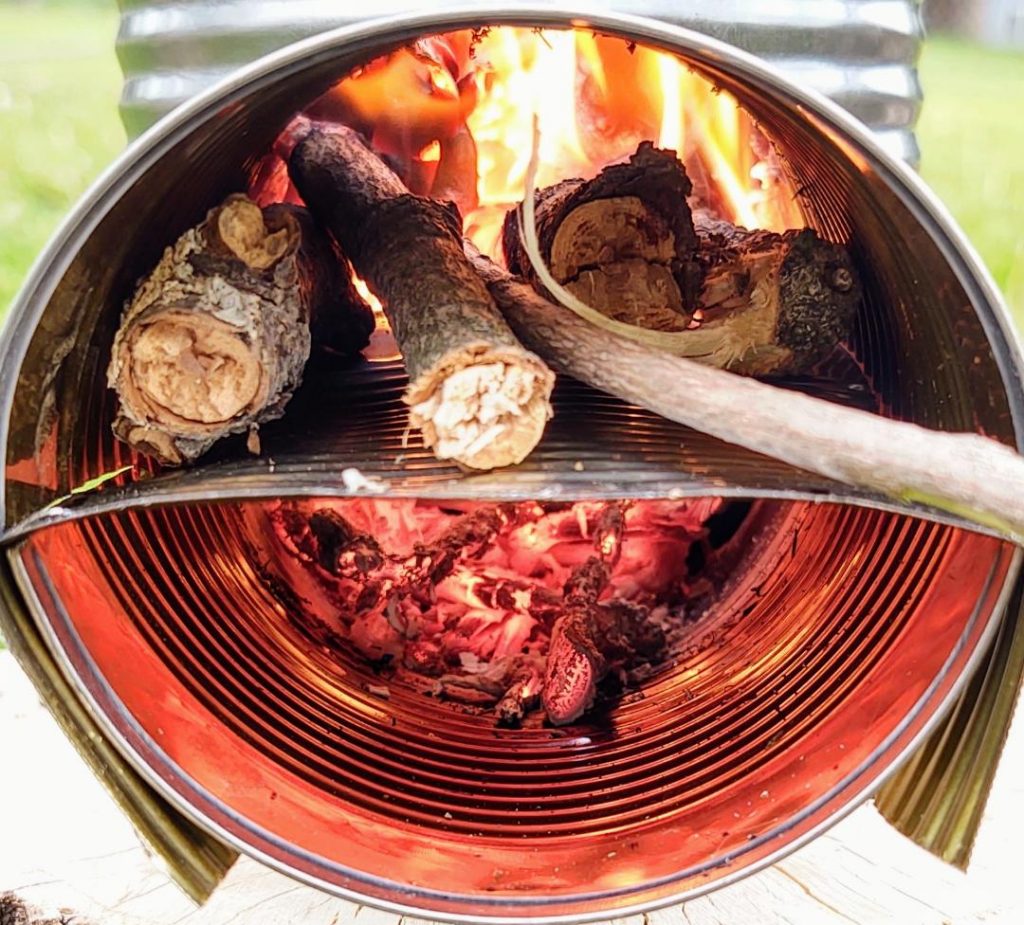
Below you can see the fuel shelf in action. The wood is fed in through the top, while the space underneath the shelf is providing additional airflow to the fire.
Rocket Stove Pros and Cons
Pros
- Super cheap to make
- Minimum tools required
- Doesn’t take long to construct
- Lightweight
- Burns hotter with less smoke than a normal campfire
Cons
- Requires some tools to make
- Can be a timely project if you are not proficient with the tools
- Needs to be fed fuel frequently
FAQs
A lot of different things can be burned in a rocket stove such as wood, leaves, pinecones, other biomass, coal, and charcoal. Due to the size of the feed chute, small pieces of wood are going to be the best fuel source.
An aluminum can rocket stove like that featured in the above article will have no problem supporting most outdoor cookware made from aluminum, titanium, or stainless steel. I would use caution using heavy cookware like cast iron, although I have used it in the past.
Like most stoves, a rocket stove needs proper ventilation to be safely used indoors. Without proper ventilation, I would advise against using a rocket stove indoors. However, some kinds of rocket stoves can be used indoors for heating but the one featured in the above article is meant for outdoor use.
The time will vary depending on your proficiency with tools and how particular you are with filing down sharp edges and the overall look. I would suggest planning on a minimum of one hour.
Wrap Up
A rocket stove is a fun project to make that produces little smoke and focuses most of the heat in one direction. They are highly efficient and easily transported where you need them most.
Thanks for reading and stay warm!
Have you ever made a rocket stove or have questions about them? We would love to hear about it so sound off in the comment section below and let us know!
