A quick internet search of outdoor or survival gear will surely bring up countless articles and lists of the plethora of gear that a person should carry. Firestarters, knives, water filters, bottles, and on and on the lists go. But how we carry it all is probably the least talked about piece of gear.
The most popular option appears to be a backpack style bag. Due to its overall comfort, ease of use, and convenient accessibility to different items, it is easy to see why backpacks are widely used. In this article, I will be reviewing EVATAC Combat bag.
 #1 Bag
|
|
View Latest Price |
SKIP AHEAD
EVATAC Combat Bag Review
Video Review: Is EVATAC Legit?
I did a detailed video review which you can check out below, You can keep reading further below for the details.
The Combat Bag Specifications
Country of Origin
For those of you that are interested in where your products come from, this bag and the survival kit that came with the bag are made in China.
(Note: the survival kit normally does not come with the bag but can be purchased separately)
Dimensions
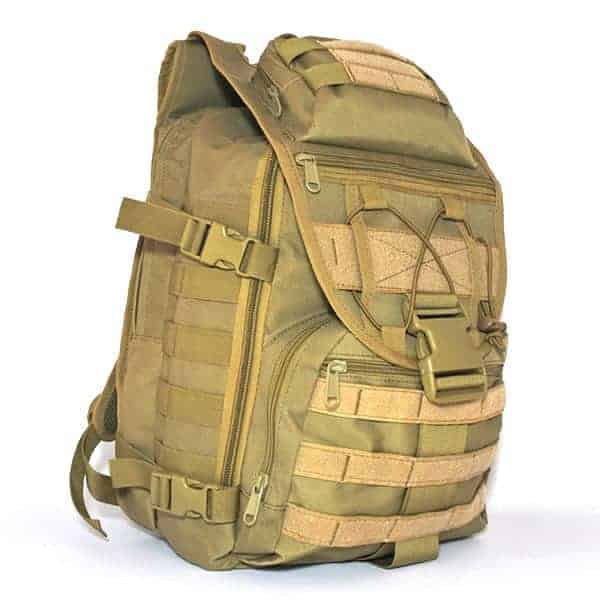
The bag measures in at 19”x 12.5” 8.5.” Without any gear inside or attached, it weighs 2.4lbs. The bag has a storage capacity of 10.6 gals or 40L.
Features
The combat bag is made from 600D polyester, which is considered quite durable and is water-resistant. There are 10 separate waterproofed compartments accessed by “EZ Slide” zippers.
Padded Compartment.
One of the compartments on the interior of the bag is padded for use with a laptop or for another sensitive piece of gear that requires added protection.
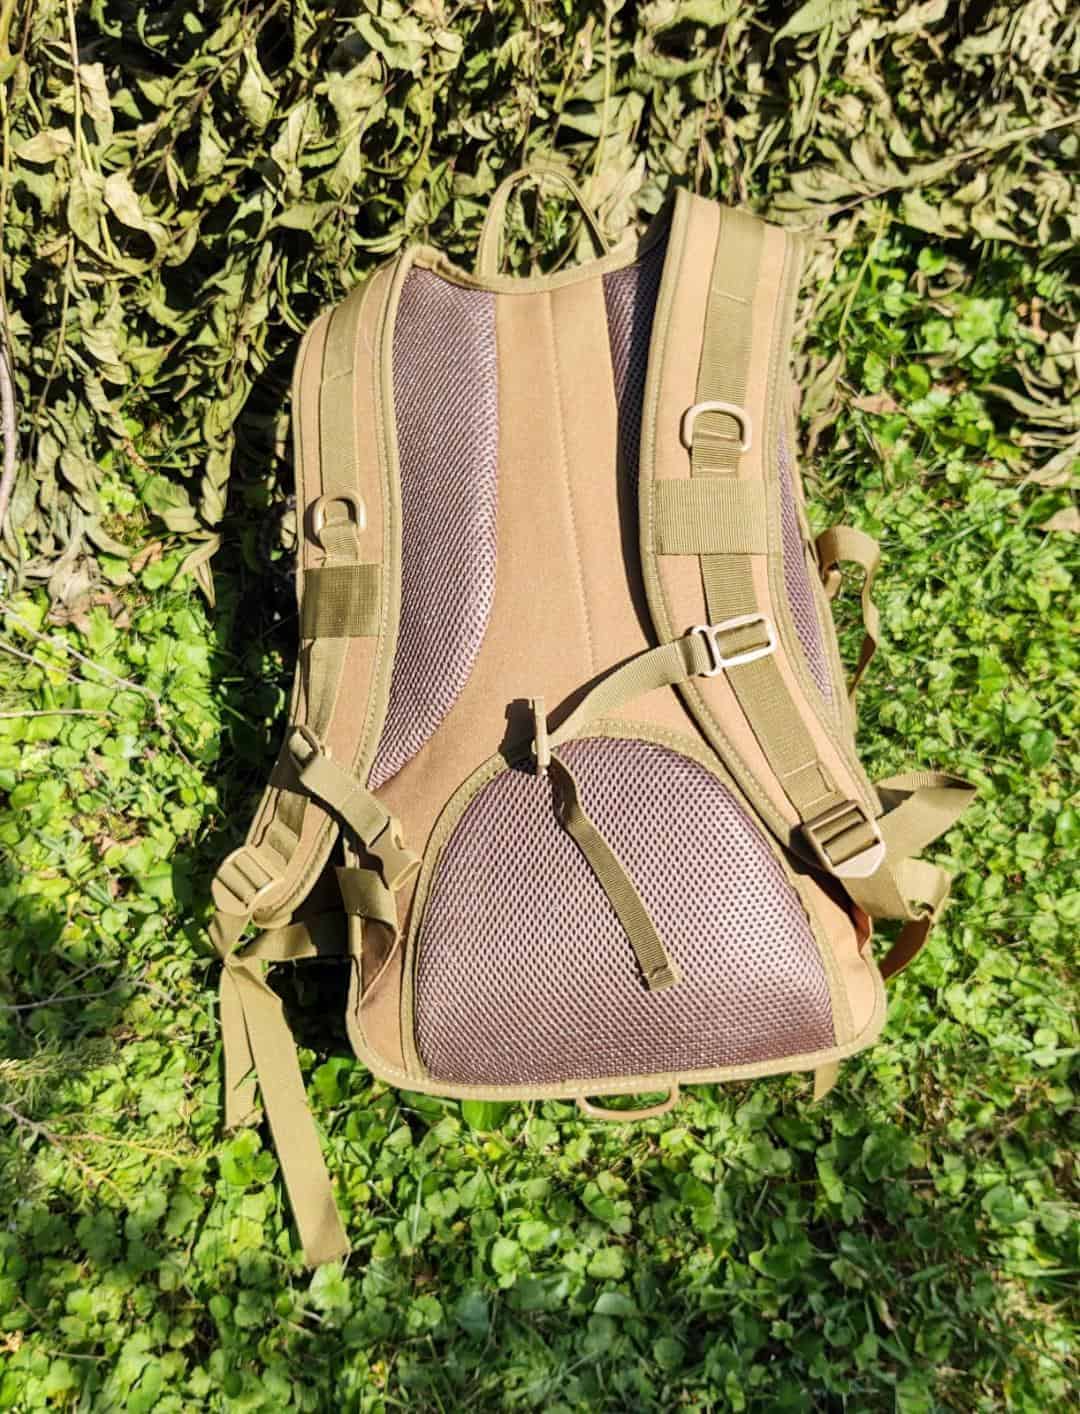
Over the Shoulder
Padded shoulder straps and a padded back panel offer more comfort even if the bag is overloaded. A quick lock chest strap helps to keep the load properly distributed and in place for overall comfort
Exterior
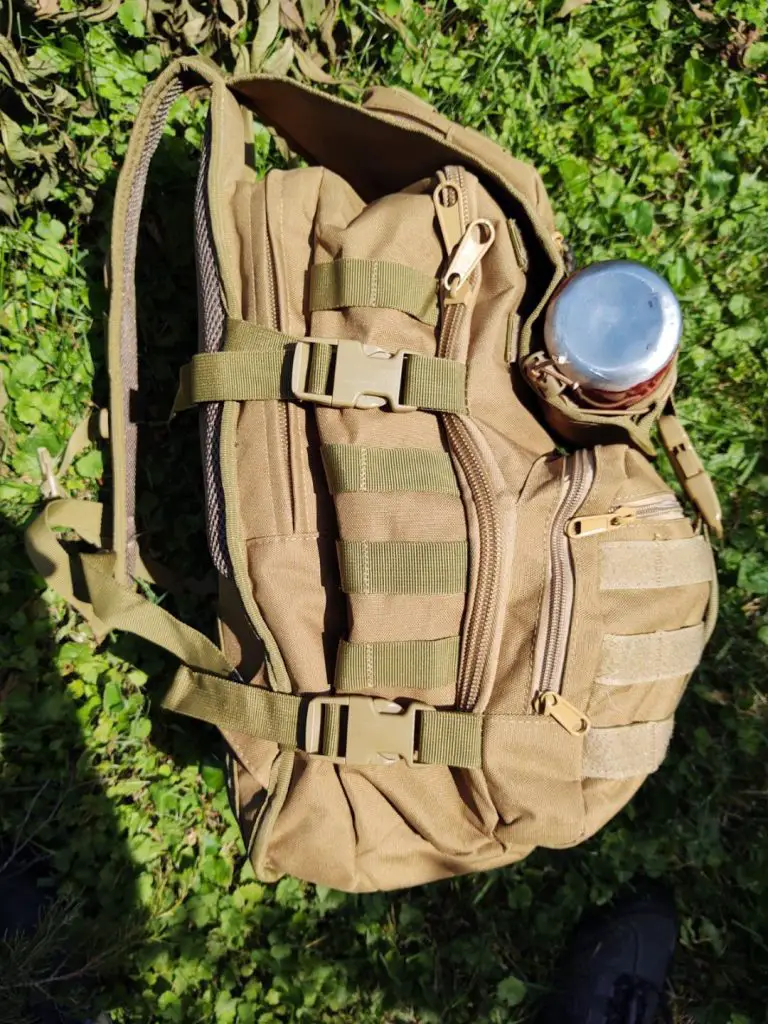
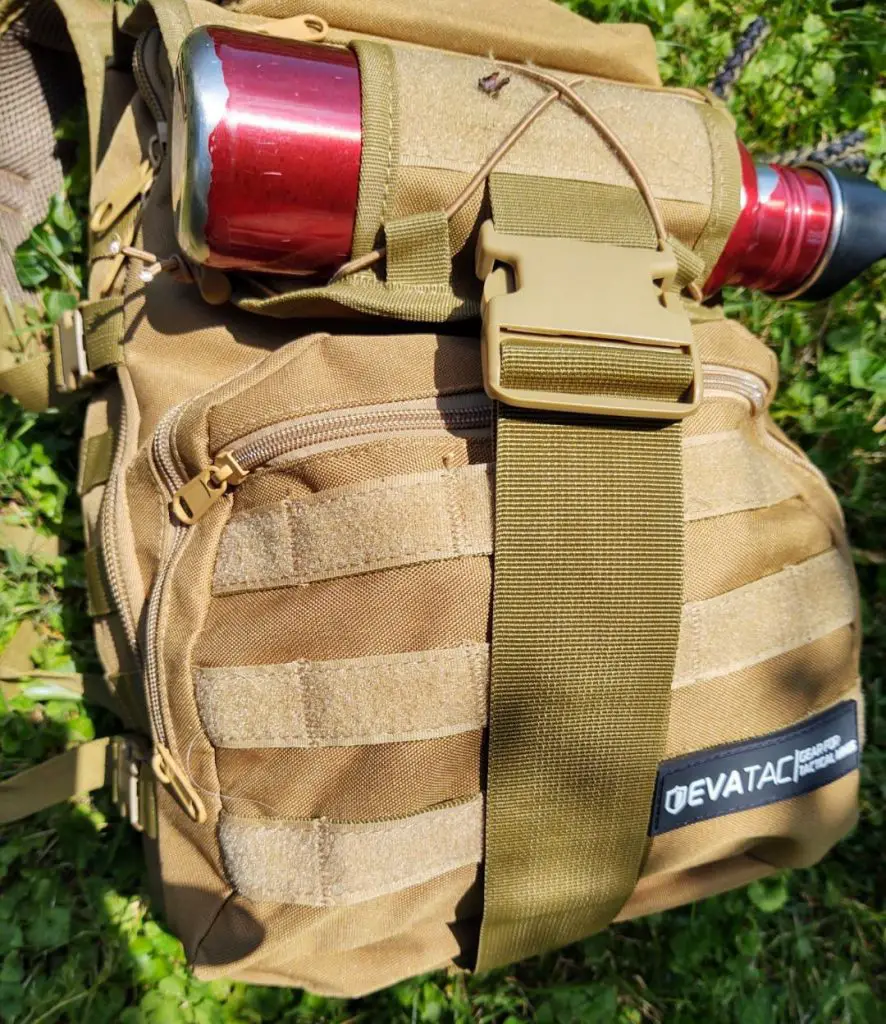
The exterior of the bag features several areas of webbing on the front, sides, and straps that are MOLLE Compatible and one elastic piece of webbing on the most forefront part of the bag.
This bag comes in khaki color which I am normally not a fan of. But I wanted to note that this is not your typical “bright” khaki. It is more of a darker tan color. There are also several Velcro areas on the front and under the front flap for attaching additional items or patches.
Bag In Hand and Stuffed Full!
In terms of size, I think this a good middle ground bag. It is not too small or too large. Bags that are too large are easily overloaded and can become burdensome to haul around. I think this size, 40L, lends itself well to being used as a BOB, for a short wilderness excursion, or a pack to have in the back of a vehicle. I was able to stuff enough gear inside for me to consider this a fully-stocked emergency kit or a three-day pack.
Hardware
The outside buckles, adjusting straps and MOLLE straps feel quite durable and are sewn well into the frame of the pack. While I like the strength of the buckles I do not care for the adjusting straps. After I tighten them down, they loosen back up somewhat easily.
If there is one thing that I cannot stand on gear, then it would be small zippers. They are difficult to handle, break easily, and tend to jam up. I really like that the zippers used on this Combat Bag are large which makes them even easier to use when wearing gloves. These “EZ Slide” zippers are also incredibly smooth to operate.
The largest buckle on the front flap is thick and sturdy. I don’t think I will be breaking that anytime soon. However, when adjusting this strap, the teeth did not bite into the strapping as much as I would have liked. I tightened this strap down pretty hard, but the strap seemed to loosen itself easily.
Padding
The padding on the back of the back is quite comfortable and breaths well. But in my opinion, the padding on the shoulder straps is very minimal and slightly rough. I wore the bag around for a bit and while the lack of padding on the straps did not bother me, that could change when the bag is carried all day long. Adjusting the shoulder straps were quick, easy, and held decently, as was the chest strap.
Compartments
Maybe it is because I am a packrat, but I am a big fan of having a lot of compartments, especially on the outside of the bag. The two reasons I like compartments is that they offer accessibility and organization.
Items that I will use the most can be put in exterior compartments so that I can avoid digging through the whole bag. For organization, you can designate certain compartments only have specific items. Example, first aid, fire starting, gear repair, etc. This bag has ten compartments which I feel is a good number.
A Few Additional Thoughts
In my mind, Velcro on the outside of packs serves two purposes. Attaching additional pouches and for displaying patches. For holding a weighted pouch, the Velcro should be of the heavy-duty variety. The Velcro on this pack I would not consider heavy duty. So, I would probably stick (pun intended) to hanging your patches from them.
I may be getting a little picky on this one but I would have liked to have seen a water bottle pouch on the side of the bag. It seems that hanging a water bottle on the outside of a pack by a carabiner has become popular. I am not a fan of that because a weighted bottle bouncing around can eventually break the bottle strap the carabiner is attached too, it is loud, and I have even had a bottle unscrew itself, dumping my water all over the field. There is an area on the front flap that accommodates a water bottle to be held horizontally. This works okay but it compresses the zippered compartment behind it. This limits the type of items that can be put into that compartment.
EVATAC Backpack Pros and Cons
Pros
- A good size
- Has plenty of compartments
- Zippers are large and do not jam up
- Waterproof compartments
Cons
- Adjusting straps do not hold as well as they should
- Shoulder straps feel rough
- Does not have a waist strap
- Only one color available
My EVATCAC Backpack Verdict
My thoughts are that the material and several of the components will hold up well but I may have to look into modifying a few of the straps. The price range appears to be about average for a pack of this size. I have not had this bag long enough to fully test out and gauge its durability from being hauled around on a daily basis, but I will be sure to update this article when I do Overall, I would give this Combat Bag by EVATAC, 6 our of 10 stars.
|
#1 Bag
|
|
View Latest Price |
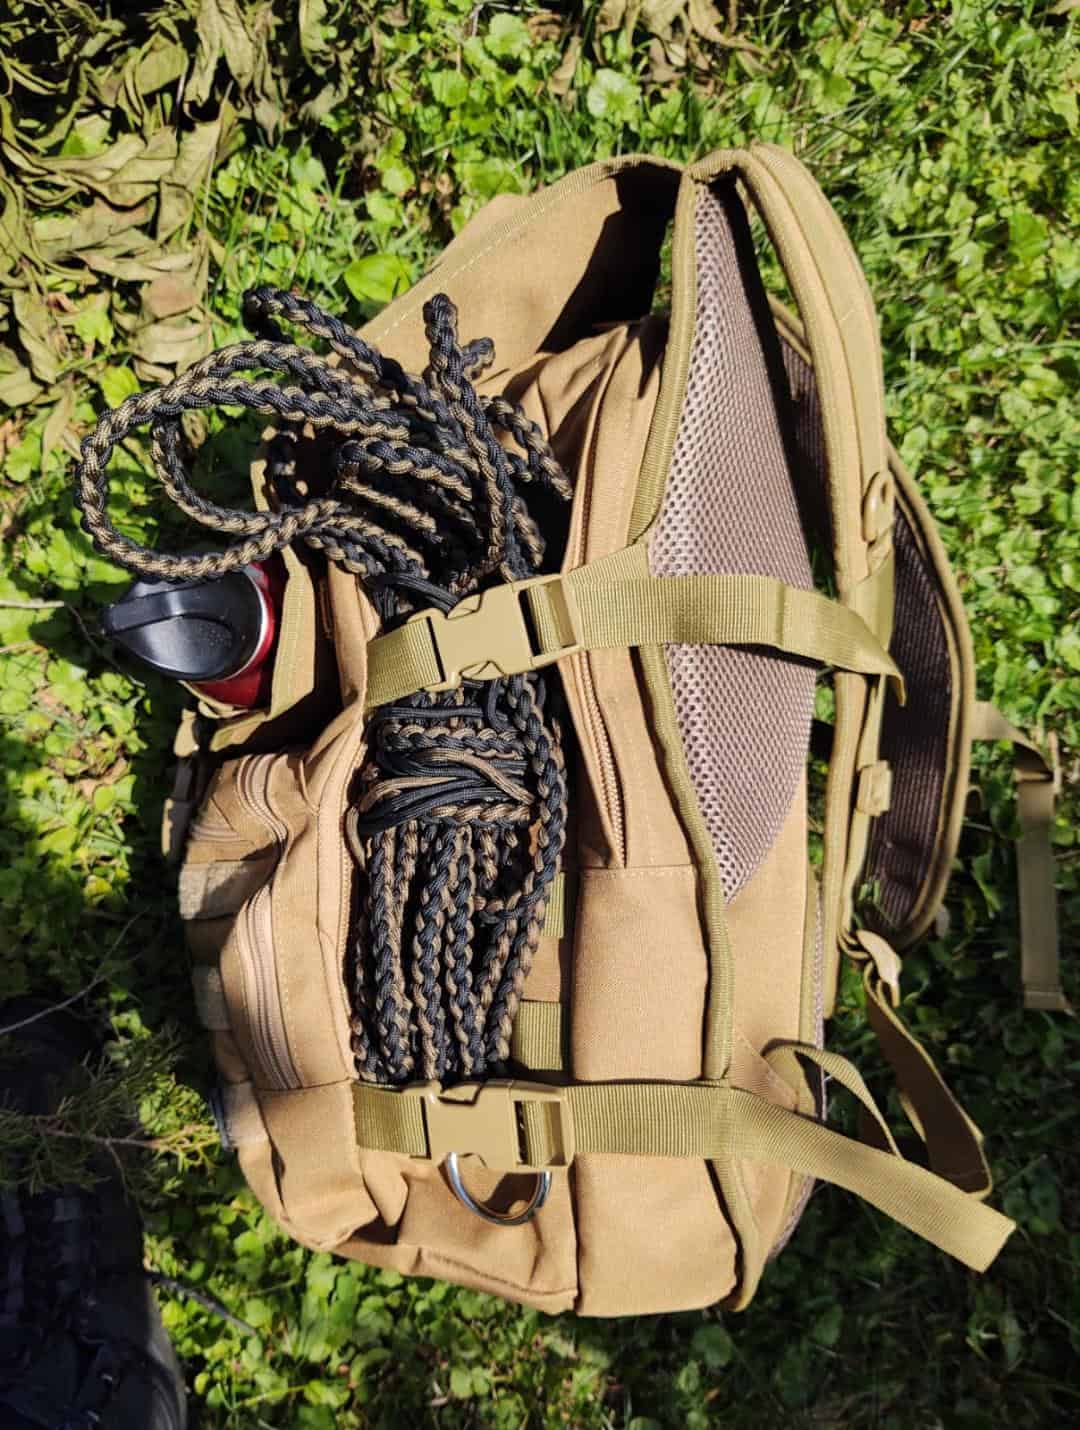
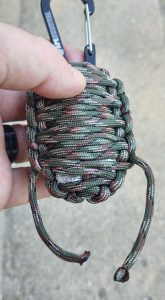
Bonus Gear! 15-in-1 Survival Kit
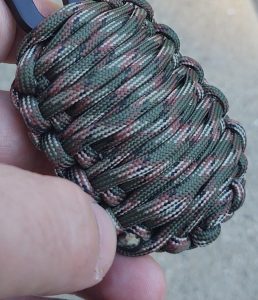
When I ordered this bag there was a special that included a free 15 in 1 Survival Kit (it can also be ordered from ApeSurvival.com) I have also heard these referred to as “survival grenades” or “paracord survival kits.” Simply they are a survival kit wrapped in paracord as an easy and convenient way to carry all of the items. The kit is tied to a metal carabiner that can easily clip to the outside of any pack, like the Combat Bag. Here is a rundown of the 15 tools included in this kit.
- Fishing hooks x2
- Fishing line
- Weights x2
- Floats x2
- Swivels x2
- Flint rod
- Alcohol pad
- Tinder
- Tin foil
- Knife blade
- Carabiner
- 9ft Paracord
- Iron wire
- Safety pins & needle
- Lure
*NOTE: The above list was taken from the back panel of the survival kit packaging. Go by this listing and not what is on the websites listing for the kit. *
A Look Inside!
I thought I would tear this bad boy apart to test out some of the items and to give you a look inside.
If you happen to buy this kit you should keep two things in mind. The first is that once you unwrap the paracord it would be very difficult to wrap the kit back up the way it was. Secondly, I would keep the plastic bag that the kit comes in. That way when you do unwrap the kit you can use the plastic bag to keep all of the items organized.
Right off the bat, there are few things that I don’t like with how the survival items are listed.
- Does not state how much fishing line is included or how strong it is
- Does not state how much wire is included
- Does not state the size of the fishing hooks, just two hooks
- Does not state how heavy the fishing weights are
Okay, now that I got that out of the way, time to dig into the kit. I will briefly explain how to unwrap the kit in case you are unfamiliar with paracord.
Unwrapping
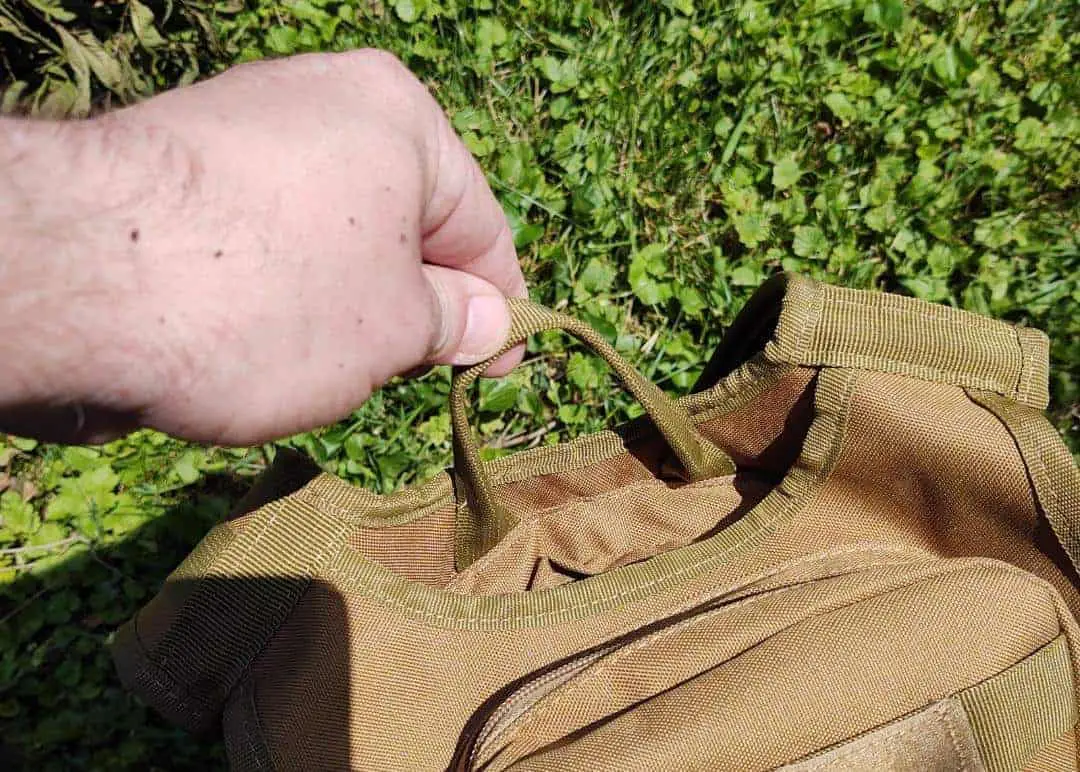
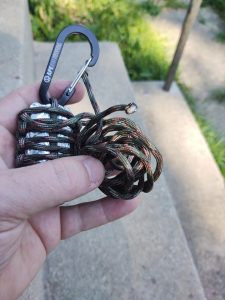
Look for the ends of the paracord that have been cut and burned. These ends will typically look black, shiny, and smooth. In the picture, my thumb is pointing to this end in the lower left-hand corner. You can use a knife to dig the ends out or simply cut them. But cutting increases the risk of cutting other parts of the cordage. By simply working the ends around and using my fingernail I was able to pry the ends free without much difficulty. From here, unweave the paracord by pulling the ends back through all of the braids.
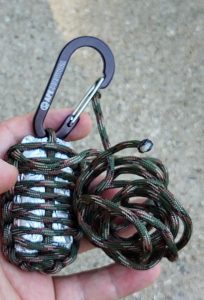
I think that it is worth noting that the paracord can be unwrapped approximately halfway, cut, and burn the paracord ends and the kit will remain relatively intact. This will offer a few feet of paracord to be used while still keeping the kit contained.
The Paracord
Once I unwrapped the paracord I measured it. It was indeed 9ft long
(actually a few inches longer than that)
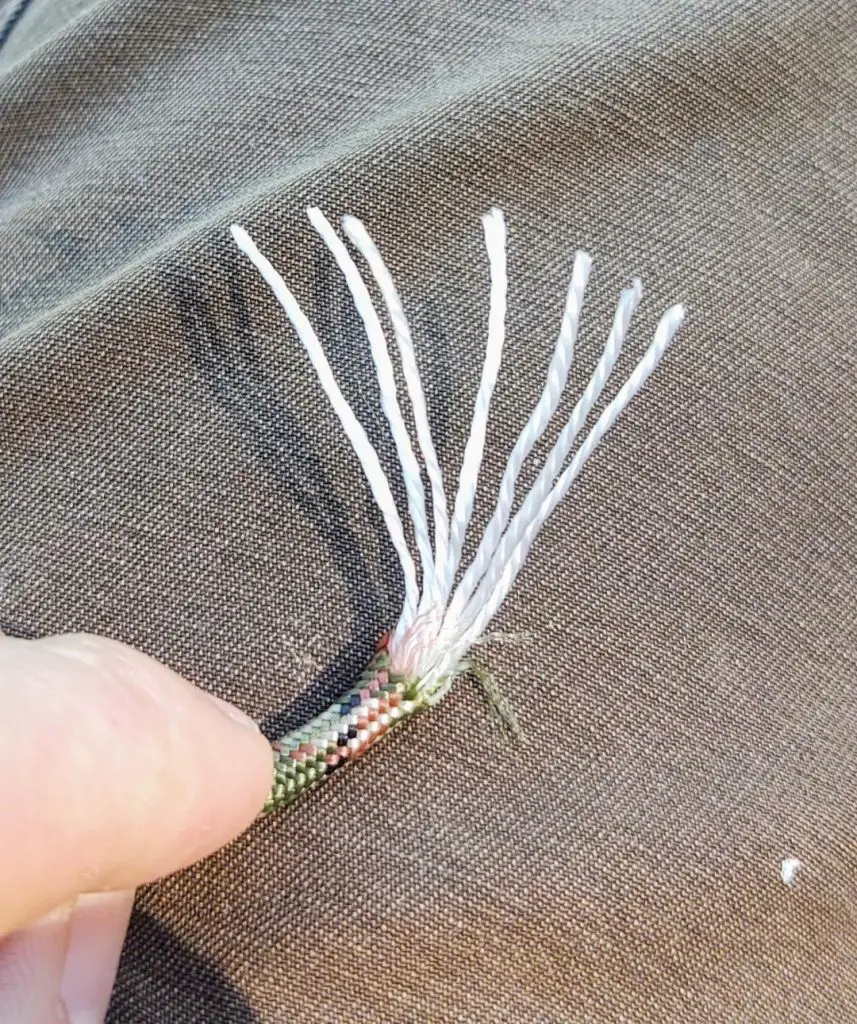
Next, I cut the paracord to see how many yarns (white strands) were inside. There were seven. This is the average number of inner yarns you will find in 550 paracord (7-9 yarns), which is good.
Finally, I did a burn test to see if it was 100% nylon paracord, which in my opinion is the kind that you want. Instead of using 100% nylon, some manufacturers will use a combination of polyester and nylon. There are pros and cons to both nylon and polyester and there is nothing inherently wrong with paracord that blends these two materials. However, nylon is stronger than polyester which is why I choose 100% nylon paracord in my outdoor kits.
After tearing the paracord apart, examining it, and doing a burn test, I believe the paracord used in this kit is a nylon and polyester blend. If that is the case, it will not be as strong as 550 paracord that is 100% nylon, but it will still be very useful.
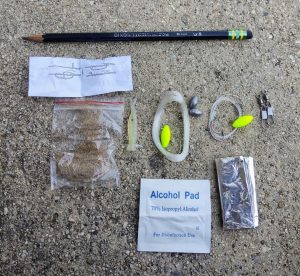
The Survival Kit
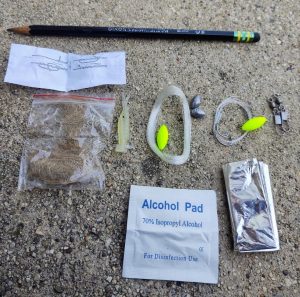
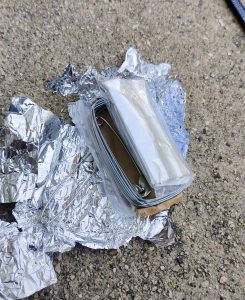
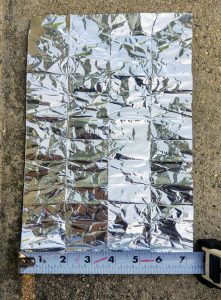
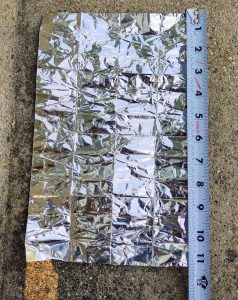
I unwrapped the aluminum foil and laid out all of the contents. The foil was tightly wrapped so I was unable to get the kit out without ripping the foil. At first, I was disappointed, but I later realized that there was a separate piece of foil in the fishing kit.
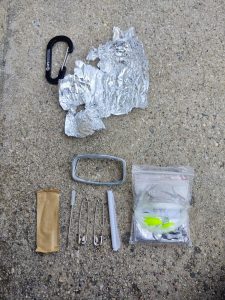
On top of the picture are the carabiner and the outer aluminum shell. Below that is the iron wire. Below the wire and starting on the left is the scalpel wrapped in a paper covering, a large sewing needle with a plastic cap, two safety pins, a Ferro rod wrapped in paper, and the fishing kit contained in a small plastic bag.
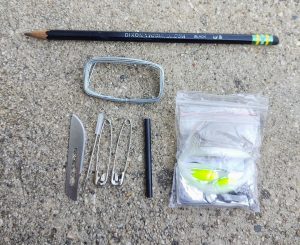
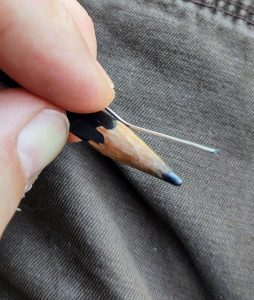
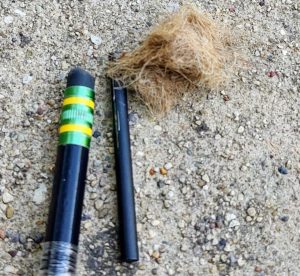
The following picture has the scalpel and Ferro rod unwrapped. I placed a pencil next to the items to give a sense of size.
I opened the fishing kit and laid out all of the contents for the following picture. Starting at the top is a small piece of paper with a diagram showing how to tie a knot. The next row starting on the left is a bag of fire tinder, clear rubber lure, fishing line, two neon floats, two fishing lead fishing weights, one small hook, and one larger hook each already tied to a 1.’9” long piece of line, and two swivels. The bottom is a 70% Isopropyl Alcohol pad, and a square of tin foil.
By The Numbers
I went through and unraveled everything in order to let you know much of each item was included. It took me thirty minutes to unwind the fishing line so that I could measure it. Not looking for a pat on the back but I just wanted you to know that I went the extra mile for you guys and gals. Below is a list of what I found
- 1’9” of fishing line attached to each of the hooks
- 6’3” of iron wire. I am unsure how strong this wire is but I paired it up with the pencil so you could get a better idea of its diameter.
- 32’ of fishing line plus or minus a few inches. I am unsure of the strength of the line. I did wrap it around a metal railing and used my hands to pull on the line. The line snapped before the line started hurting my hands (a terrible test I know) so my guess would be that the line is rated under 5lbs.
- Two, 2-gram lead weights
- A little over 9ft of paracord
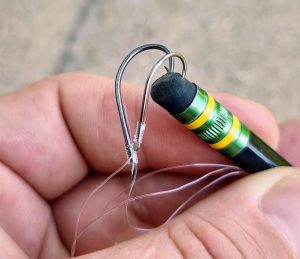
- Two fishing hooks, one small and one large. I am terrible at judging hook sizes so I stuck them in the end of the pencil so you can judge their size.
- The tin foil measured roughly 11.6” X 7.25”
Fire Test
The last thing that I wanted to check out was to see how well the Ferro rod and tinder worked. I scraped off the black paint on the Ferro rod and used the back of my pocketknife to produce a decent number of sparks. I removed the brown fire tinder from its plastic bag and laid it on the ground. I am unsure of what it is. It is brown, fibrous, and didn’t have a smell. It almost reminds me of coconut husk. I threw some sparks into the tinder and I briefly saw a flame try and take hold. A small ember burned out and I repeated this process several times. The tinder would not hold a flame, but the embers would continue to snake through as long as oxygen was applied. It worked but I was not impressed.

Conclusion
The kit has several decent items in it and overall, I do not think it is terrible. I would like to see better descriptions of the items inside so that people have a better idea of what they are getting. The design of the kit is certainly a cool, compact, and convenient way of carrying survival items discreetly.
