In the world of preppers and emergency minded individuals, a lot of time is spent on discussing water, food, and other popular gear.
Now do not get me wrong, those things are important to have and warrant a lot of good discussions.

But there are a lot of other topics that get easily overlooked.
Imagine if you will…
You wake up one day, make your coffee, and sit down to watch the morning news.
A banner begins scrolling across the bottom of the screen that states, “Toilet paper sold out nationwide. Manufacturers unsure when shelves will be restocked.”
Just then the hot coffee does what it does to your gut and the reality of the situation sets in.
Okay, so I had a little bit of fun with the above example but that doesn’t take away from the fact that supply lines are easily affected by many forces and at some point, toilet paper could be hard to come by.
If you have never thought about what you would do without toilet paper, I suggest you take a moment to consider the possibility because it is a product everyone uses every day.
However, these rolls of pillow-like squares are not the only way to take care of our sanitary needs. In fact, there are several ways to complete this task.
From alternatives that can be picked up at the store, to substitutes at home, to even making your own TP, in the following article I will be covering what you can do when that last white square is hanging from the cardboard tube.
But first, a quick disclaimer.
To Flush or Not to Flush…
Toilet paper that is bought at the store is designed to easily break up after flushing. This greatly reduces the chance of pipes becoming clogged.
All of the suggestions in the following article are not designed to easily dissolve or to be flushed down a toilet.
By flushing toilet paper alternatives, the chances of clogging a toilet or pipes will be greatly increased and cause additional problems.
Some sanitary wet wipes are advertised as being flushable but in my professional experiences that is not case. If it is not toilet paper I do not recommend sending it through the porcelain highway.
The best way to take care of the following alternatives would be to bag them up and dispose of them in the trash, burn them in a safe location, or wash and reuse them.
SKIP AHEAD
Basic off-the-shelf alternatives to Toilet Paper
There are several alternatives to toilet paper that can be bought at almost any store.
These are products that have long been suggested to have among preppers due to their ability to be used in a variety of ways and taking care of sanitary needs is but one of them.
- Paper towels. Durable, absorbent, and can be easily cut to the desired size.
- Coffee filters. Coffee filters are super cheap so a lot of them can bought. A single filter is also just about the right size for this purpose.
- Facial tissues. This option is both soft and has the option of containing soothing lotions.
- Adult diapers. You may be rolling your eyes at this suggestion but they certainly have their place and work as intended.
- Baby wipes. These are specifically made for the purpose at hand.
Substitutes found around the house
Along with the above suggestions, there are several simple alternatives to toilet paper that most people probably have in their homes.

These substitutes work best when there is access to clean water and soap because they can be washed, cleaned, and then reused.
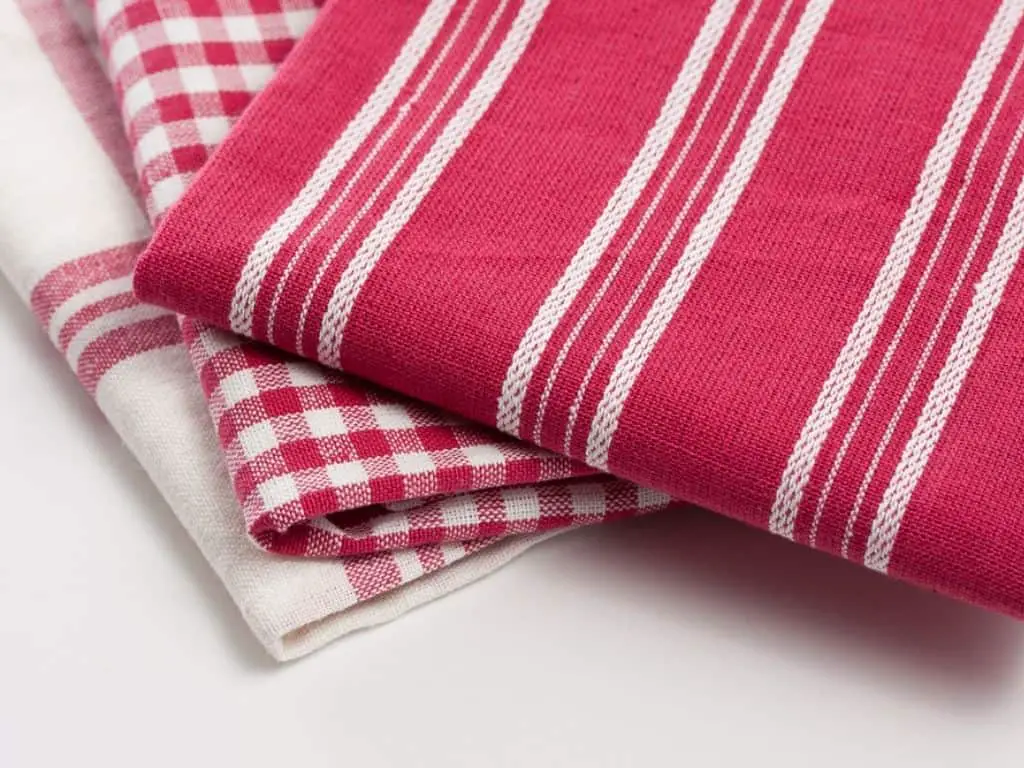
Material that is one hundred percent cotton most likely works best because it is easy to wash and its texture is softer.
- Washcloths
- Kitchen towels
- Hand towels
- Socks
- T-shirts
- Your hand. This option really should not be used unless there is a source of clean water and soap for cleaning up afterward.
- Newspaper. A piece of newspaper actually works well for this. To make it easier to use, crumple it and stretch it out several times before use.

To create more toilet paper and stretch supplies out, most of these materials can be cut up into smaller pieces. This will also make them easier to clean after use.
Using a t-shirt, for example, take a pair of sharp scissors and cut the material up into pieces that are roughly 4” x 4” squares.
The squares stack neatly and can be placed appropriately in a bathroom.
A container with a lid, like a bucket, should be placed in the bathroom as well.
After the improvised toilet paper has been used it should be placed in the container with the lid securely shut. This will help to reduce bad smells and keep all of the used material together so that it can be washed later.
The above materials should definitely not be flushed because they will easily clog a toilet or pipes!
Substitutes found outdoors
There are many natural alternatives to toilet paper that can be found outdoors.
What type to use will greatly depend on the region in which you live.
Everyone’s body is different and therefore can react differently to items we use on or in our bodies.
For this reason, vegetation should be tested on a small area of the forearm first to help avoid a bad reaction in a more sensitive area.
To do this, take a piece of the intended material and rub it on a small spot on the forearm and wait fifteen minutes.
If there is no reddening of the skin, swelling, itchiness, numbness, or any other noticeable reaction then proceed to the next step. If there is any kind of reaction discard that material.
Break open the vegetation and rub it on a small area on the forearm and wait fifteen minutes. Again, if there is any kind of reaction then discard the material.
If there is no reaction, the materials are most likely safe to use.
A few examples of toilet paper that can be found outdoors across a broad range of environments are:
- Leaves. Larger tree leaves will work the best.
- Inner tree bark
- Long grasses bundled together. A handful of short grass can make a mess.
- Cattails
- Moss
- Lilly pads
- Snow. While very cold, a handful of compacted snow works very well.
- A large rock or shell. These have to be as smooth as possible to be used. Caution should be used especially with shells that can have extremely sharp edges!
- Seaweed
- Dirt and sand. I have heard of these two materials being used in this manner, but I would think it would cause more of a mess and discomfort after the fact.
- Pinecones
- Your hand. This is a last-ditch option and should only be done if there is a way of properly washing and cleaning your hand afterward.
DIY Homemade Toilet Paper process

Toilet paper can be made at home from a few different materials such as magazines, wood shavings, and newspapers.
Newspaper is going to be the most readily available and require the least number of tools, so that is the material I will be using.
Here are the tools you will need for this project.
- A bucket, the larger the better
- Newspaper, not the glossy kind!
- A power drill with a paint or cement mixer attachment. A blender or food processer will work as well.
- Water. Approximately one half to one gallon but depends on the amount of paper
- Strainer, slotted spoon, or mesh screen to help drain the pulp
- Pieces of fabric or plastic bag to lay the wet pulp on
- Two large boards to lay the pulp on
- Weights for compressing the pulp
- Cutting utensil
- Lotion, essential oils are optional. These can help to make the paper a bit softer.
Making TP!
I learned the recipe for making this stuff years ago. But times change and I was wondering if people were still making it the same way.
From what I found, there are now a few different ways in which to do this.
But I decided to stick with the old recipe and threw in a few of my own steps.
Steps
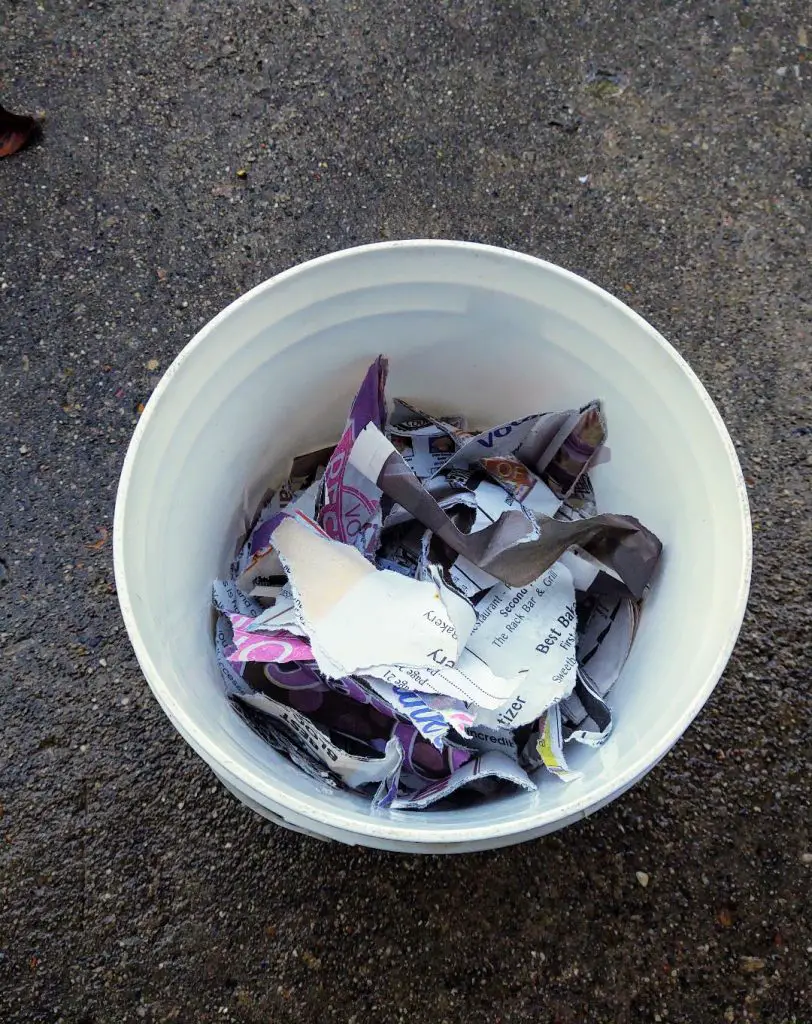
- Shred the newspaper into the smallest pieces you have the patience for. The smaller the better. Then place them into the bucket.
- Add water! This is where I deviated just the slightest. Some people say to bring the water level two-thirds of the way up from the top of the paper, while others say one half, and others yet say the water amount doesn’t matter. I started off with half of gallon of water.
- Allow the newspaper to sit for 10 minutes, hours, or overnight. Again it depends on which recipe you find. I don’t have the patience for that.
The soaking time merely allows for the paper to soften up so that it can be pulverized easier. I figured since I was going to be using a power drill with a paint mixer attachment, I could just get right into mixing.
- Begin pulverizing. After mixing for a few minutes the paper thickened up and became difficult to work with, so I decided to pour in the rest of the water which brought the total to one gallon used.
- Keep pulverizing! In total, I spent thirty minutes mixing at a high rate of speed and decided that was good enough.
- At this point, some recipes call for simmering and then boiling the pulp. This is supposed to help separate the glues and ink in the paper. Again, I don’t have the patience for that and proceeded with my own method.
- Strain it. Straining and drying work best outdoors. But at the time of this article, the weather called for cold and damp conditions so I took the project indoors. Using a slotted spoon I began transferring the pulp over to the board it was going to dry on.
This was a huge mess and the water didn’t easily drain away from the pulp. So I decided to take matters into my own hands (literally) and change things up again.
- I laid out a large towel, dumped the pulp into the center, and pulled all the sides of the towel up. Then I began twisting the towel.
This squeezed the water out while keeping the pulp inside. This method gets rid of a LOT of water quickly. Because of this, I ran into a slight problem later on which I will discuss at the appropriate time.
- Dry the pulp. The pulp can now be laid out to dry on a piece of fabric that is on a drying board. Some people use an old sheet or a t-shirt, I used a garbage bag. Use a rolling pin or your hands to flatten the pulp out as much as possible.
This is when a secondary board and weights can be placed on top of the pulp to help press out excess water. Since I already got rid of most of the water, I did not do this step.
Raise one end of the drying board slightly to allow excess water to run off. Leave the pulp in this state until it is dried, approximately a day or two depending on the temperature.
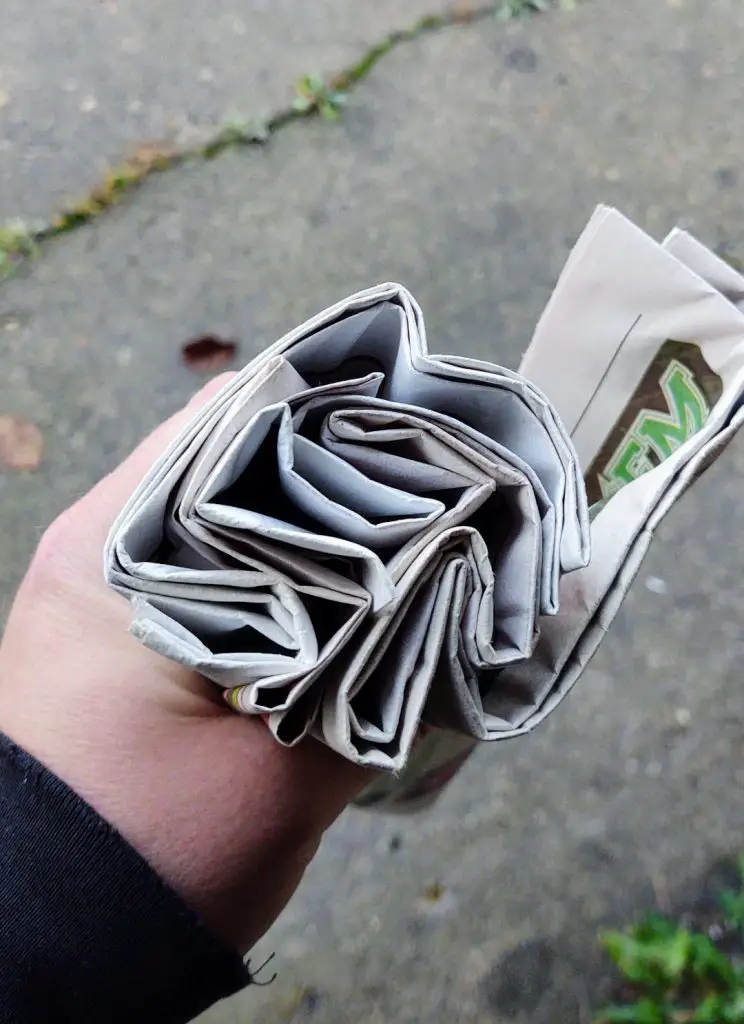
Here is what my toilet paper looked like after it was dry.
What I Learned
At the beginning when shredding the newspaper, take the time to separate the pages. Even after thirty minutes of mixing I found small clumps of paper that had not been pulverized into pulp.
Taking too much water quickly is not a good thing. This makes the pulp fall apart and not stick together to dry into a uniform sheet. So if you are using the towel method as I did, do not use all of your strength when twisting the towel. Instead, leave the pulp a little mushy.
Wrap Up
There may come a time when you run out of toilet paper at home, it is not available at the store, or you may find yourself in the wilderness without a way to clean up.
But I hope through this article you have learned there a lot of different ways to take care of this sanitary need that does not hinge on one product alone.
What are your thoughts on toilet paper alternatives? Sound off in the comment section below and let us know. Thanks for reading and remember, pick up an extra package of toilet paper next you are at the store. You never know when it will come in handy!

