I’m trying something a little different today. I will not be reviewing a piece of gear or presenting my thoughts on the philosophy of survival tactics. Instead, this article will be about food. Specifically, how to make hardtack, sometimes referred to as hardtack biscuits or sea biscuit or sea bread or even dog biscuits. That’s right, a whole new twist to writing for me and possibly the beginning for a cookbook! Yeah, right.
There are many different “survival food” recipes floating around out there meant to provide sustenance during hard times. Due to its utterly simple list of ingredients and process to make, there is one food that has always been of interest to me, and that is hardtack.
As a kid, I had never tasted hardtack, let alone even heard of the stuff. But as I became older, I started running into the topic of hardtack through my reading. If after this article you are still interested in hardtack, I suggest conducting a little historical research on this simple food item. It is quite interesting.
I won’t bore you with the historical details, as this is not what this article is about. However, if you are unfamiliar with hardtack, it is essentially a simple bread. And, as the name suggests, it is very hard; more on that later.
In this article, I will discuss:
- What hardtack is
- How long you can expect your hardtack to last
- Different ways to make hardtack
- How to eat hardtack
SKIP AHEAD
What is Hardtack?
As I hinted at above, it is basically bread. Unlike, store-bought bread that begins to turn moldy in a week or two, hardtack has a long shelf life, a really long shelf life.
How Long Does Hardtack Last?
When it is prepared and stored properly, hardtack can last indefinitely, at least for our purposes. There are even some accounts of Civil War hardtack (from the American Civil War) being unearthed that were still viable.
It blows my mind that a food item carried by Civil War soldiers was still good after so much time. What survival-minded person would not want a food item with such a ridiculously long shelf life?
How Does it Last So Long?
Luckily the science behind this is easy enough for even me to understand. The reason most foods go “bad” is due to bacteria growth. Like humans, bacteria need water to live so they favor environments that have this.
Traditional hardtack is composed of three simple ingredients: water, salt, and flour. This gets mixed up and baked until most of the water is cooked off. Think of it as dehydrated bread. Minimal water and the salt do not make for favorable growing conditions. Pretty simple, huh?
Two Hardtack Recipes: Traditional Hardtack vs “Modern” Hardtack Recipe
Now, if you do an internet search for hardtack you will likely find many different recipes. But I break those down into two different groups: traditional recipes and modern recipes.
The traditional hardtack recipe calls for the simple three ingredients that I listed above – water, salt, and flour.
Modern recipes are ones that people have tweaked by adding in other ingredients or other foods such as sugar, black pepper, ground pepper, coconut oil, Italian seasoning, vegetable oil, white flour, whole wheat, almond flour, dried rosemary, cayenne pepper (I don’t know about this one…) brown sugar, cinnamon, cacao, yeast, sorghum flour, etc. If you want an even sweeter taste, add honey.
All of these extra ingredients will add flavor, but keep in mind that they may reduce the shelf life.
Because the basic recipe is simple and has been proven to have an exceptionally long shelf life, that is the one I prefer to use.
If you have dietary restrictions in terms of the kind of flour you can use – or you just want to throw caution to the wind – by all means, experiment with other recipes to find what you like. However, if you are like me and have bland, simple tastes, please read on.
Kitchen Time
It is now time to head off to the kitchen and gather up some supplies. Here is what you will need to make some authentic hardtack:
- Cooking sheet, pan, or a mesh rack. I used an 11” x 16” pan.
- Cooling rack or wire rack (optional)
- A vacuum sealing machine (optional)
- Spatula
- Large mixing bowl, or a mixer if you have it
- Rolling pin. I do not have one, so I just used a round drinking glass, but you need to be careful when using this method.
- Cutting utensil, knife, or pizza cutter
- Something to poke holes in the dough, this helps with the drying process. There is a professional tool that does this (a dough roller docker). I have used a toothpick in the past, but that is a slow and annoying process. My favorite tool is a fork.
Now for the Ingredients
This is what you will need:
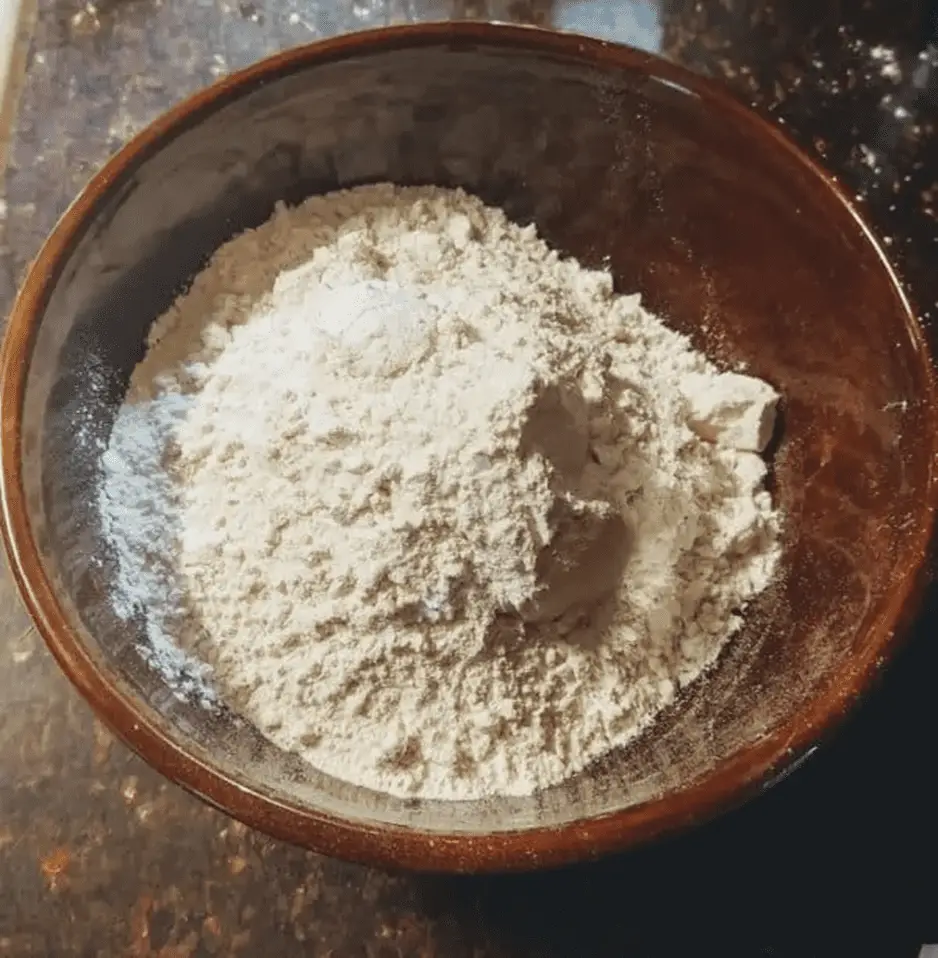
- 4.5 cups of flour. I used all-purpose flour white flour.
- 3 Tbsp of salt
- 1.5 cups of water – I used cold water but I suppose you could use hot water
- Preheat the oven to 375 degrees Fahrenheit
Making Traditional Hardtack
I am not a baker by any means, so I am sure that there is someone out there somewhere who will be cringing at my process. Enjoy!
Step One: Combine Ingredients
Combine the flour, salt, and water into the large mixing bowl.
Step Two: Mix Ingredients
Mix everything until the hardtack dough has an even consistency and is not sticky. This may require a little more water or flour. If it is sticky, I generally add a pinch of flour at a time and mix it in until the hardtack dough can be rolled around without it sticking to surfaces.
Step Three: Roll Out the Dough to 1/2 Inch Thick
Dump the dough out of the bowl and onto the counter, or if you are fancy, place it on a large cutting board. Using a rolling pin, spread the dough out until it is roughly ½” thick. Actually, the hardtack can be however thick or thin that you want, but the baking times will vary greatly.
Step Four: Poke Holes in the Dough
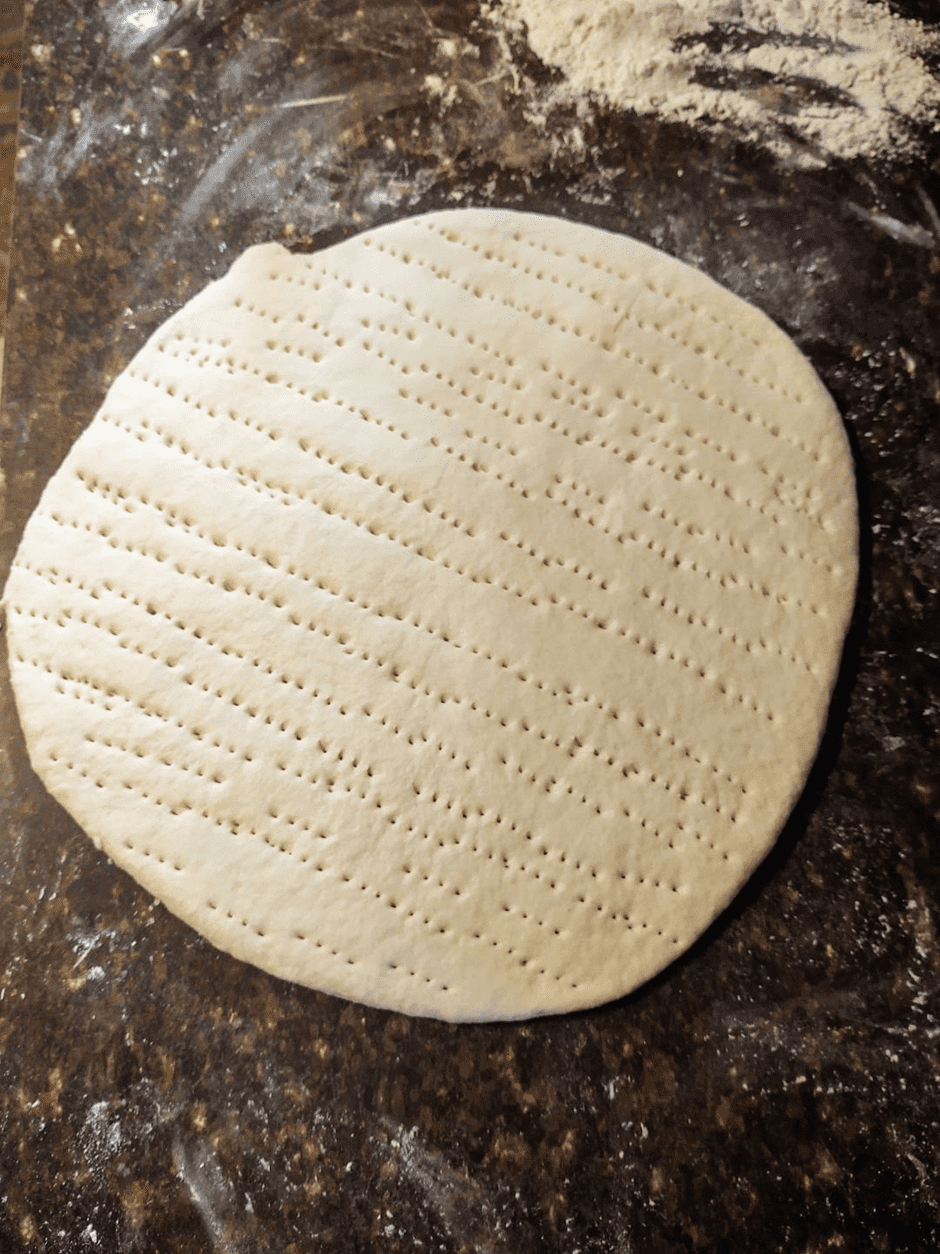
Using the professional spiked rolling pin (which I didn’t have), or a fork (which I did have!), make a bunch of holes in the dough. There should be exactly 96 holes each spaced…just kidding. Without counting, I use my fork to create a series of holes that go across the dough. To my understanding, the holes help in getting rid of as much water as possible
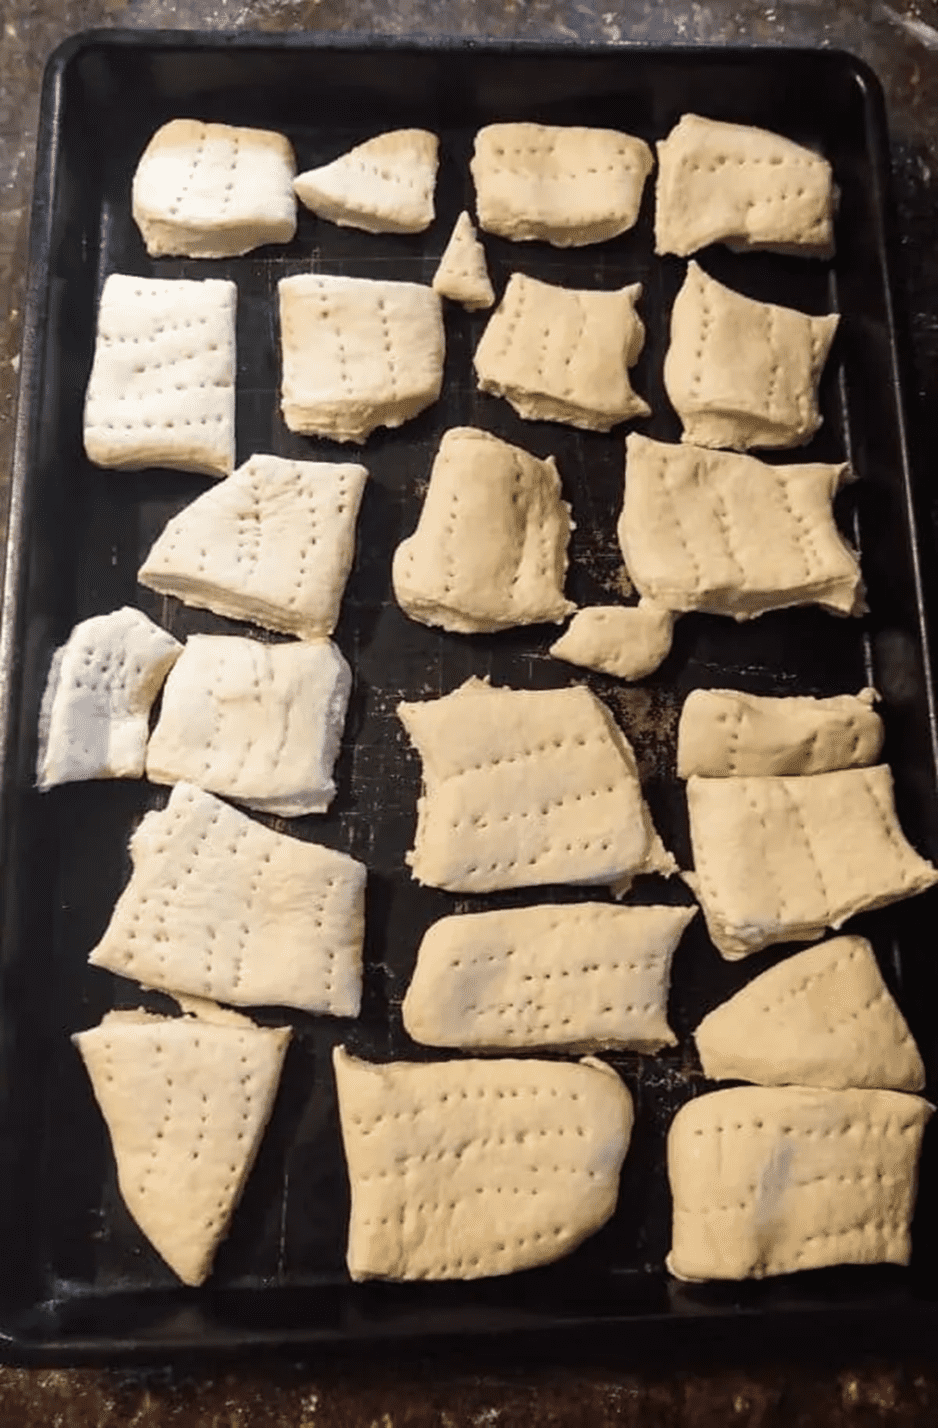
Step Five: Cut the Dough
Cut the dough into whatever shapes you desire. You can use a sharp knife, although I found that a pizza cutter works great. They can be squares, circles, or happy little gingerbread men. I cut the dough into squares that are usually misshapen and not uniform in size.
You can really make them into any shapes you want. Even though mine pictured below don’t look like biscuits, I still refer to them as hardtack biscuits. Just for fun, I might have to try a gingerbread man cutout someday!
Step Six: Bake 30-40 Minutes
Use a spatula to transfer the squares to a baking sheet and place them into the oven. They will need to bake for 30-40 minutes depending on your oven, or until the squares are golden brown. Also, I do not grease the baking sheet.
Step Seven: Cool and Store
Once they are golden brown, pull the hardtack from the oven and allow them to cool. Once cooled down, place them in an airtight container.

Baking Hardtack – Part 2
Another way that I have made hard tack is by making hardtack crackers. To make a hardtack cracker, I use the exact same recipe as above, except I roll the hardtack dough out until it is as thin as possible. Since they are thinner, the baking time is also slightly reduced, especially if you poke holes in them.
A hardtack cracker is still quite hard, but it doesn’t take nearly as long for it to soften up when soaked in a drink or soup.
Eating Hardtack…
It seems weird writing a section on how to eat a piece of food, but trust me – in this instance, there is a good reason for me telling you how to eat hardtack.
Do not – I repeat, DO NOT – try eating hardtack as it is. You may have noticed when handling the finished product that this stuff deserves the name that it has. If you attempt biting into one of these tasty little squares there is a good chance you will break a tooth, no joke.
To avoid causing bodily harm, here are two methods I have used to consume hardtack, with the latter being my choice:
- If I can break a small enough piece off, I place that piece in my mouth and tuck it into my cheek. Kind of like a chipmunk with acorns stuffed in its cheek. I then suck on the hardtack until it is soft enough to chew.
- Soak hardtack in a cup of coffee, tea, or in the broth of whatever meal is available. Soak for at least 5-10 minutes before attempting to bite into it, however you may need to soak it longer.
Another Option: “Steaming” Hardtack
Another way that I have prepared hardtack to eat is by placing it in a pan with some pork fat, bacon grease, or butter. I then cover the pan with a lid and allow it to “steam” on low heat.
I have also used this same method while cooking potatoes or eggs next to it. This will speed up the softening process as well as add some extra flavor to the hardtack biscuits.
Storing Hardtack
If I remember correctly, traditional hardtack was simply wrapped in paper, cloth material, or in a small tin by Civil War soldiers. And that was how it was carried.
Modern Storage Methods
Storage options have advanced a bit since the times of the Civil War. Remember that earlier I said moisture was going to be the main enemy of this food product. So, you will want to store it in a container that is as airtight and moisture-proof as possible.
And if you really want to protect it, then you could seal the dry hardtack in a Mylar bag or vacuum seal it.
After putting it in a Mylar bag or vacuum sealing it, place it in a protective container, and store it in a cool, dry place. By doing this, the hardtack will most likely outlast all of us.
Pros and Cons of Traditional Hardtack
Pros
- Very few ingredients
- Super easy to make hardtack
- Very long shelf life
- Storing hardtack is easy
- Quick prep time
- Uses stable ingredients
- Easy to store
- Hardtack survived the Civil War
Cons
- Cannot eat it without soaking
- Not exceptionally flavorful
Wrapping It Up
I know that hardtack isn’t something you dream about eating, but it is a great survival food product that you can easily make at home and will provide sustenance during hard times. I figure that if it was good enough for Civil War soldiers, then it is good enough for me. Remember: for the best shelf life results, store hardtack in an airtight container then place it in a dry, cool area.
Do you have any thoughts on hardtack? Have you tried eating it and do you like it? Have you tried any other hardtack recipes that have worked well? Sound off in the comment section below and let us know what you think of this hard biscuit. Thanks for reading.
