The ability to make a fire is arguably one of the most important survival skills to know. The evidence for that can be seen in the model known as The Rule of 3s.
- You can survive three minutes without air.
- You can survive three hours without shelter.
- Ultimately this refers to three hours without maintaining core body temperature. In cold conditions, a fire will help to regulate body temperature.
- You can survive three days without water.
- The first step in rehydration is finding water. The second step is making it as safe as possible to drink. Fire gives the ability to boil water, which kills many harmful pathogens it may contain.
- You can survive three weeks without food.
- Some food items are not advised to eat raw or uncooked. Raw meat for example can contain harmful bacteria and other nasty bits, resulting in food poisoning. Fire gives the ability to thoroughly cook meat which will make it safer to consume.
Above are just a few examples of the many benefits fire can provide us. But this is not an article on how to use fire for survival purposes. To enjoy those benefits a fire must first be made.
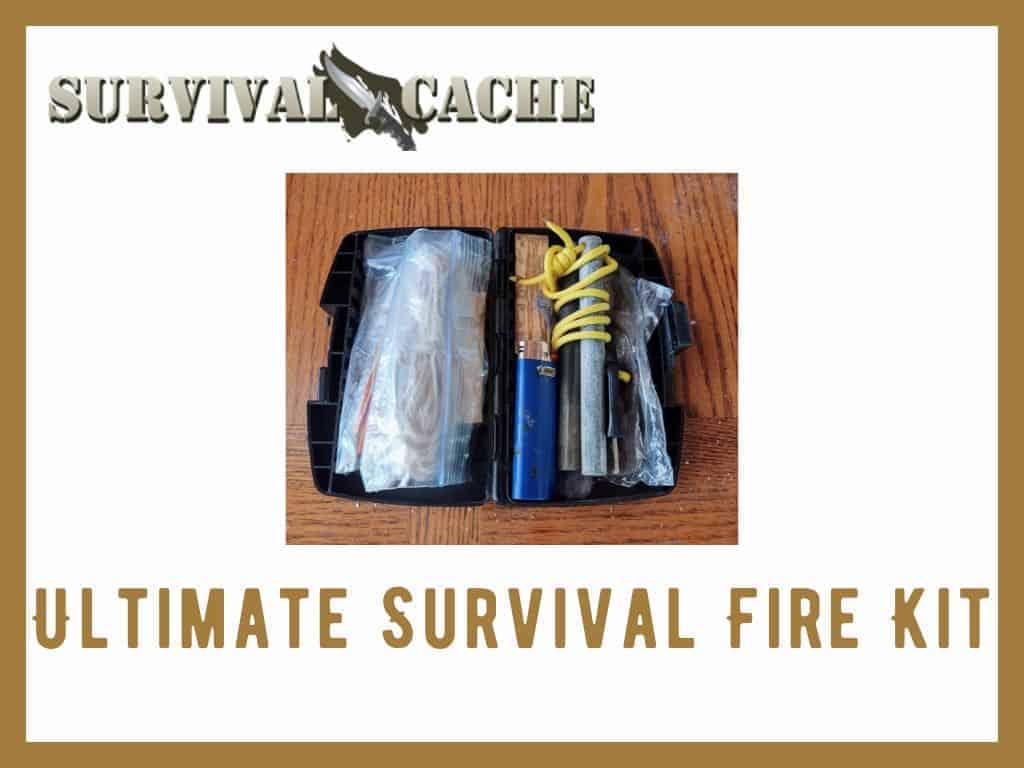
So, the purpose of this article is to show you how to make the ultimate fire-starting kit. However, before learning about the kit, it will be helpful for you to know what it takes to create fire. And for that, we look to the Fire Triangle.
SKIP AHEAD
The Fire Triangle.
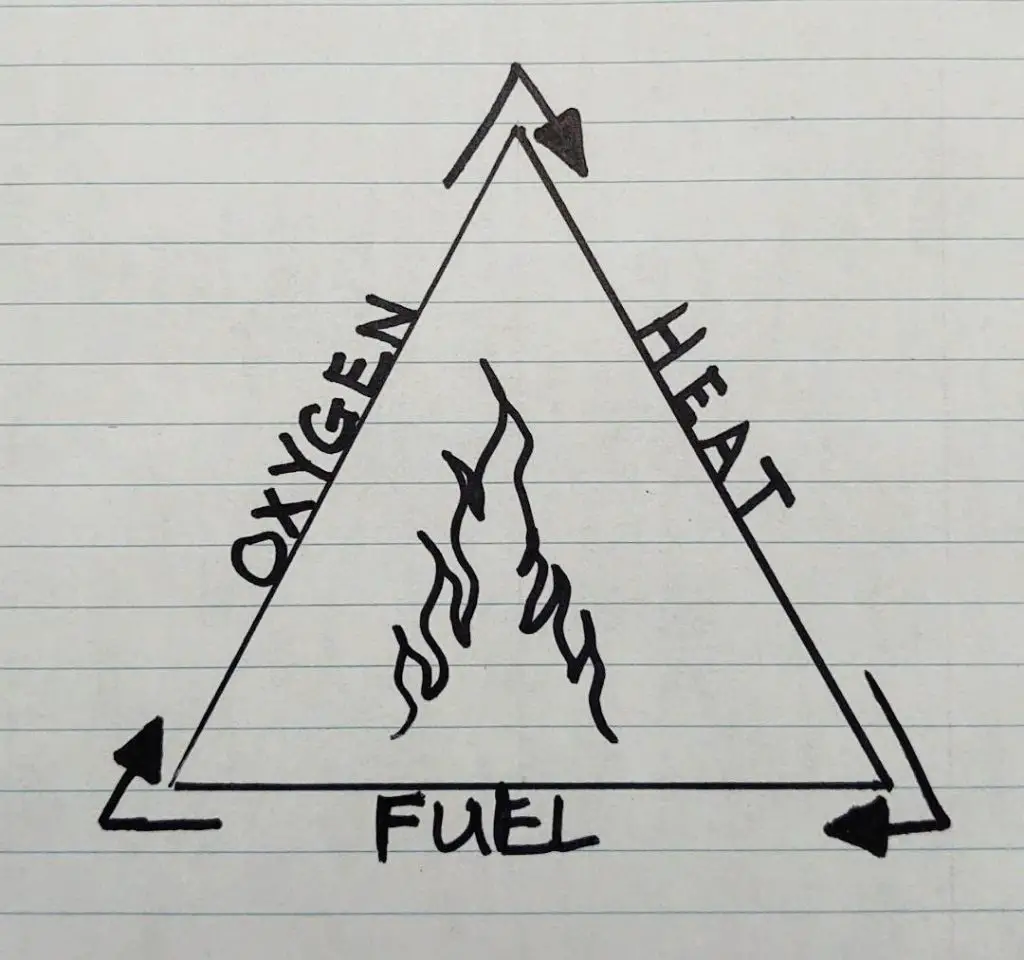
The fire triangle represents the three requirements for producing fire. Heat, fuel, and oxygen.
When it comes to building the ultimate fire-starting kit, it is helpful to keep the fire triangle in mind. Because of that, I will break apart the kit into three categories, heat, fuel, and oxygen. I will then place the appropriate tools or aides under its respective category. With that in mind, let’s get started.
Designing a Survival Fire Kit
The first order of business is to find a container that will protect the kit and make it easier to transport. Since some of the tools I am going to suggest vary in size, and what is going in the kit is ultimately your choice, the size of the container is up to you. However, I would recommend that it be a hard case container and as water-resistant as possible.
Heat
The tools to produce heat and tinder are going to take up most of the kit. Here is a quick overview of the tools I include in the kit for producing heat. They are listed in the order of priority followed by taking a closer look at each.
- Lighter
- Matches
- Ferrocerium Rod/magnesium rod (this can also include flint and steel)
- Magnifying glass

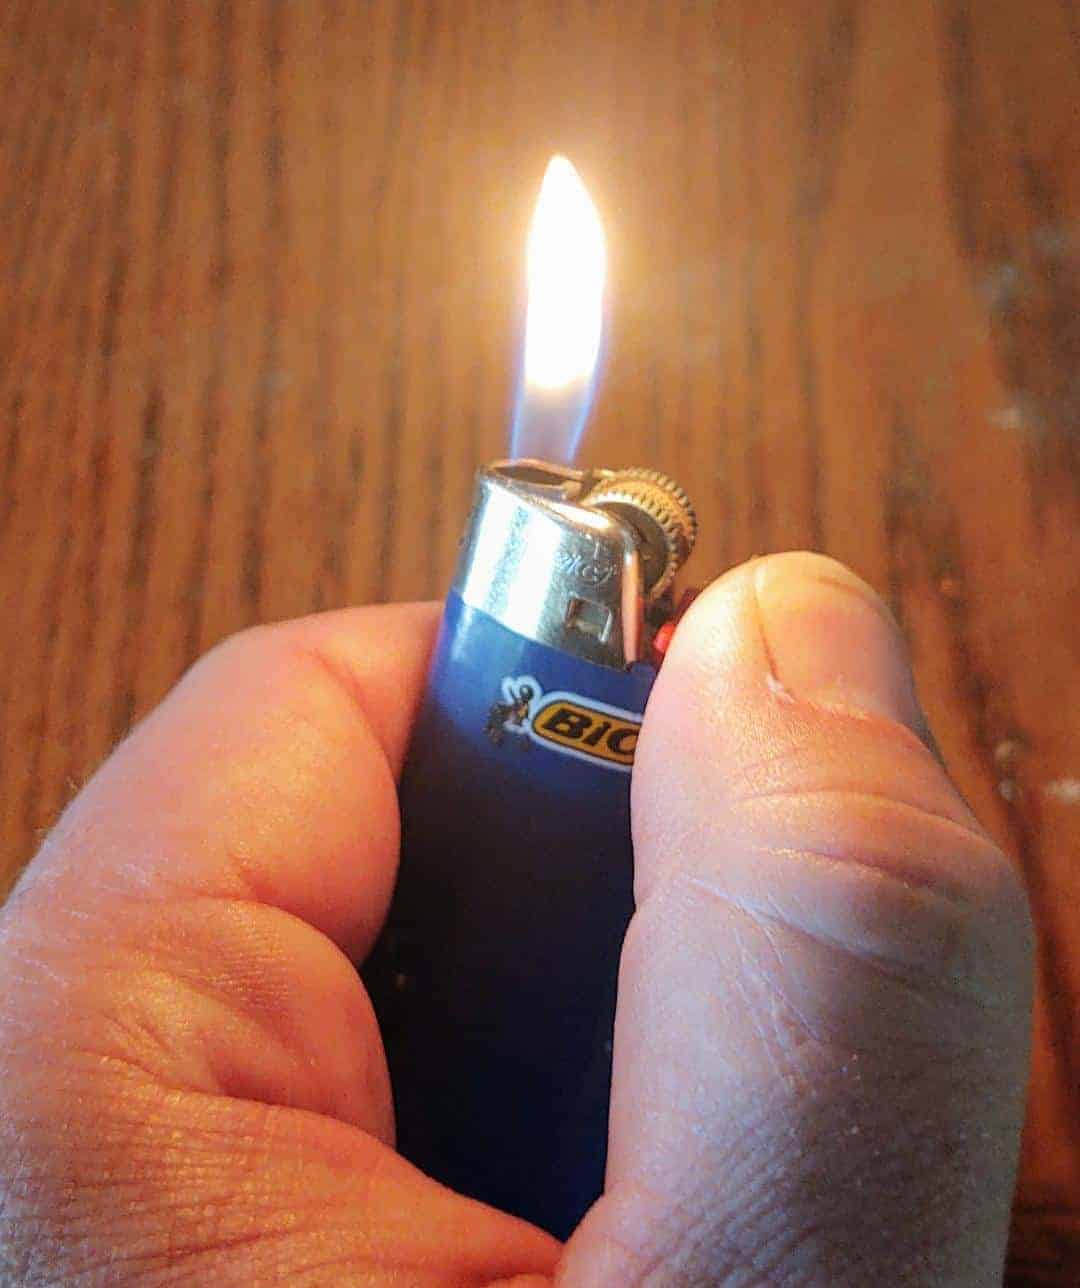
Lighter 
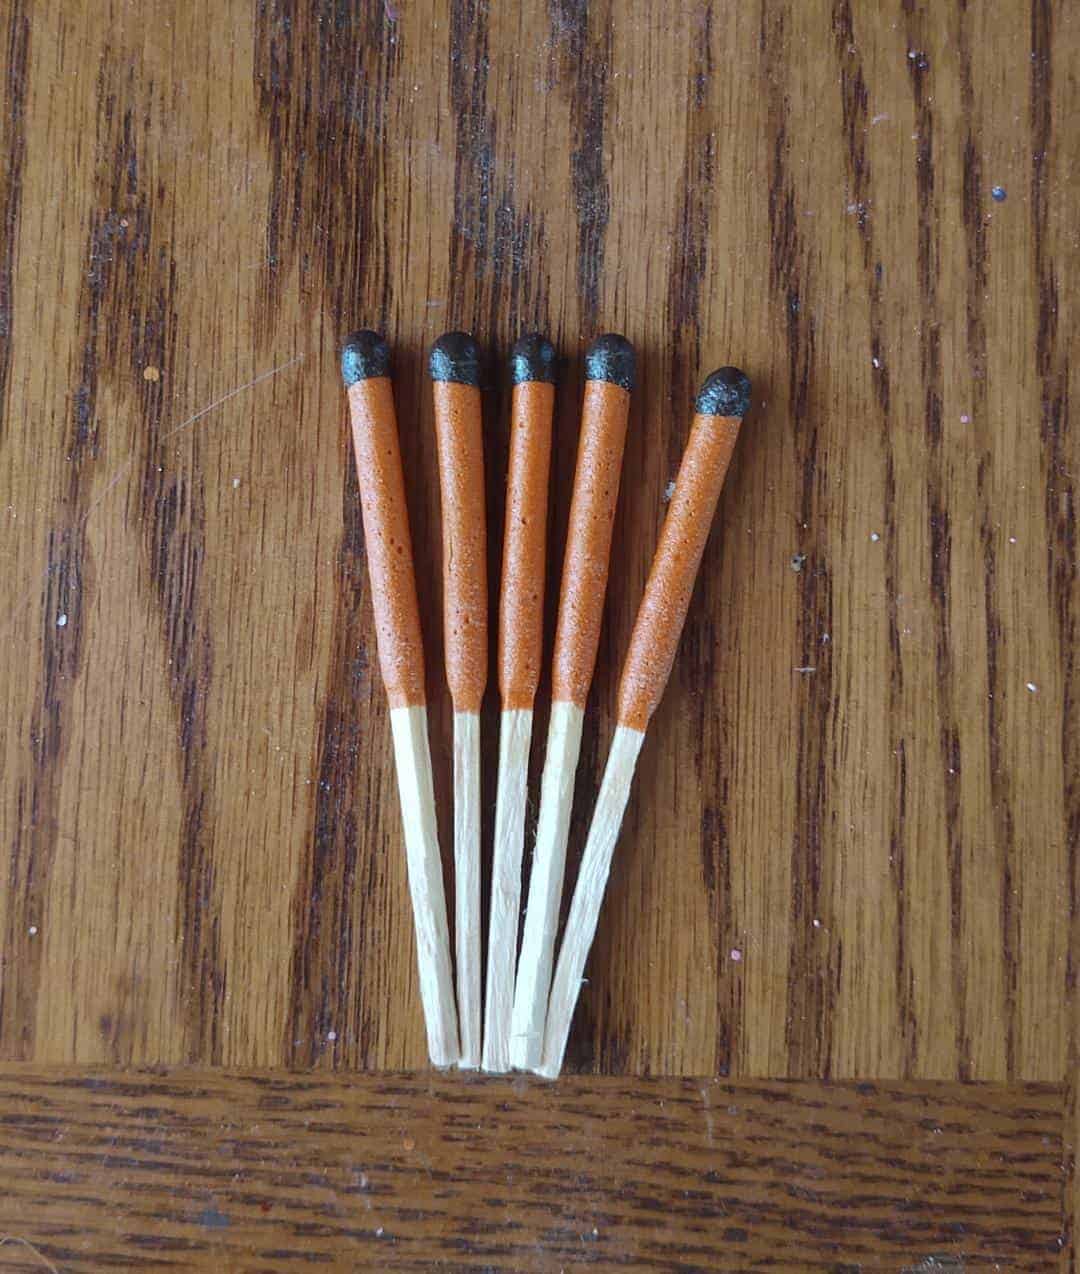
Matches 
Ferrocerium Rod 
Magnifying Glass

Lighter
There is no better or easier way of creating a flame than a lighter. Every lighter is slightly different in how well it works but at the end of the day, I choose Bic Lighters. They are quite affordable, produce a flame almost every time, and they last for a very long time. It does not matter what brand you choose, generally, most lighters are equal. But I have had the best luck with Bic Lighters. They are slightly more expensive but they light almost every time and are more durable.
Read our detailed guide on choosing a survival lighter.
Matches
When it comes to matches there are several differences to consider. Paper matches vs. wood matches, waterproof matches vs. non-waterproof matches, and stormproof matches. Ultimately, I choose stormproof matches.
They are more expensive, but they are like having a mini flare in your kit. Once they are lit, they are extremely difficult to extinguish. They will burn in gale-force winds and continue to burn even after being dropped into a puddle of water.
Read our detailed guide on choosing matches that are worth it.
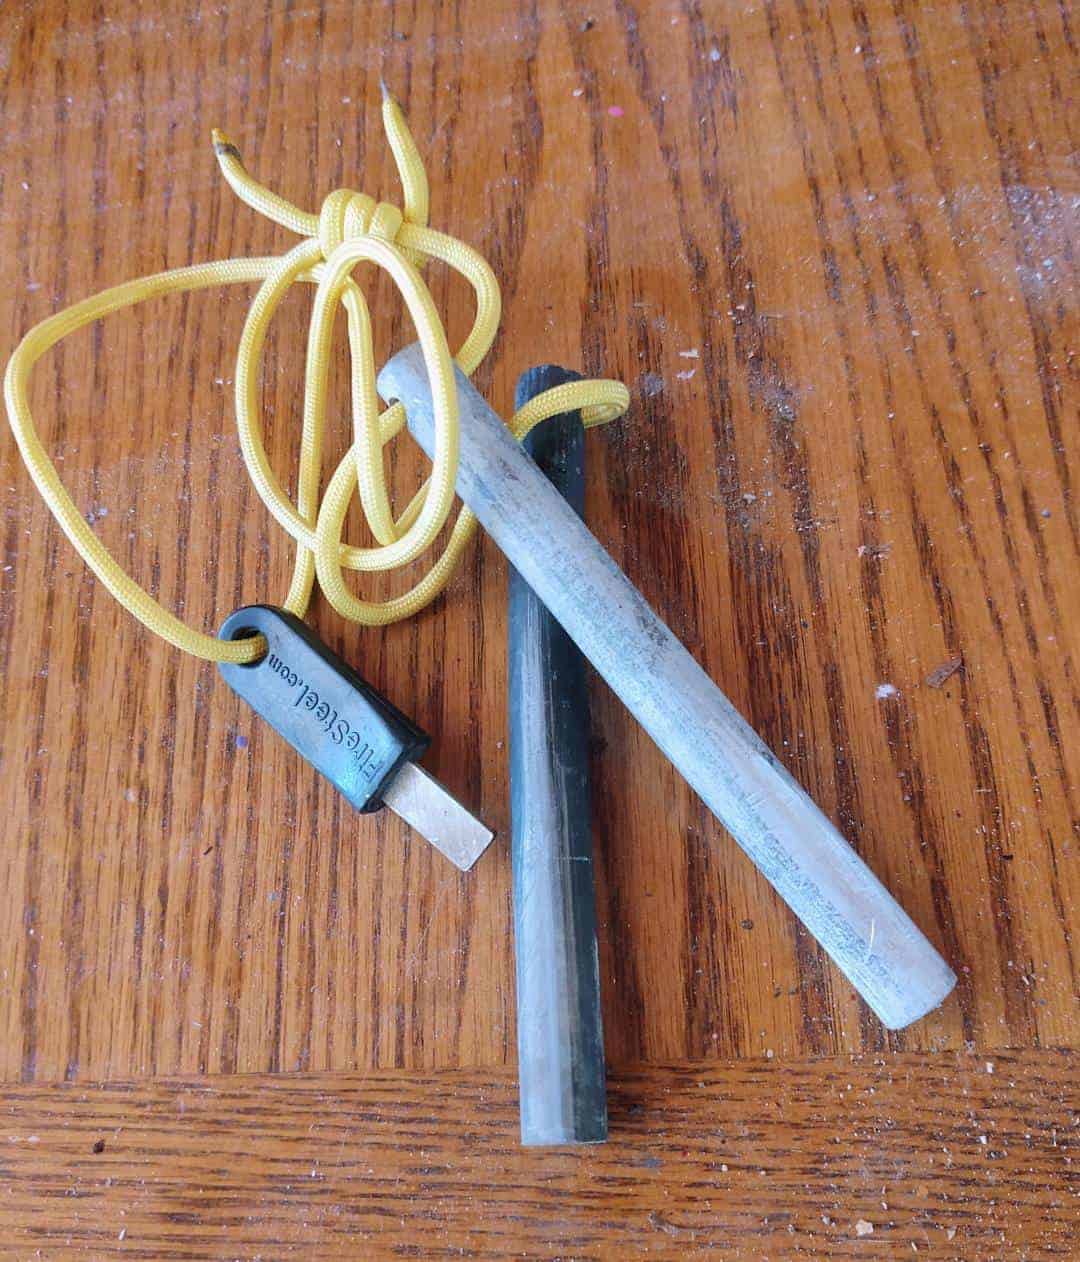
Ferrocerium Rod
This is a rod made up of rare earth metals that produce sparks when scraped against another metal surface. An “old” flint and steel can be used but modern ferrocerium rods produce more sparks that last longer and are easier to use. The great thing about ferrocerium rods is that they come in all shapes and sizes, making them easy to incorporate into almost any type of gear.
I would also recommend adding in a magnesium rod, though nowadays many ferrocerium rods come with them. Considering that when magnesium is ignited it produces temperatures of 3000 degrees Celsius, why wouldn’t you want to add this into the kit?
Check out our detailed guide on the best ferro rods on the market.
Magnifying Glass
A magnifying glass is often overlooked as a fire-starting aid, but I believe everyone should have one in their kit. They are easy to use, safe to handle, and can be used indefinitely if the lens remains intact. Of course, their downside is they can only be used during clear sunny days.
Fuel
When it comes to wood fires, fuel can be broken down into three types.
- Tinder: The driest, most fibrous material that will easily take a flame or catch a spark. Think dry grass or a bird’s nest made from tree bark.
- Kindling: Pieces of wood that are no thicker in diameter than your fingers. Kindling will burn relatively quickly.
- Fuel: Anything larger than kindling such as branches and logs.
For my ultimate fire kit, I carry items that fall under the tinder and kindling category. That is because those two items are the foundation for getting a fire started.

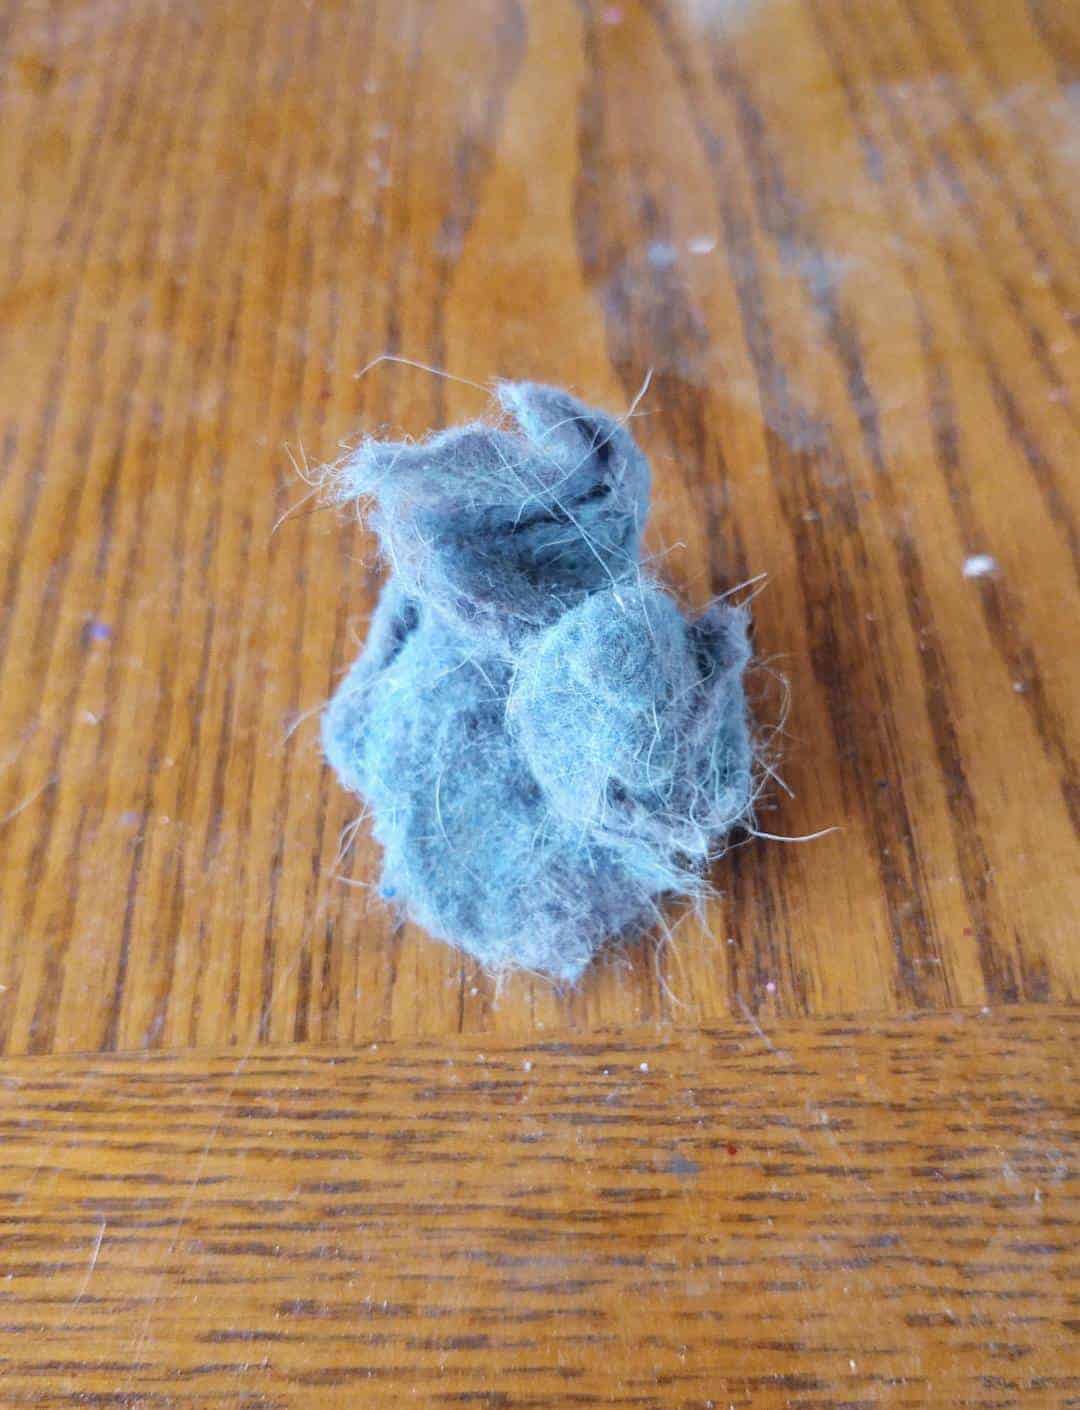
Lint 
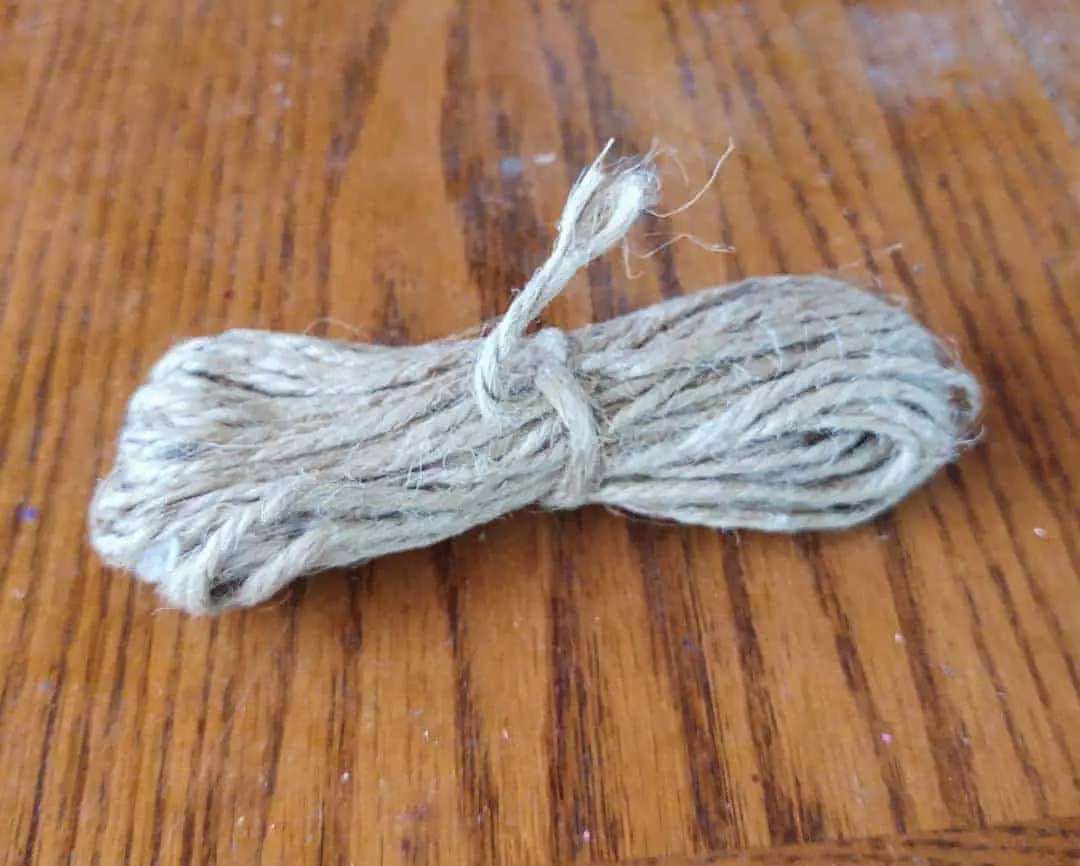
Jute Twine 
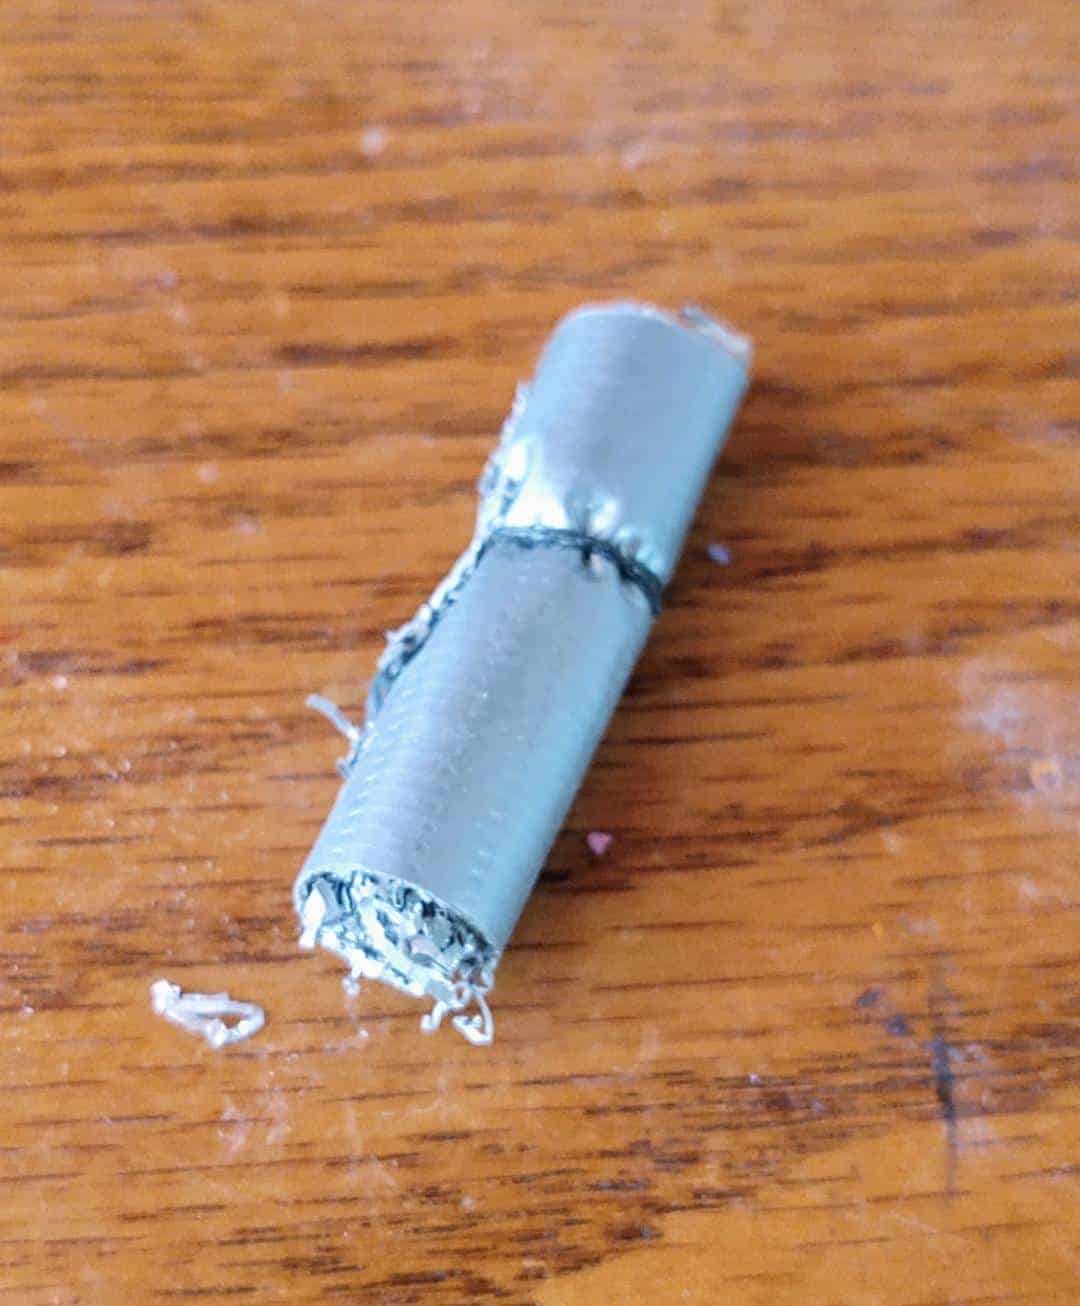
Duct Tape Roll 
Char Cloth
DIY Tinder
Two cheap DIY tinder options that I have carried are dryer lint and cotton balls. Dryer lint is awesome because it is free, and it takes a spark like a gasoline-soaked rag. Cotton balls can be used as theyare, or I have rubbed a bit of petroleum jelly into them to prolong their burn time.
Jute twine
This is natural fiber cordage that when pulled apart, makes for great tinder. Large rolls of it can be purchased cheaply. To save space and to keep it versatile, I suggest wrapping lengths of this twine around other tools in the kit, such as a lighter, Ferro rod, or fatwood.
Duct Tape
Many outdoorspeople carry duct tape in their packs due to its “million and one uses.” Interestingly, duct tape holds a flame very well and burns for quite a while. By making small rolls of the tape you can create premade fire tinder that will easily store in the kit.
If you would like to take this a step further, add magnesium shavings to the sticky side of the tape before rolling it all together. This will create a very effective fire starter, even in the rain.
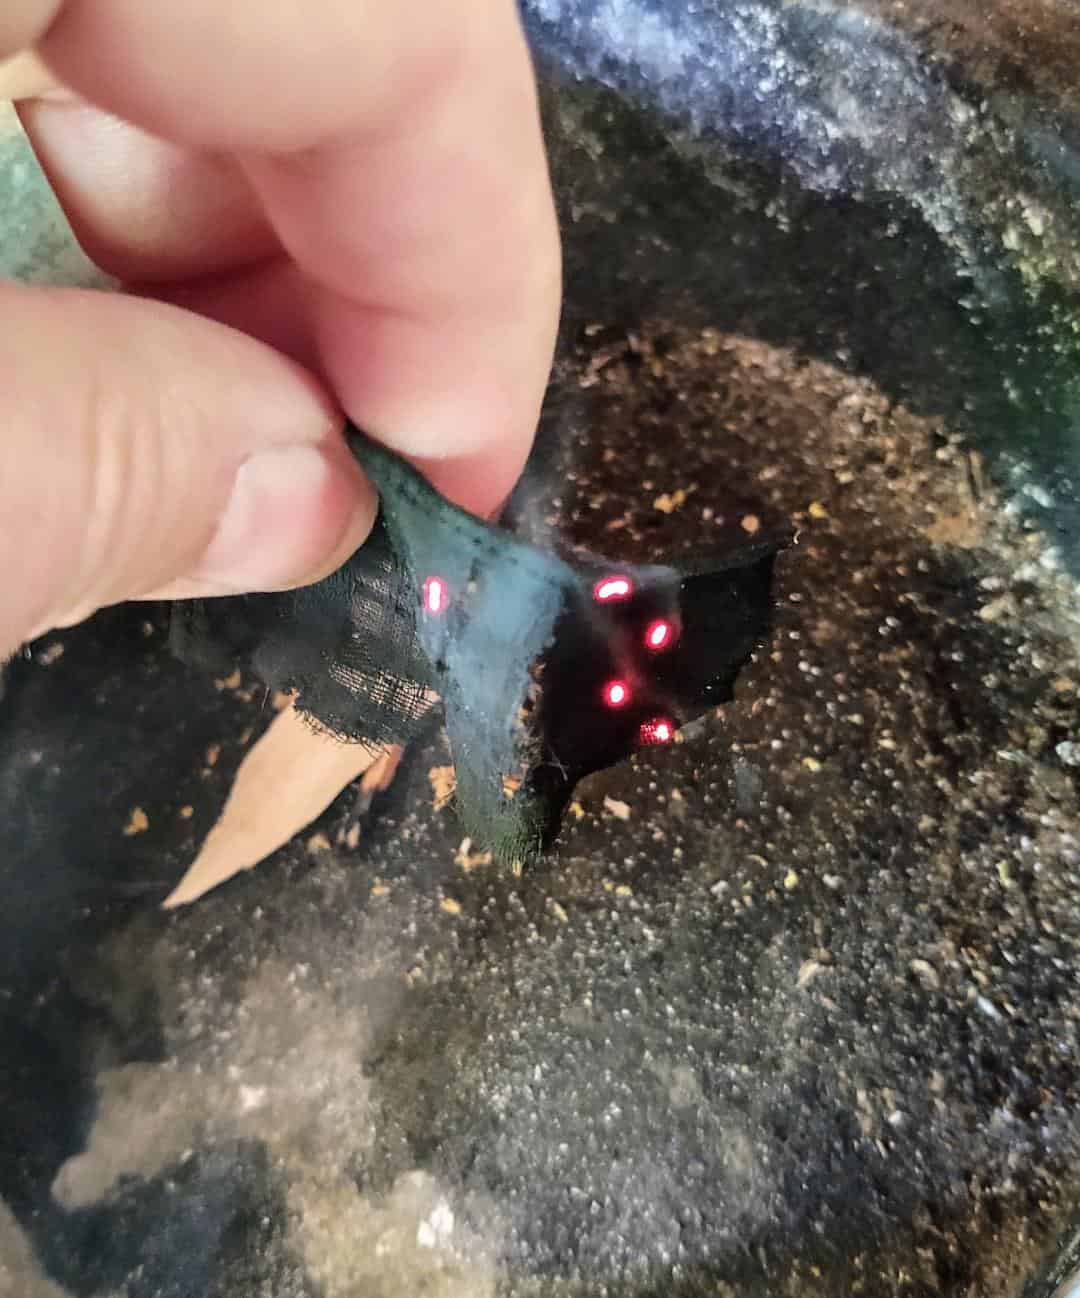
Char Cloth
It is a slow-burning material used to make fires. It can be bought or easily made at home. By taking a piece of fabric made from vegetable fiber (linen, cotton, jute) and heating it to high temperatures without actually burning it, you create a material that takes a spark and turns it into a slow-burning ember.
Prepackaged Tinder
However, if you do not wish to make your tinder, there are many good options for survival tinder that you can purchase. The following are a few examples.
Kindling
One of the most useful kinds of kindling that I can recommend is fatwood. Fatwood is resin-soaked pine that is extremely flammable. This incredibly helpful fire aid can be purchasedor scavenged from the wild.

Fatwood Fatwood Shavings
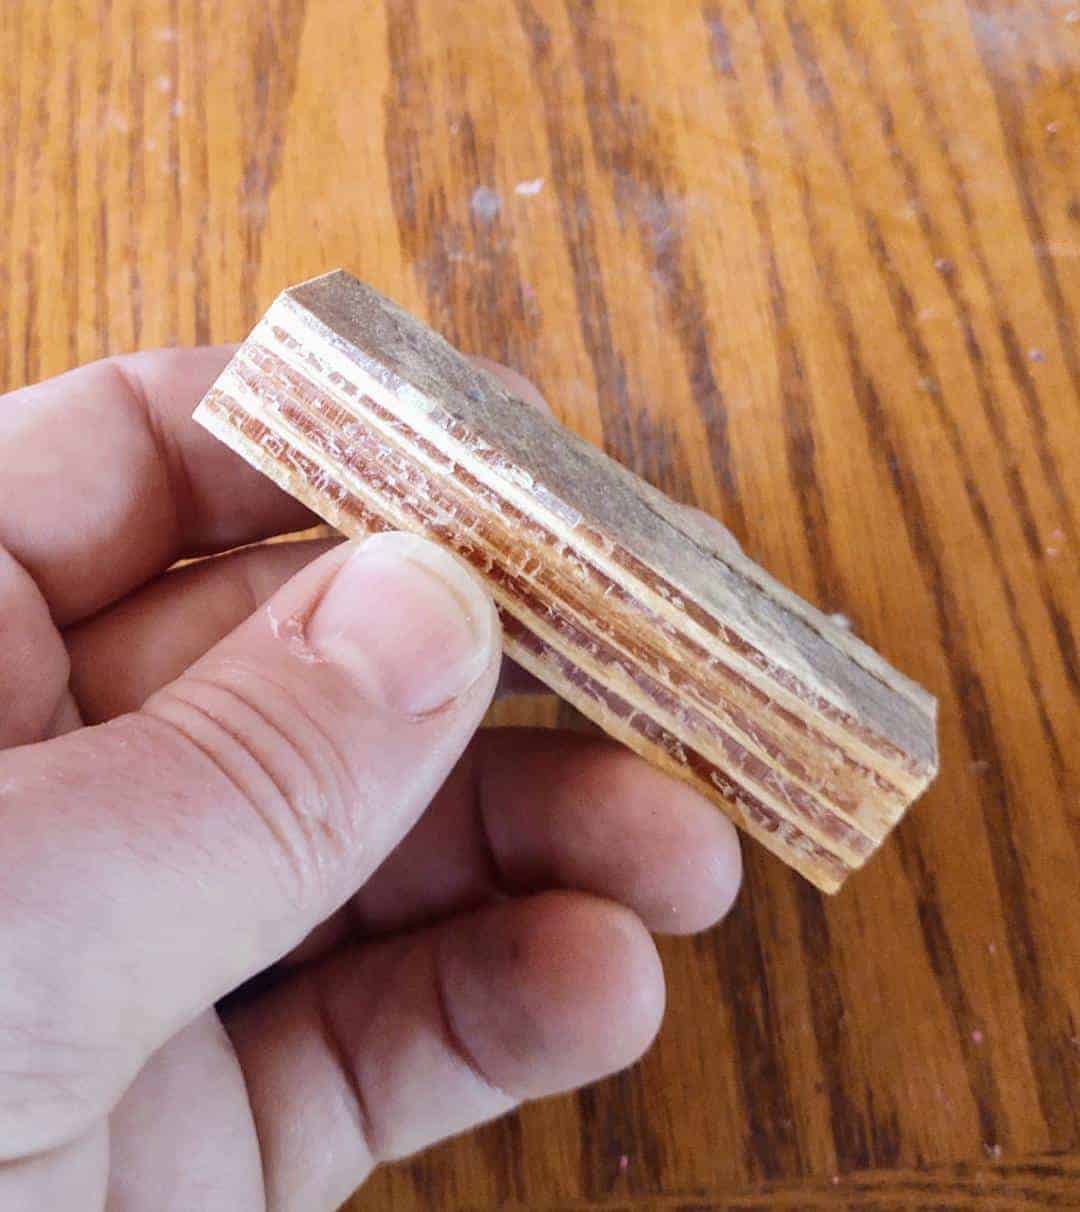
I use fatwood in one of two ways. The first way is to cut it into long thin strips. When exposed to a flame the end of the wood will ignite like a birthday candle and can be used as a secondary match. This will help in preserving the longevity of the primary heat source.
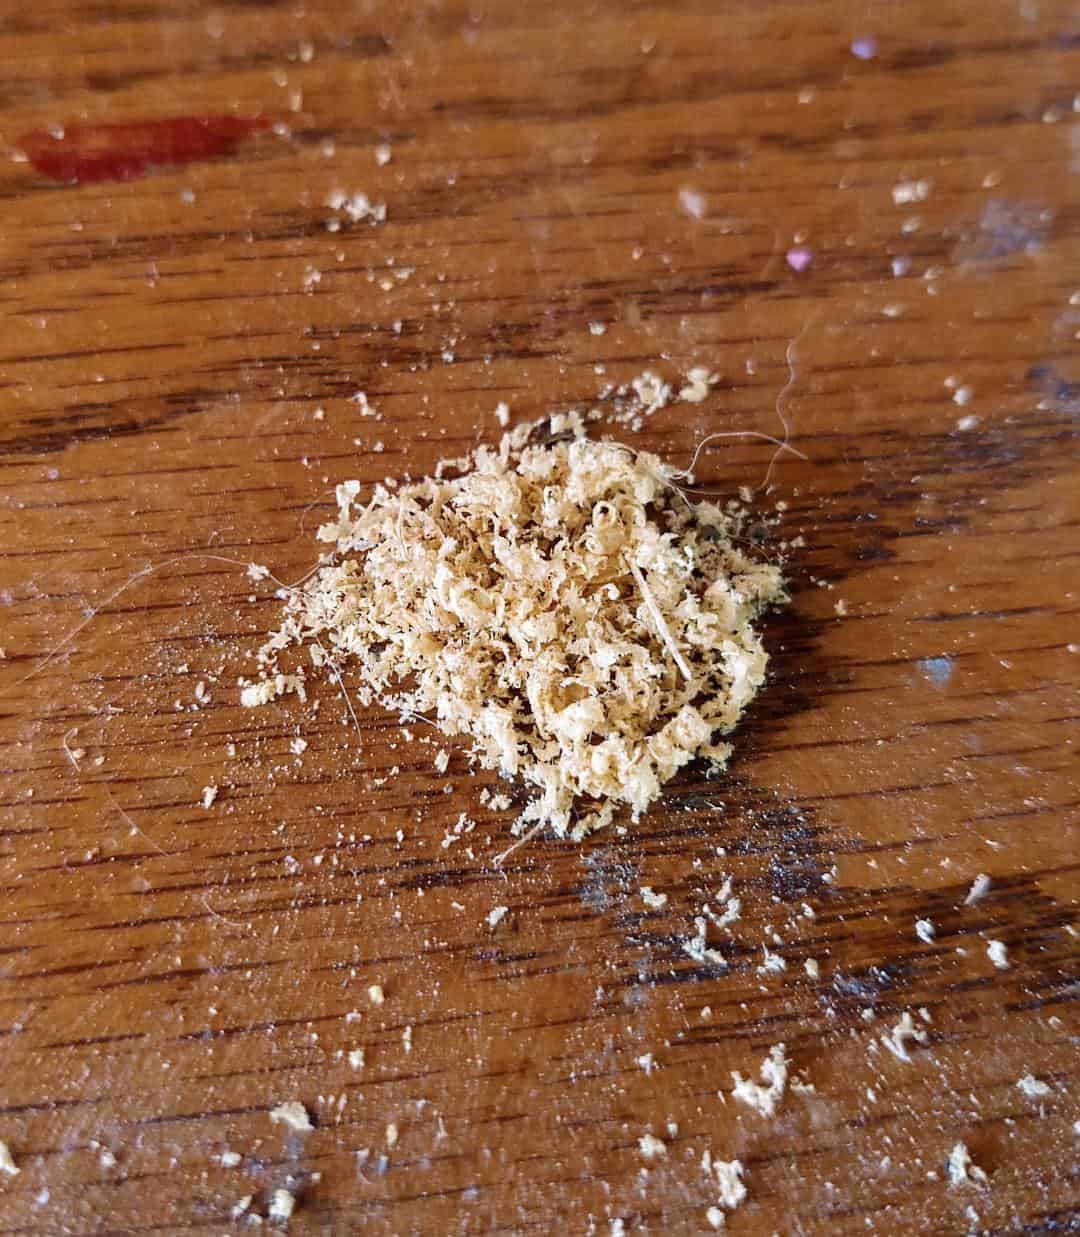
The second way I like to use fatwood is by creating a pile of dust. Use the spine of a knife and scrape it along the length of fatwood. This will create a pile of dust shavings that are easily ignited by a ferrocerium rod and can burn for several minutes.
Oxygen
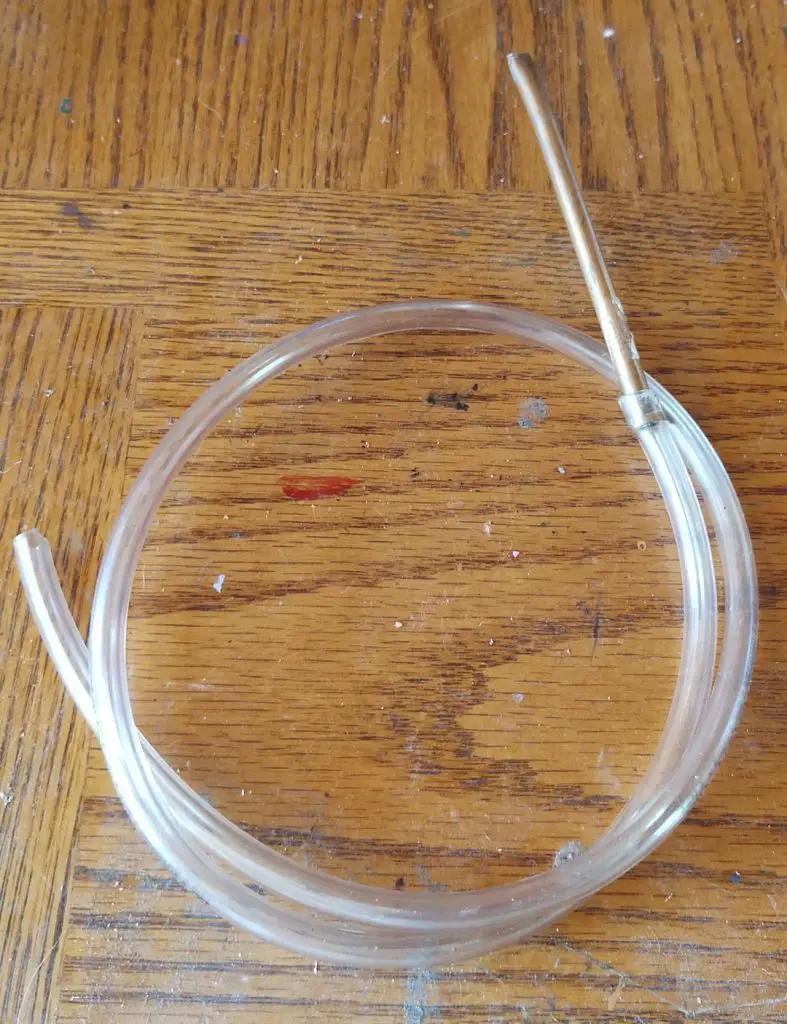
The last tool I like to add to my kit is a small length of tubing. By blowing through one end the other end can be used to directly add more oxygen into hard to reach areas of the firebase.
This tool can also be useful for when a fire has “died” out. You may see no smoke and only a pile of white ash before you. But if you hold your hands over the ash and can still feel warmth, then you can get a fire going again without using up any precious resources from the kit. Use the tube to gently blow away the surface ash to expose the hot embers below. Place tinder and kindling over the hot embers and use the tubing to blow the embers back into a fire.
To prevent the tube from melting, I have inserted a small diameter piece of copper tubing into one end of the plastic tubing. By doing this, the metal end can then be placed closer to the heat source without fear of melting the plastic.
Putting It All Together
Getting a fire going can be difficult for even the most experienced outdoors person. Whether it be because materials are hard to find, environmental conditions are adverse or you are just plain exhausted, sometimes everything can seem to conspire against your attempts to get a fire going. It does not matter if you are going for a short hike or plan on spending weeks in the backcountry.
Making an ultimate survival fire kit will ensure that you have the best possible chance of getting a fire going. Stay warm!
