Water is so essential to life yet we take it for granted every day of our lives. I am no different. I can stay in my nice cozy home walk twenty feet and turn on a tap for a drink of water.
But all tap water is not the same. Some municipalities do a great job of providing the cleanest water they can while others…not so much. To be fair, even in water that is considered acceptable to drink, there can still be traces of harmful contaminants. It is for this reason, it would be a good idea of using a water filter for your home.
In this article, I will be reviewing the 10K In-Line water filter by Survivor Filter. I will be taking a close look at what this filter has to offer, if it is difficult to install, and ultimately does it work?
Before jumping into my review I would like to thank Survivor Filter for the opportunity to test out the 10k In-Line Filter.
SKIP AHEAD
Survivor Filter Review
Let’s first go over the specifications.
Capacity
This filter is good for up to 10,000 gallons of water or a usable life cycle of three years. Whichever comes first.
Temperature Range
The recommended temperature of water to be run through the filter is 42-100 degrees Fahrenheit. The filter is designed to be attached to a cold water line. Running hot water through it can damage its components.
Flow Rate and Pressure
Once hooked up the filter will produce up to 2 gallons per minute and can handle between 30-125 PSI.
Contaminants
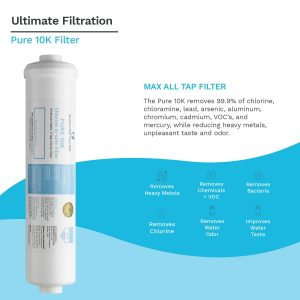
This filter is designed to remove 99.9% of the following:
- Chlorine
- Chloramine
- Lead
- Arsenic
- Aluminum
- Chromium
- Cadmium
- VOC’s
- Mercury
- Lead
- Heavy Metals
What’s Included
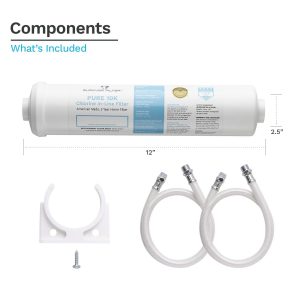
Everything I needed to install the filter, other than hand tools, came included. Here is a list of what came in the box.
- Pure 10K In-Line Filter
- 1x Inlet DC Hose
- 1x Outlet DC Hose with 3/8” connection
- 1x Mounting Clip
- 1x Mounting Screw. I should note that the instructions indicate 2 screws are provided but I only received one. Luckily, one screw is all that is required.
Installing the Survivor Filter
The great news is that you will not need to hire a plumber to install this filter. You do not even need to be a handyman. Seriously, if you can turn a wrench and a screwdriver then you can easily install this product.
Other than what is included in the box here are the few tools you will need for this project. I shouldn’t even call it a project because it takes less than ten minutes to install.
- 2 wrenches or pliers
- Phillips head screwdriver
- A few rags in case there is a little water leakage and with plumbing there always is.
Here are the six easy steps I completed, as recommended in the instructions, for installing the filter. Side note I add a few of my own thoughts on the process.
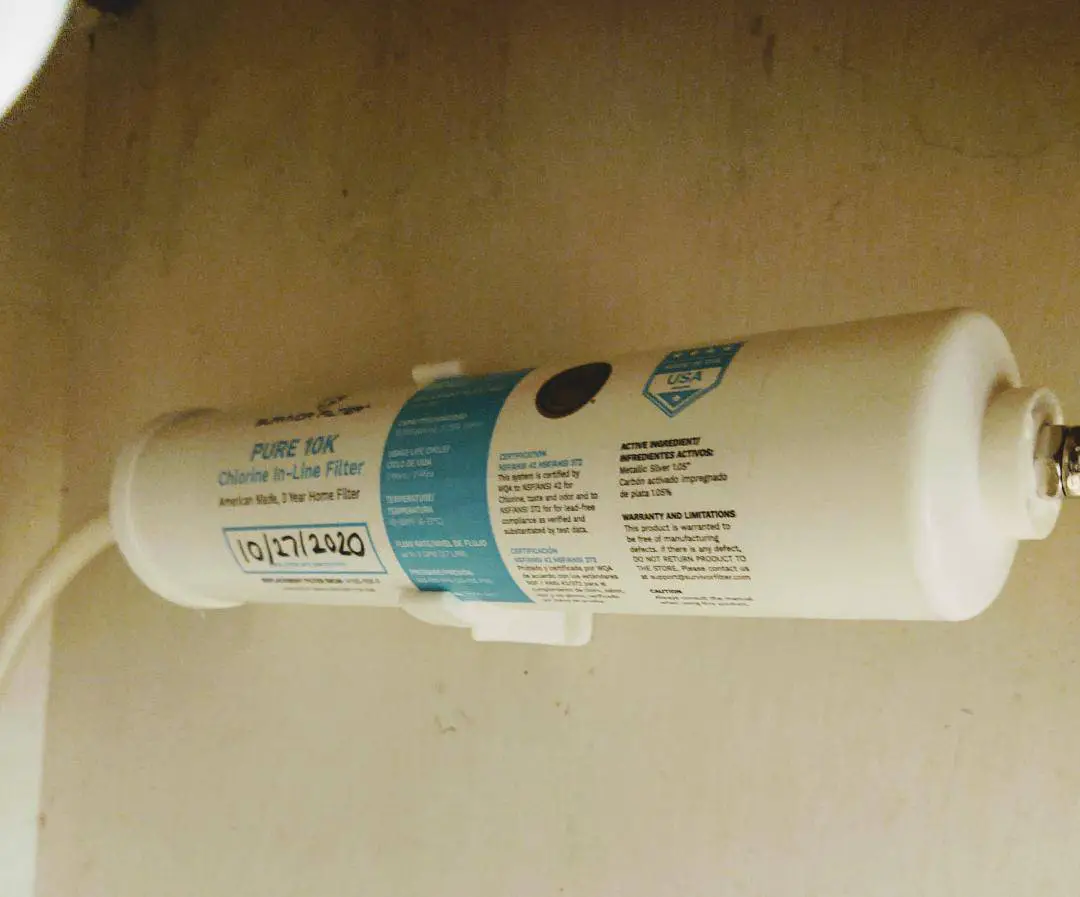
Step One
On the front of the filter is a small, rectangular, blank white box. Using a black Sharpie marker, I filled in the box with the date that I installed the filter. This will help remind me how long the filter has been in use and when it should be replaced. This date could also be helpful with any warranty issues.
Step Two
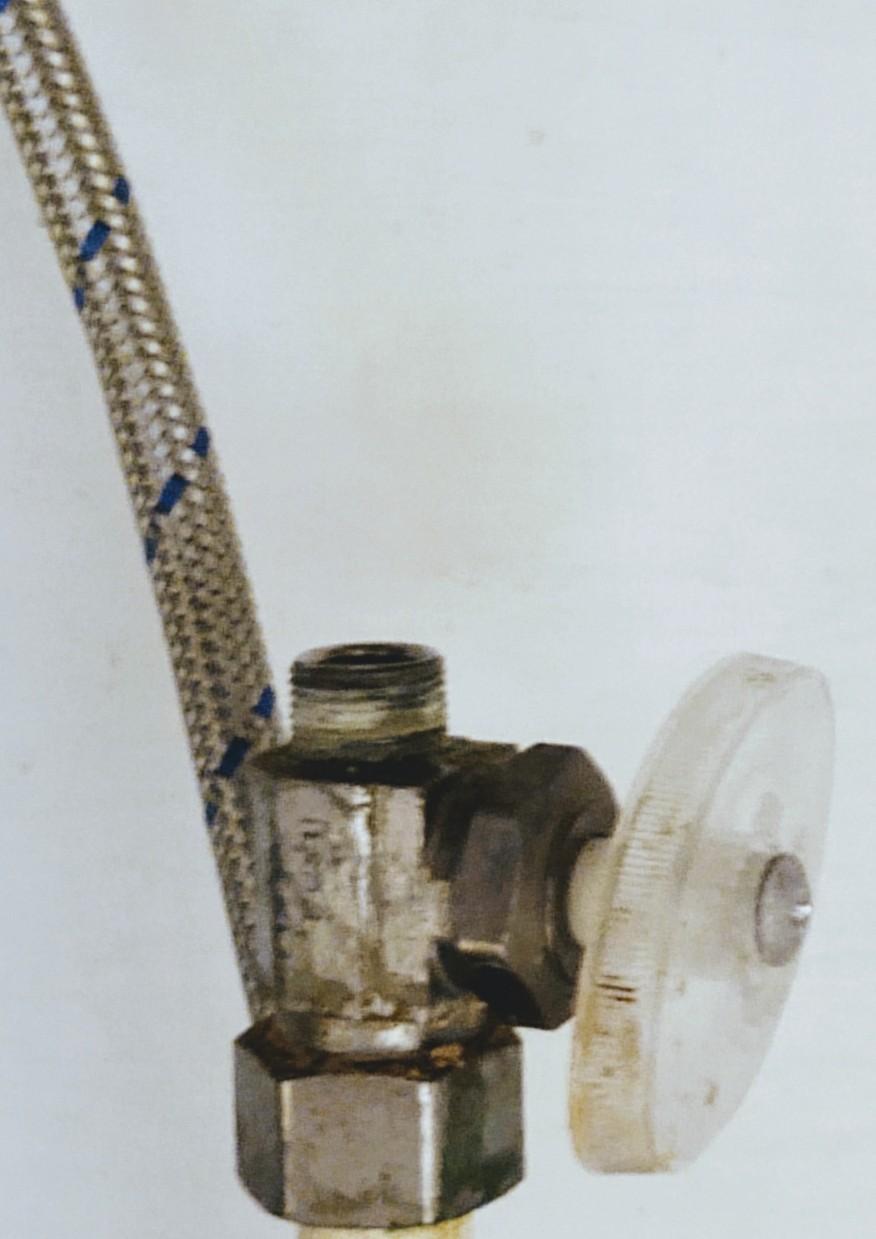
Underneath the sink, there should be two water supply lines. One is hot and one is cold.
This filter has to be hooked up to the cold water supply line. If you are unsure which one is which, turn the sink on and allow some hot water to run through. After turning the sink off, feel the water supply lines under the sink. The hot water line should now feel warm to the touch. Now, turn off the valve on the cold water supply.
Hint: Turn the sink back on to make sure the cold water is turned off before disconnecting the hose. If no water comes out off the facet that means the valve on the supply line is good and is in the off position. It is normal for a few drops to come out of the faucet but if they continue or there is water flowing do not attempt to disconnect the water supply line, otherwise you will have a big mess. This means the valve on the water supply line is bad and should be replaced.
Use two wrenches to disconnect the fitting on the cold water supply line so that it is no longer attached to the line leading to the faucet.
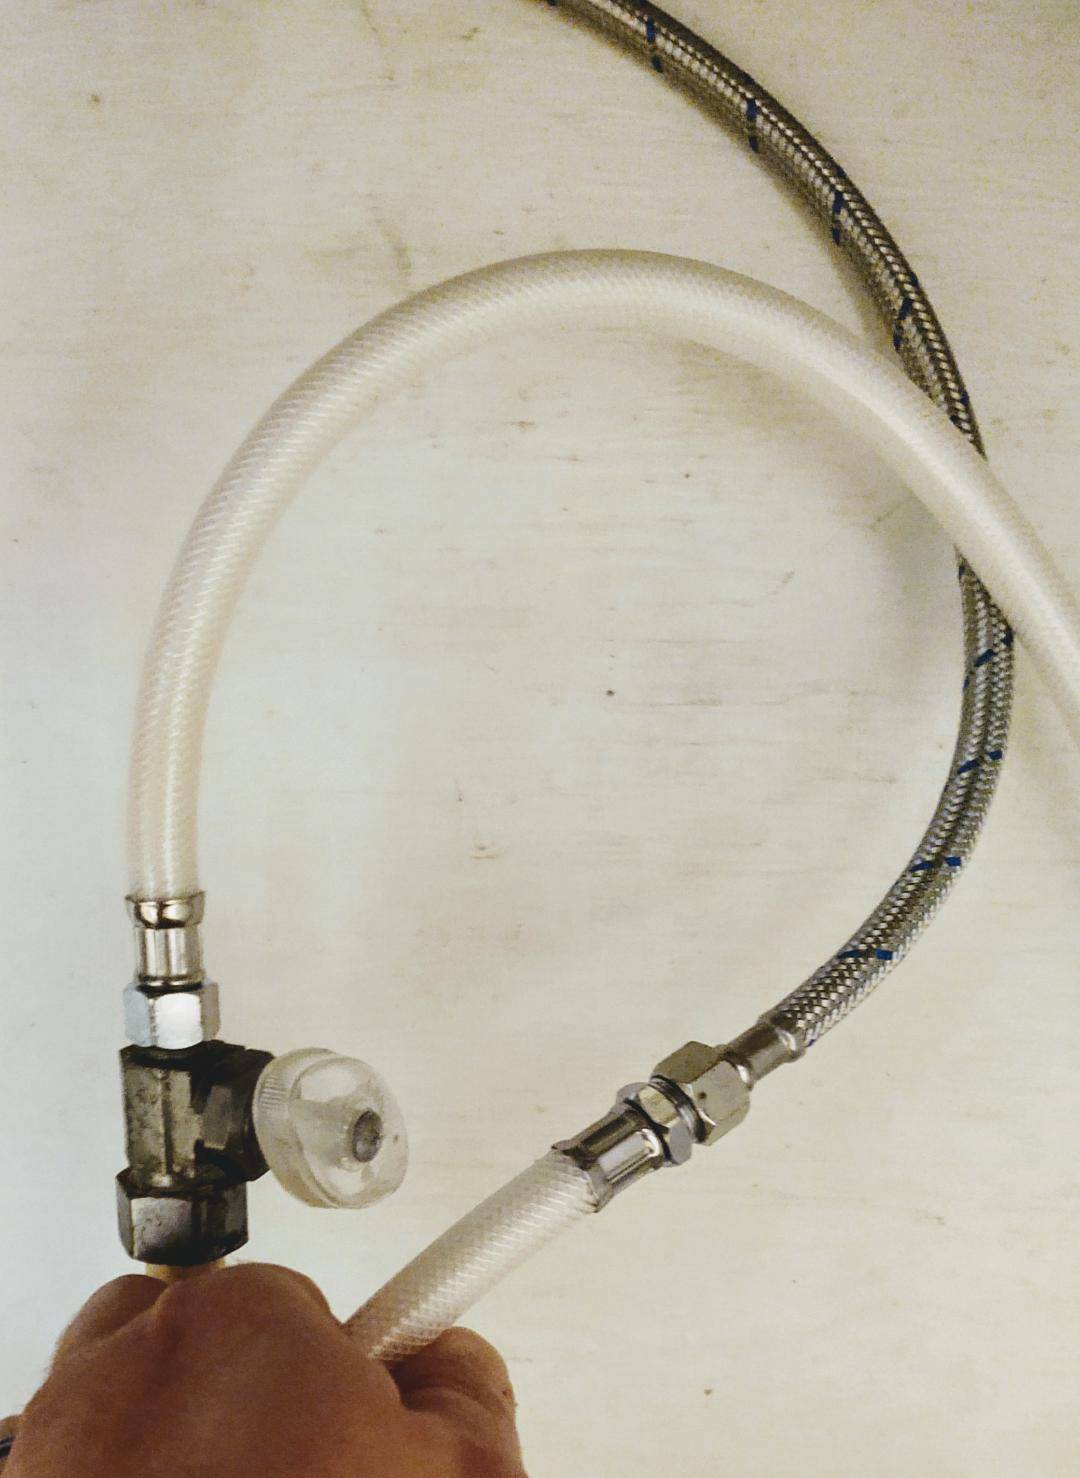
Step Three
Using the wrenches, connect the female end of the inlet hose from the filter to the cold water supply line.
Next, connect the male end of the outlet hose of the filter line to the hose that is leading up to the faucet.
Hint: When tightening these connections do not attempt to overtighten them as this could damage the connection and lead to a bad seal. Just snug them up.
Step Four
Turn the cold water supply valve back on and look at all of the connection points. If a connection is leaking, use the wrench to further tighten that connection.
Step Five
Find a place under the sink where the filter will be out of the way and use the screwdriver to mount the plastic bracket with the screw that was provided. Once the bracket is secured, simply push the filter into the bracket and it will snap into place.
Step Six

Now that everyone is installed and I made sure there were no leaks it was time to flush the filter. To do this, I turned the faucet on and ran water for three minutes. According to the instructions, this is to flush out carbon debris that may be in the filter.
At first, I noticed that the water appeared very cloudy. This is normal and is not harmful to drink as it is caused by air bubbles. This may persist for up to a week but in the evening after installing the filter, my water was crystal clear.
Taste Test
In my opinion, the tap water in the area in which I live does not taste good. I have used water filters in the past but mainly in the form of handheld or water bottle filters. I have never had a filter that was connected directly to my waterline.

After installing the filter I flushed it for about five minutes. That is more than the recommended three minutes but it is better to error on the side of caution. At this point, the water was no longer cloudy and I filled up a glass and took it upon myself to be the guinea pig. I took a sip and smacked my lips a few times. The good news is that it tasted like water but I could certainly taste a difference.
I then decided to do a side by side taste test. I grabbed some cold water from another faucet and tasted them both. I can’t exactly explain what the unfiltered water tasted like but the filtered water definitely tasted better.
Pros and Cons of Survivor Filter
Pros
- Affordable
- Super easy to install
- 10,000-gallon filter capacity
- Comes with a lifetime warranty
- Replacement filters are just as easy to install
- Maintenance-free
- Made in the USA
- Certified by the Water Quality Association( WQA) and meets NSF ANSI 42 and ANSI 372 standards
- Meets the highest standards for removing 99.9% of contaminants in tap water while allowing essential minerals to pass-through
- The filter is BPA, PVC, and formaldehyde-free
Cons
- The only con I can come up with for this product is that you will have to keep track of its lifecycle (how long it has been in use) so that you get the most out of the filter.
Open Questions about the Survivor Filter
Q: Is there a micron rating for the filter?
A: No. It is an absorption filter. Meaning that the media that the filter is made from is designed to absorb contaminants as they pass through the material.
Q: Does the filter really last three years?
A: I have not used the filter long enough to say yes or no. The filter’s capacity is 10,000 gallons so depending on your water usage it could have a shorter lifespan.
Q: What if there is a problem with the filter?
A: Survivor Filter backs this product with a 100% Satisfaction Guarantee and a Lifetime Warranty. When you first receive your filter be sure to fill out the warranty information. If you are having issues with your it go to their website and get a hold of them through the Contact Us option.
Verdict
Seeing that this is the first home filter I have ever used I do not have anything else to compare it to, other than a water bottle or straw filters. In that regard, I think that it has one of the cleanest tastes I have experienced.
In terms of price, this filter comes very close to the cost of regular tap water. If the full 10,000-gallon capacity is used it only costs 1 penny per gallon of filtered water, and as far as filtered water is concerned that is pretty darn cheap.
I also like that this filter doesn’t slow down my faucet’s water pressure, at least not yet. Over time, as the filter is used this may happen but that is the nature of using filters.
Overall, the 10K In-Line Filter by Survivor Filter produces clean tasting water at a very low price and is ridiculously easy to install. I give two thumbs up to this American made water filter. Thank for you reading and if you have any experience with products by Survivor Filter we would love to hear your voice, so sound off in the comment section below! Remember to stay hydrated, with clean water!
Note: The SurvivalCache team also did hands-on review of Hydroviv vs Epic vs Woder water filters. Make sure to compare and contrast them all.
