Last year while cleaning up my basement I came across an item that I had sort of forgotten about. It was a backpack style tool bag. I used to use it every day but stopped and for several years now it has been sitting on the shelf collecting dust.
I almost thought about getting rid of it but I am always on the lookout for solid, durable containers and bags. Then it hit me, why not use it to store emergency supplies in or as a bug out bag?
But would a tool bag make a good bug out bag?
Well, that is what I aimed to find out. I cleaned it up and decided to give it a try.
SKIP AHEAD
What I Like About The Bag
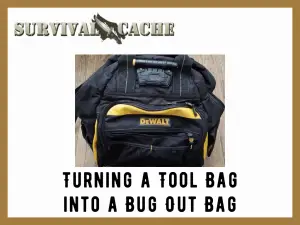
After cleaning it up I inspected the bag and was surprised to find a lot of great features that I had forgotten about. The bag is a DeWalt DGL523 Lighted Tool Bag and here are some of the features I like about it.
Shoulder Straps
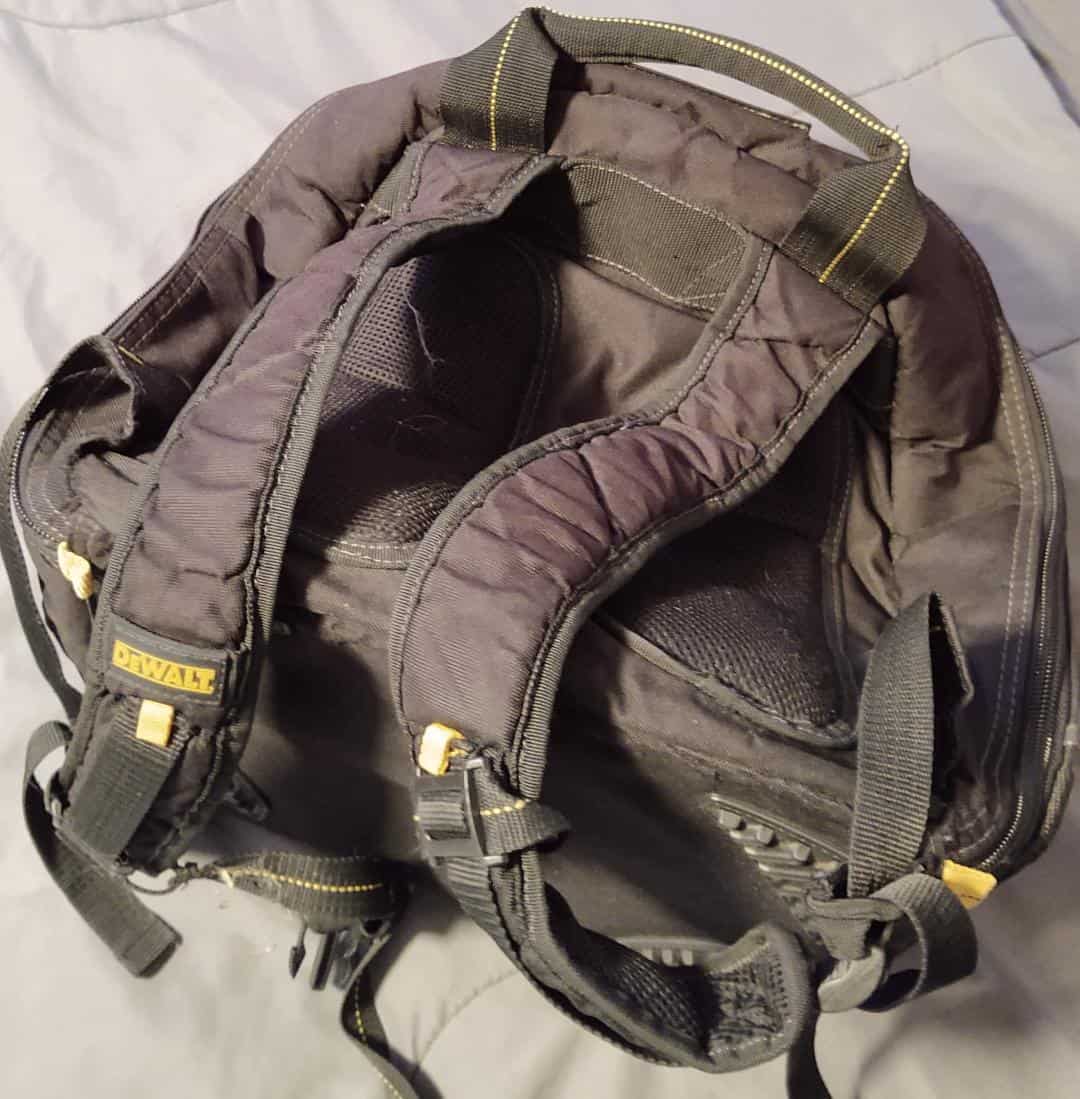
It has two adjustable shoulder straps that are heavily padded. When I used to carry this bag, it had a lot of heavy tools in it. The padding made carrying this heavy bag extremely comfortable and the straps never dug into me.
Having adjustable, padded straps on a bug out bag is incredibly important. A BOB typically weighs between twenty-five and fifty pounds. Carrying that amount of weight for an unknown amount of time is tiresome and you are not going to want to deal with sore shoulders from inadequate straps.
Padded Carrying Handle
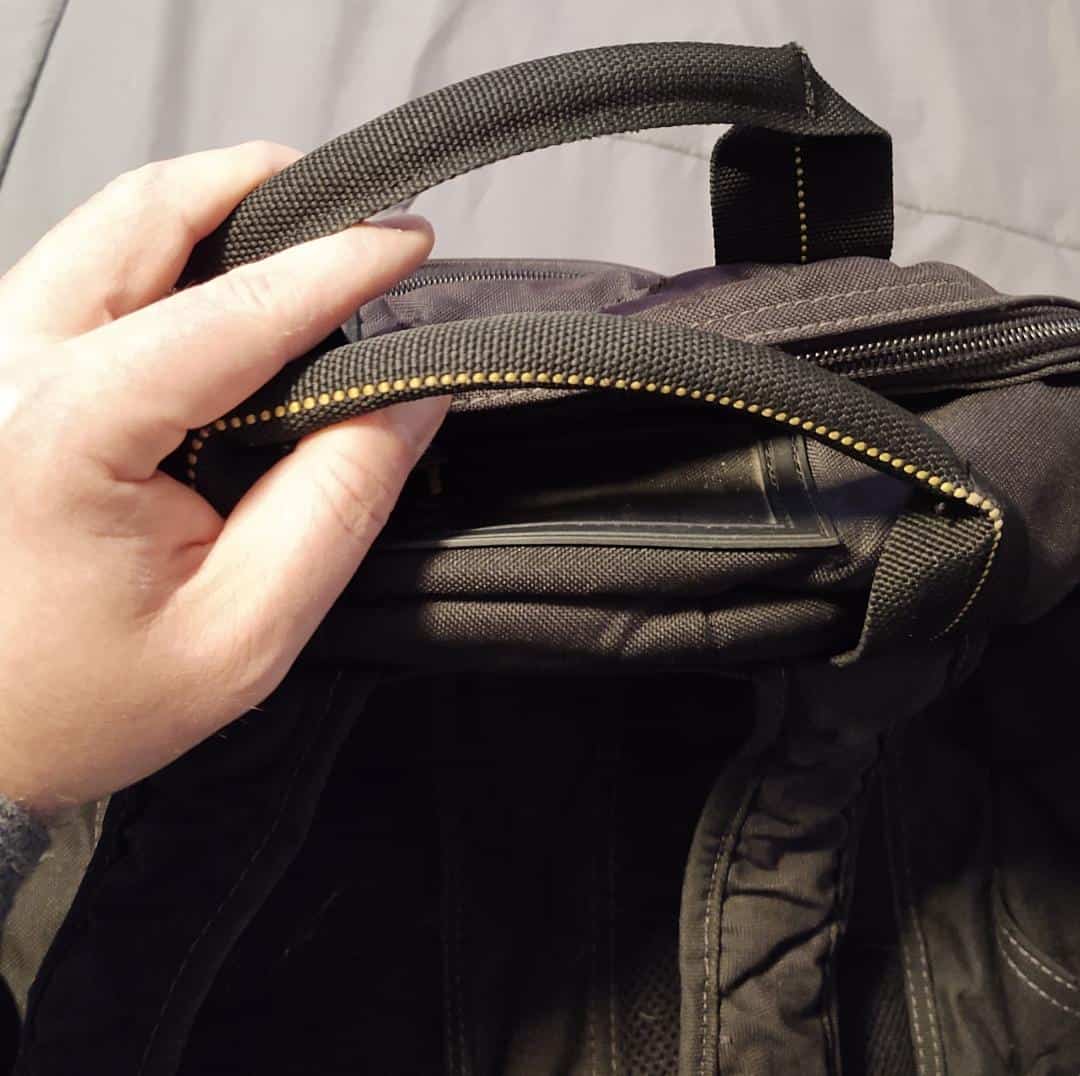
On the top of the bag is a small, padded carrying handle to be used for when the bag is not carried on your back.
Normally I am disappointed in these handles because they do not hold up well and end up tearing away from a bag. But the handle on this bag has held up extremely well with no indication of ripping around the seams.
Part of the reason I think the handle has held up so well is that it is actually two handles, one on the back of the bag and one on the front. When the handles are used together it better distributes the load between them.
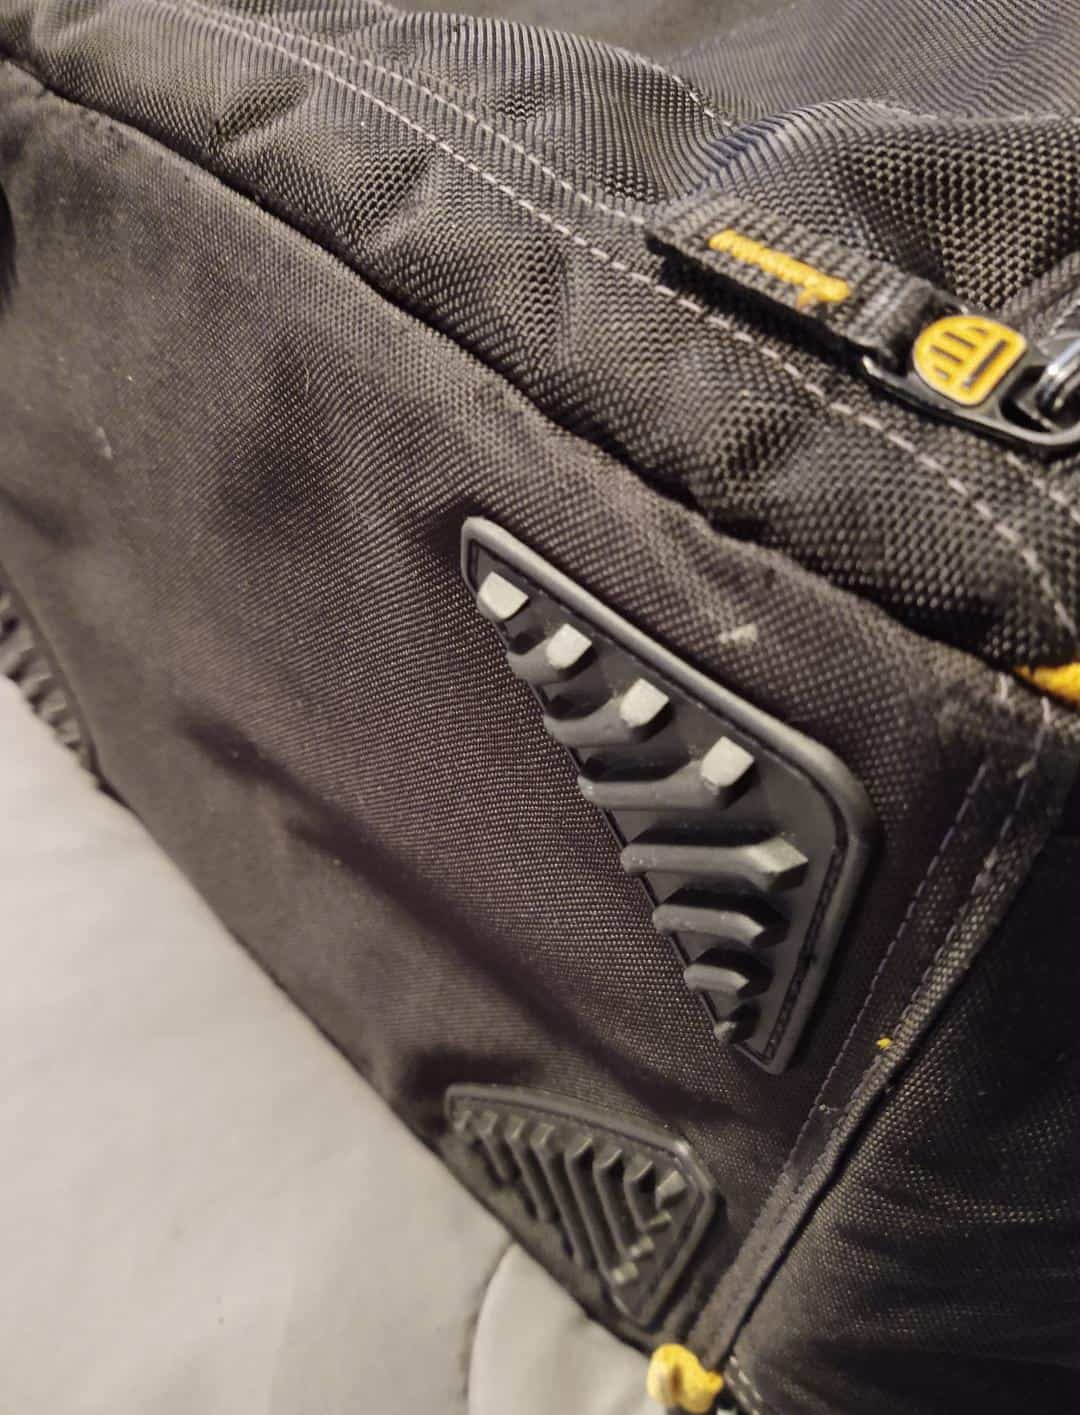
Base Pad Feet
On the exterior bottom of the bag are base pad feet. These allow the bag to be slightly elevated off the ground when it is set down and reduces wear and tear to the bottom of the bag.
By keeping the bag slightly elevated, these feet should also help to keep the bottom dry when it is set down in mildly wet conditions.
The elevation that the feet provide is not that much so if I set the bag down in a puddle of water, the bottom is going to get wet.

Base Pad Feet 
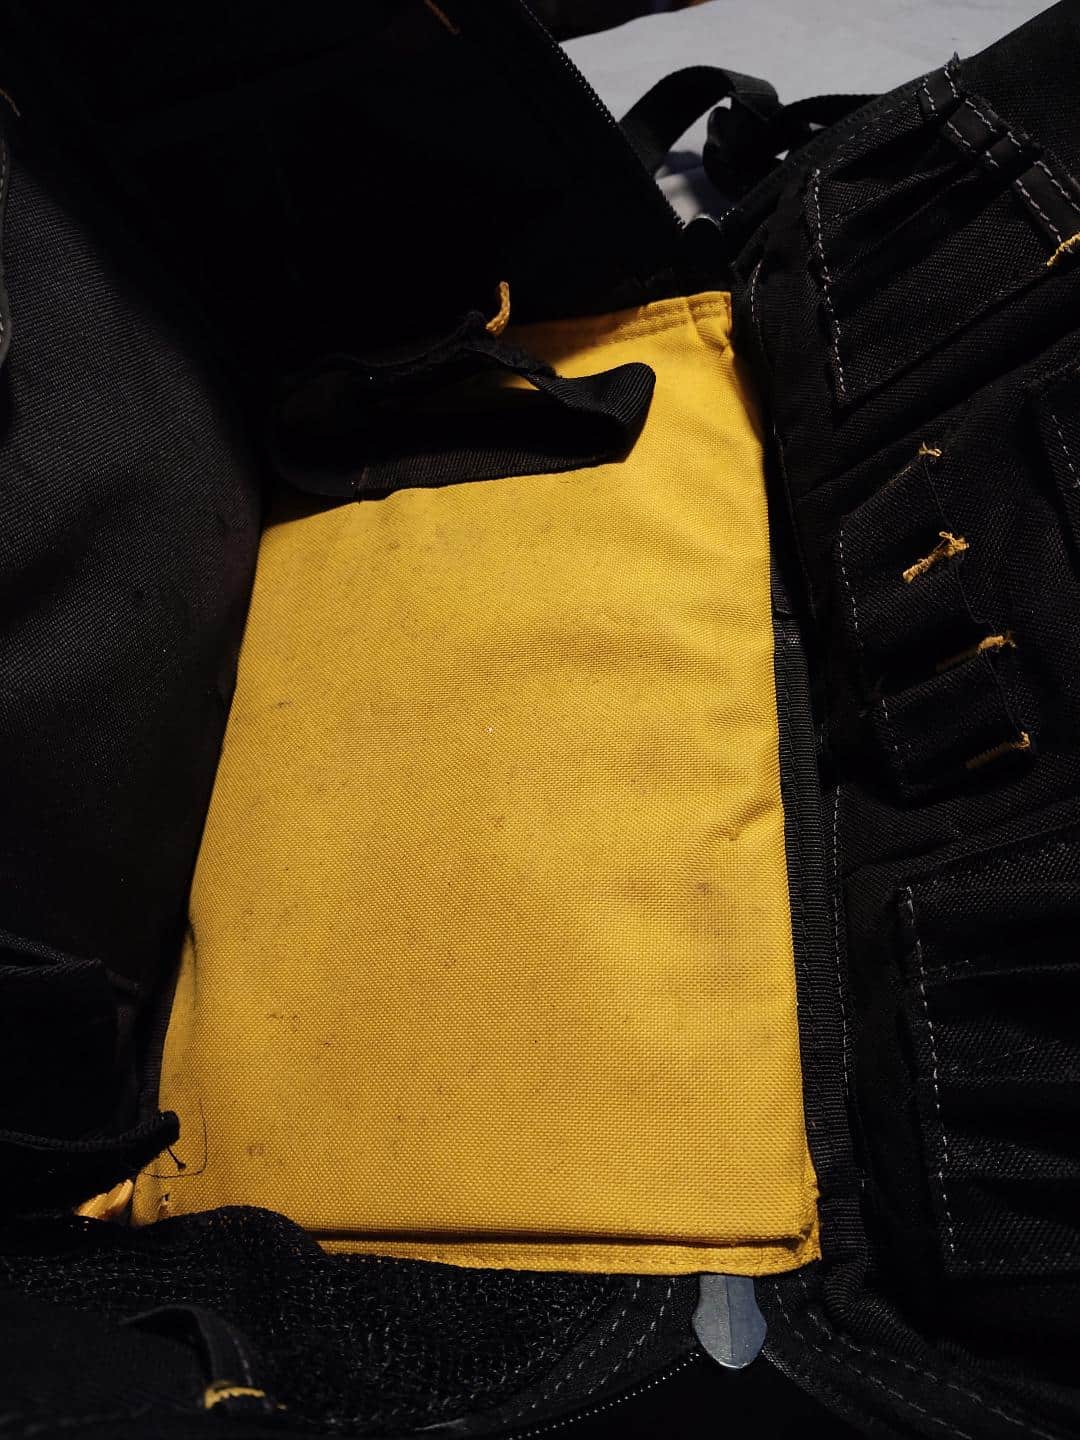
Ton of Compartments

Tons of Compartments
The bag has roughly fifty separate compartments, pockets, and straps. This gives it the ability for a high level of organization.
When it comes to bug out bags, most people pack them as full as possible with gear and supplies to be ready for whatever is thrown their way.
An organized bug out bag means supplies can be accessed quickly and efficiently. With the number of compartments this bag has, keeping everything organized should be quite easy.
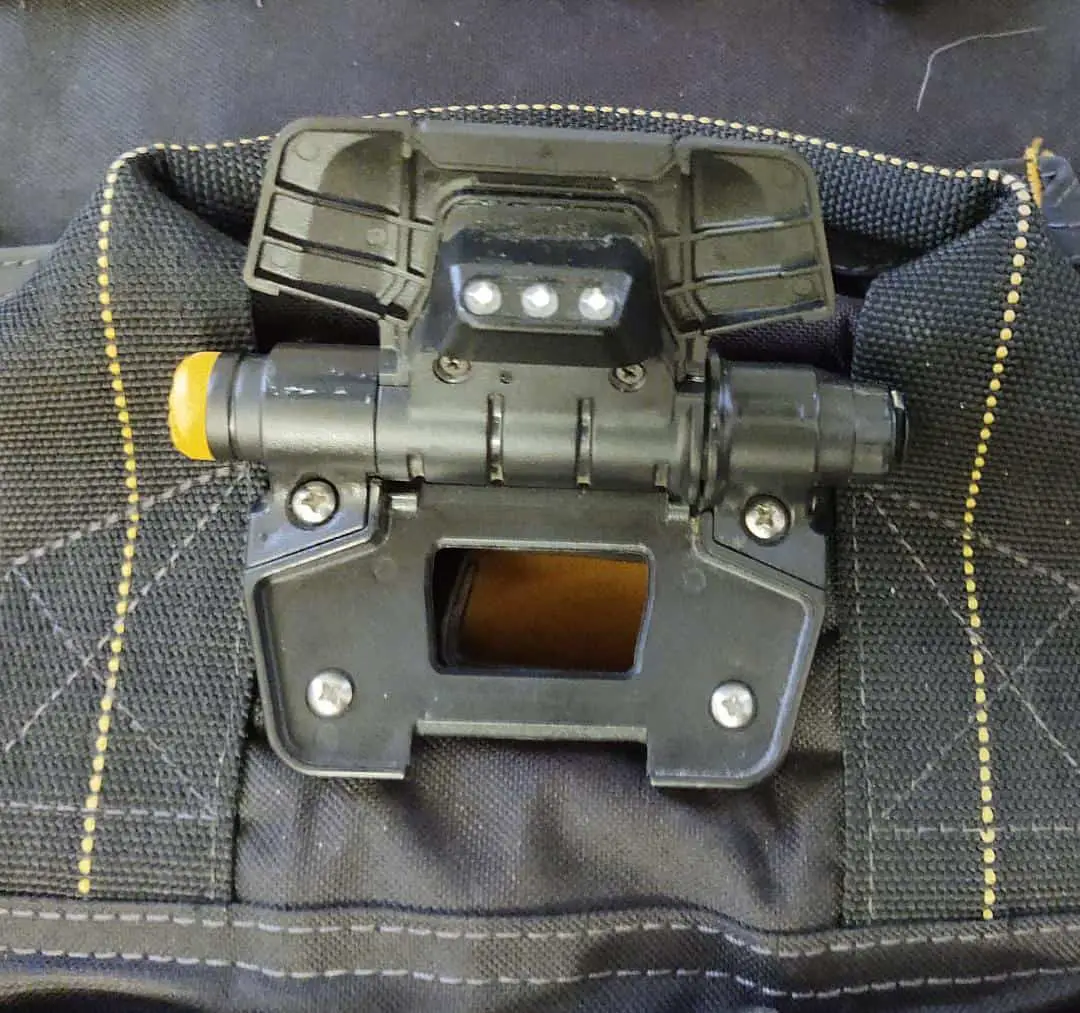
Built-in Light
I had completely forgotten that this bag has a built-in light on the front of the bag. It is a 39 lumen LED that runs on two AAA batteries. The light is encased in a hard plastic frame that is adjustable by rotating it up and down. On the side is a small button for turning it on and off.
I did not use this light all that often but when I did, it did a good job of illuminating the front pockets of the bag when I was searching for tools.
Since the light is adjustable, it also brightened up the work area on the floor in front of the bag.
The light on the bag worked great for a few years but at some point, it died. It would have been great if it still worked because a built-in light on a BOB would have been nice.

Built In Light 
Durable Zippers

Durable Zippers
Just like the carrying handle above, I have had a few bags in my time where the zippers were of poor quality. They would either get stuck a lot or simply break.
I cannot stand to have poor quality zippers on a bug out bag or any bag for that matter.
I remember one time in particular a zipper failed, and I could not gain access to the interior of my bag. I ended up using my pocketknife to cut a hole in the side of the bag.
During an emergency, I want to be able to get in and out of my bag as quickly as possible to get what I need so that I can deal with the situation.
I think the zippers on this DeWalt bag are extremely durable. Over the years that they were used, the zippers never snagged, got stuck, or broke.
What I Do Not Like About the Bag
Okay, so now that I have gone over the features of the bag that I like, it is time to discuss the features I do not like.
Rigid Frame
The frames on tool bags tend to be rather firm and rigid. Part of this has to do with the durability of the material used for the bag.
Remember, these bags are designed to haul heavy tools around.
My tool bag has a hard, non-removable bottom. I like this feature, but I also do not like it. It helps support heavy items and prevent gear from tearing through the bottom.
But sometimes when I carry this bag I can feel the side of that bottom on my back, which is slightly uncomfortable.
Storage Space
This tool bag has nowhere near the storage space for gear that outdoor packs do. I would guess that even some regular backpacks might have more room than this bag.
Storage space is not the main feature of a tool bag such as this one, rather it is more about the organization. This is why the bag has so many compartments, pockets, and straps.
I may have to shed a few items or swap some items out for alternatives if I want to fit everything I want inside.
Appearance
Depending on the brand and model, every tool bag is going to look different from one another.
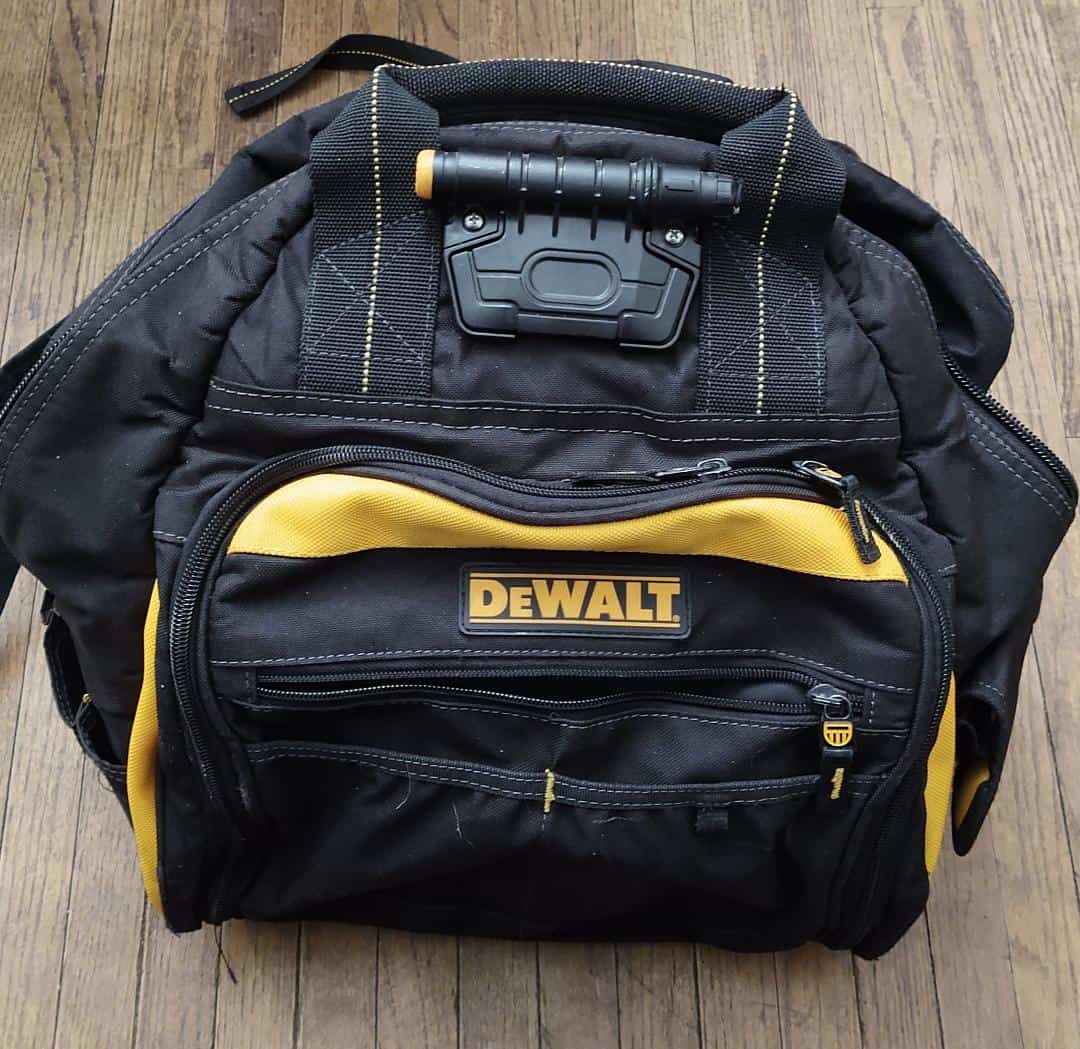
Mine just happens to be primarily black with a few patches of bright yellow on the front.
Depending on the situation, bright colors can be good, or they can be bad. Normally I am a fan of bright colors because they prevent me from losing gear outdoors and they can also be used as a means for signaling.
But in situations where there are present threats bright colors would be a big no-no. In this scenario, I could easily cover up the bright colors with dye or even gorilla tape. For now, I am going to leave the colors alone.
The last characteristic of a tool bag’s appearance I do not like is that they are not discreet. Tool bags have a high end, durable look to them that causes them to stick out over other packs. Mine is yellow and says right on the front DeWalt. And this could draw unwanted attention.
Price
Because I have had this bag for many years now, I have long since bought and paid for it. But tool bags similar in quality to the one I am using are not cheap.
At the time of this article, the DeWalt bag comes close to costing three figures with other tool bags costing even more than that. To be fair though, any quality bag, whether it be a tool bag, military bag, or outdoor pack, is going to demand a higher price.
Packing the Bag
As I mentioned earlier this bag is going to offer less storage space than other packs that are typically used as a BOB.
Because of that, I may have to swap some gear out but there are some areas I am not willing to budge on, specifically the areas that deal with the rules of three. Shelter, water, and food.
And of course, I always throw first aid and navigational supplies into that mix as well.
Shelter
For shelter, I decided to keep it simple and go with a tarp and an emergency bivvy. But to use the tarp I do need some cordage, so I threw in roughly fifty feet of 550 paracord.
Maintaining core body temperature is an important part of the shelter category, so a lighter and matches are included.
Water
For water, I packed in a metal water bottle and a Sawyer Mini Filter. With these items, I can filter the water and boil it in a metal bottle.
Food
Food can be a bit tricky as everyone packs for this category a little differently. I lean towards packing more tools to obtain food rather than food items themselves.
So, I packed in a fishing kit which mainly consists of line, hooks, and a few lures. I also packed in additional cordage to be used for traps and snares.
But a couple of granola bars and some hardtack were included.
First Aid
Here I decided to use my Stormproof first aid kit by MyMedic. It is small enough to fit inside of the bag while at the same time providing me with basic and some advanced medical supplies.
Navigation
At a minimum, I always pack a compass and a map of the region I am in. Generally, I also include a good Road Atlas. Most likely I will not use most of the maps within it, but you never know.
Additional Supplies
After packing my bare minimum requirement of supplies there was still a decent amount of space and pockets to be used.
Here is a list of what I was able to fit in the rest of the tool bag.
- Fire kit that includes lighter, stormproof matches, ferrocerium rod, fatwood, and jute twine
- Wood Saw
- SOG PowerLock Multitool
- Flashlight
- Trash bags
- Several resealable plastic bags
- Condor Wilderness Tool
- Knife Sharpener
- Mora Companion knife
I did not want to pack the bag fully or overly until I had time to carry it around and test it out. After getting it the way I like it and putting it through its paces I will come back and update this article.
Pros and Cons of Using a Tool Bag as a Bug Out Bag
Pros
- Extremely durable
- Lots of pockets for organization
- Padded shoulder straps
- Heavy-duty seams are less prone to tearing
Cons
- Tool bags can be expensive
- Limited storage space when compared to an outdoor pack
- Not discrete
- The rigid frame may make it difficult to pack certain supplies
- No waist strap
Wrap Up
The above article was not intended to be a product review, but I felt it was important to list the specific bag I used. Many backpack-style tool bags do share similar features that I discussed but I can only speak about the bag I have used.
If you are looking for a bag that has great organizational options, then a tool bag is a pretty good choice. They also offer a high level of durability as they are constructed from quality fabrics and materials.
Other than price, the biggest downfall of a tool bag is the storage space inside. You may not be able to fit everything you want inside that would otherwise fit in an outdoor pack. Look for my update soon on this article after I have tested the bag out.
I hope you enjoyed my break down of turning a tool bag into a bug out bag. Thanks for reading and stay prepared!
Have you ever used a tool bag as a bug out bag? Sound off in the comment section below and let us know about your experience.
