When I was first looking into my private pilot license (PPL), I met a diesel mechanic who built his own plane and flew it to Alaska. He told me sometimes he would take off from the pasture at his house, land on a hill, call in some coyotes, and fly home. That was all I needed to hear. This was a badass skill I needed to have.
This article is just meant to give you a little direction so you can make a more informed decision. There are a few different types of pilot licenses you may pursue. Sport Pilot and Recreational Pilot require less training time (cheaper!) but also limit what you can fly, when, and the passengers you can carry. A private pilot license will give you the most bang for your buck and has the least number of restrictions.
SKIP AHEAD
Benefits to a Prepper
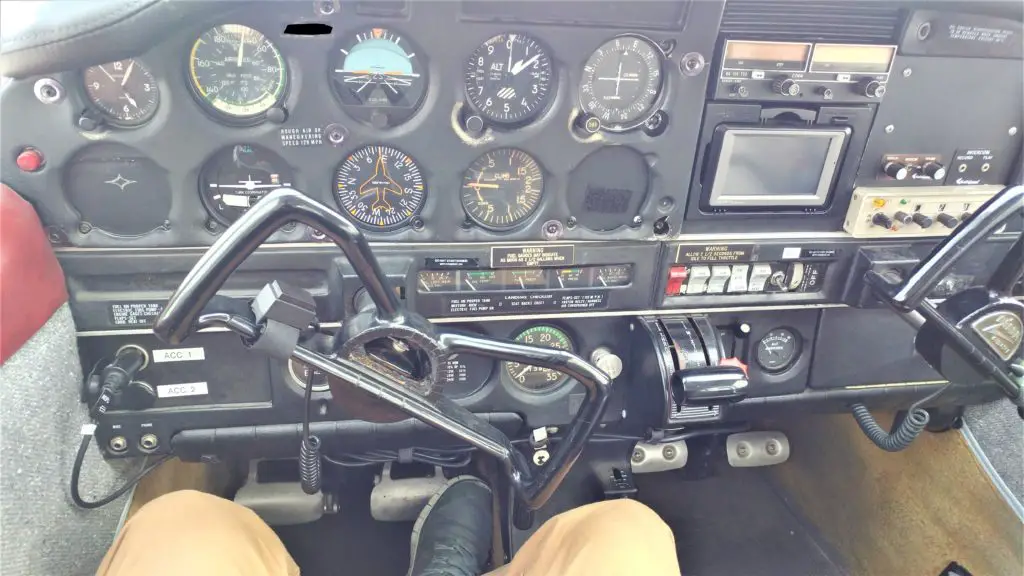
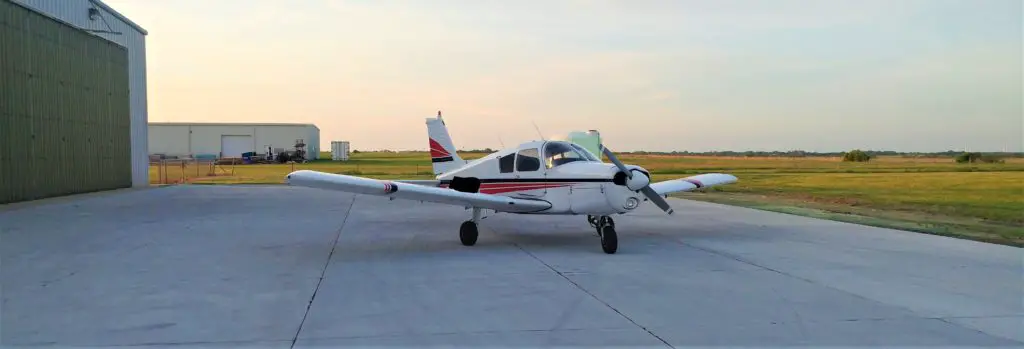
Why would you want to spend the time and effort obtaining your PPL? This is a good exercise in perseverance! It will take some work. It will hone your decision-making skills under pressure. Finally, instead of being limited to the area you can reach by car, the distance you can bugout/vacation/explore will double or triple. Even the smallest and slowest planes (I’m thinking of a Piper Cherokee 160) hold around 5 hours worth of fuel and cruise at about 110 mph. That gives you 500 miles you could reach before lunch. Planes are immune to road blocks. There are airports everywhere, even in some national parks. You will meet interesting people, and you will see things from the air you never knew existed, even things near your home. You will learn and you will build confidence.
What you can do as a Private Pilot
A Private Pilot License will allow you to fly during daytime or nighttime VFR (a set of weather conditions called Visual Flight Rules). You can carry passengers, fly outside the US, fly for charity, and tow gliders. You can obtain other certifications and licenses, such as IFR (instrument flight), commercial (allowing you to receive compensation), and multi-engine. My favorite is simply exploring. I could fly to nearly any small city in Kansas with an airport, stroll in (even if no one is on staff), and take the courtesy car. Then I could explore the town, get some food at a small café, top off the gas tank, return the car and fly home. It’s like an entire secret world that no one talks about. I once flew into a 2500’ grass strip in a pasture, taxied down a city street (even stopped at a stop sign!) and parked in front of a restaurant. They call this “The $100 hamburger.”
Requirements
Before you begin, ensure that you are a good candidate. If you don’t have the time or funds, you will not succeed. Too many people have started, sunk thousands of dollars into it, and given up. I was very fortunate. I spent a grand total of $5,000 on my pilot license. I would expect to spend about $12,000 total on your training and materials. It took me 13 months to finish. I budgeted about $400 a month, which was all I could spare. This will be a pricey endeavor, but the benefits are many. Ensure you are healthy. If you suffer from seizures or take medicines for mental health conditions, you should first see an Aviation Medical Examiner so you don’t start something the FAA will not allow you to complete. They don’t mess around. Even if you take a Benadryl, you must self-ground for 60 hours.
Here is a list of medical conditions and medications that may give you trouble if pursuing a PPL:
FAA Medical Certification Criteria
To obtain your Private Pilot License, you must:
- Be at least 17.
- Be able to read, write, and speak English.
- Obtain a Medical Certificate
- Pass a knowledge test
- Accumulate and log 40 hours of flight time including:
20 hrs solo and 10 hrs with an instructor.
5 hours of cross country, with one 150 nm including 3 stop landings
3 solo take offs and landings at a controlled tower airport
3 hours of night flight training and 10 takeoffs/landings
3 hours of IFR training
3 hours of prep for the check ride
- Pass an oral and flight exam by an FAA designated examiner
It sounds intimidating, I know. But don’t fret. Your Certified Flight Instructor (CFI) will be able to guide you in the right direction for finding a doctor, where to take the written test, and finding a designated examiner for your check ride. Now that you have some background, let’s break it into steps:
Find a CFI
I went to my local airport directly and spoke with the airport manager there. I am from a rural area, so I was able to just walk in and speak with him. It was painless. You may also try looking online. If you have summers off and the money, you could bust this out in several months if you find a CFI with the time. It’s important to know, you may not jive with your CFI. You may need to try one or two before you find someone whose personality and schedule match with yours.
Also Read: Bug Out Travel Security
You should decide whether you will do a formal ground school or self-study. I self-studied with a $15 book from Amazon and its counterpart containing the figures and graphs called Private Pilot Test Prep. Make sure you get the most up to date version.
Obtaining a medical certificate
You must find a physician who is an FAA-authorized AME (Aviation Medical Examiner). They will do a physical for you and give you the go ahead to fly. Your insurance may not pay for this. I paid $150 out of pocket to an excellent doctor who did FAA physicals on the side. The type of certificate you get and how long it is good for depends on your age. This will serve as your student pilot license. The sooner you do this, the better! Getting your student license card can be a pain in the butt. Once you have your medical, you log onto IACRA (the FAA’s web-based application site) to apply. Your instructor logs in and approves it. Then you log back in and accept it. Several weeks later you will get a super cool license in the mail.
Complete the training
You should be able to fly at least once a week! This will keep your skills sharp. Any less frequently and you run the risk of losing some of what you worked for. Some days the plane will be out for maintenance, your Flight Instructor will be busy. Occasionally weather won’t cooperate; this is okay. You will practice all kinds of things, such as: Turns around a point, steep bank turns, emergency descents, engine out drills, power on and power off stalls, lots of landings, cross country flights, navigation, and soft field take offs and landings. You will have a blast. Most people take more than 40 hours, and that’s okay. I had 50 total hours when I did my check ride.
Passing the knowledge exam
If you haven’t already, you need to schedule and pass the airman knowledge exam. Your CFI must endorse your logbook and you must take it with you the day of the exam. I paid $165 for this test. I took free practice exams from King Schools until I was scoring consistently in the mid-90s (This is important, because you will probably score a little lower on the actual exam). Once I was able to show my CFI how well I was doing, he endorsed my log book and I was able to take my test. My advice is do one every day, so you can get a feel for it. I ended up studying on my lunch hour for about 6 months and took close to 100 practice exams. I probably should’ve studied more and took less exams, but whatever. Hindsight! I was getting 90s on King’s website, but I got a B on the exam. If you were a real rock star, you could do all of this before you even see your CFI. Some companies will give you an endorsement if you buy and complete their training program. There are many great study aids, but I was trying to save as much money as possible. The sooner you do this, the better off you will be!! You have 2.5 hours for the test, and you must get a 70% to pass.
Pass your checkride
Your CFI will help you get in touch with a designated examiner. There will be an oral exam that lasted about an hour for me and was very informal. I had planned a long cross-country flight ahead of time. We discussed alternate landing sites, airspace, weather conditions, the airplane plane engine…all kinds of things. Once he was satisfied, off to the plane we went. We started briefly on the flight I had planned, then broke off to do maneuvers. This cost $400 and took about an hour. It was a fun experience, and I learned a lot from him. Don’t be nervous! They just want to make sure you are safe. At this point, you will be more than ready for the check ride!
As you fly, you will learn what you are required to bring in the plane and what you should bring to be safe. Here is what I take:
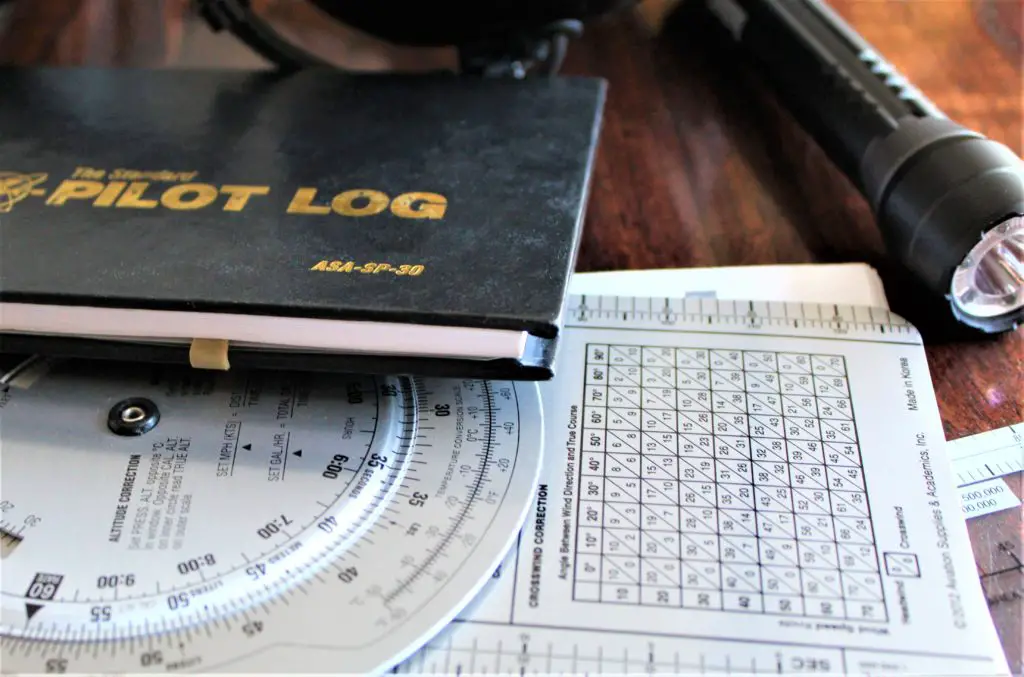
E6-B – This is a flight computer, kind of like a slide rule. It won’t crap out on you, but you need to practice with it.
Flashlight – This is used mainly for pre-flighting the airplane.
Headlamp with red light – This is a necessity. The red light won’t ruin your night vision.
CO detector – Carbon monoxide poisoning is uncommon, but it does happen. It happened to my Aviation Medical Examiner! Its cheap insurance.
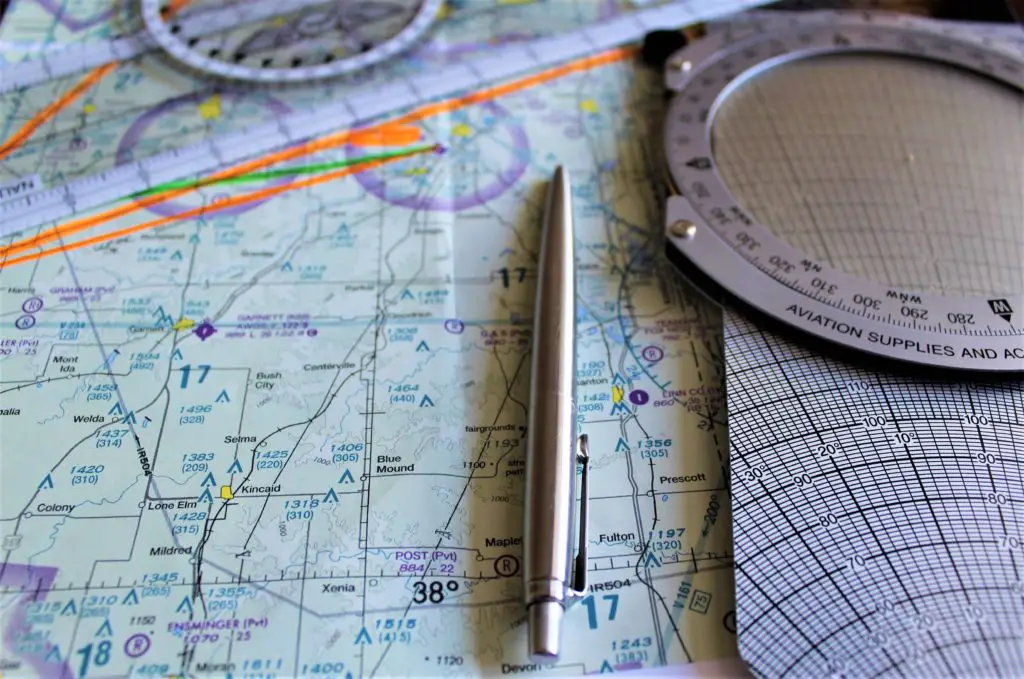
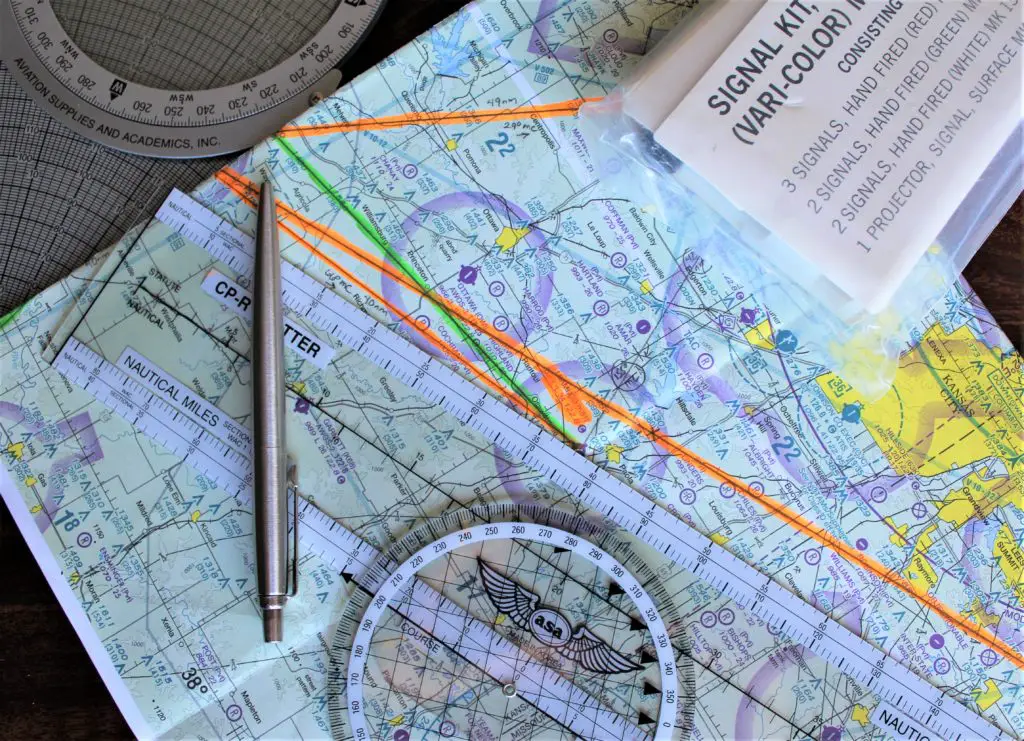
Paper sectional map – You can get these on tablets, but I prefer a paper one.
ARROW documents – Airworthiness, Radio License, Registration, Operating Limitations, and Weight & Balance
Clip board, pencils
This last part is kind of a small survival kit but will very on your region and season. I never flew anywhere very remote. If I didn’t show up to my destination to close my flight plan, the pros had my route and would alert the authorities. This is just meant to get me through a night if I had to.
- Compass
- Signal mirror
- No products found.
- Fire starter
- Emergency blanket or SOL bivy
- Trauma kit
- Good knife
- Mobile phone
Now what?
Now that you have your license, you can explore. Take your friends or kids up, they will love it! You can pursue other certifications, like Multi-Engine, Commercial (allows you to get paid!), and instrument ratings. You can do bug out practice runs. Plan one or two safe places you could fly to in each direction, so if something big happens you don’t have to worry about which way the wind blows. Volunteer with the Civil Air Patrol or Pilots N Paws. To keep your license, you must keep your medical up to date (every 5 years if you’re under 40) and complete a flight review every 24 months. Remember to keep the blue over the green!
All photographs by the author
