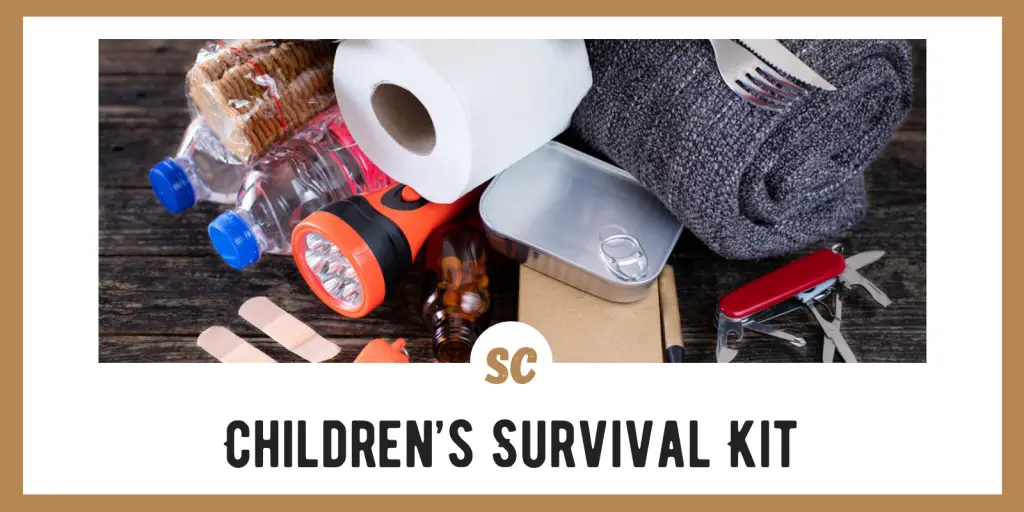
We spend a lot of time creating large survival kits and packs for ourselves. Those of us that travel with kids often carry their share of gear because younger kids simply cannot haul heavy loads.
Carrying their gear for them is okay, especially if they are extremely young and if they remain within your sight. But if a kid finds themselves away from the group and alone, this will leave them unprepared.
The first thing to realize is that a children’s kit is not going to be as robust as an adult’s kit.
For one, a small kid will not be able to haul that much weight. Secondly, if a kid finds themselves alone, they hopefully will not be in that situation for long before they are rescued. Lastly, depending on their age they may not be familiar with how to use all the gear that normally goes into a kit.
SKIP AHEAD
Getting Started With A Children’s Survival Kit
Weight
Weight will be an issue as we cannot expect our little ones to haul a lot of weight. And since their bodies are still growing, they should not carry heavy gear in their packs. A kit’s weight should be limited to roughly 10% of the child’s body weight, 15% at most.
This means if your child weighs 70lbs, the kit you create for them should ideally weigh 7lbs but no more than 10.5lbs.
This does not leave a lot of room for supplies but with careful planning, a lightweight and effective kit can be put together.
Skill Level
When choosing items to put into your kid’s survival kit, you will have to bear in mind their level of maturity.
Every child is unique and matures at a different rate. You know your child and therefore will be best suited at gauging what gear they should and should not have.
Most of the items listed in the kit below should not pose much of a safety risk except for two, a tool for starting a fire and a knife. Whether or not these tools are safe or appropriate to put into your child’s survival kit, is a choice you will have to make.
Children’s Survival Kit Contents
Bag
For most kids, I would set aside the heavy-duty outdoor packs. Instead, I would recommend a backpack that is no larger than what they normally carry for school. This will help to keep the weight down and they should already be comfortable with this style.
However, another lightweight option would be a fanny pack or sling style.
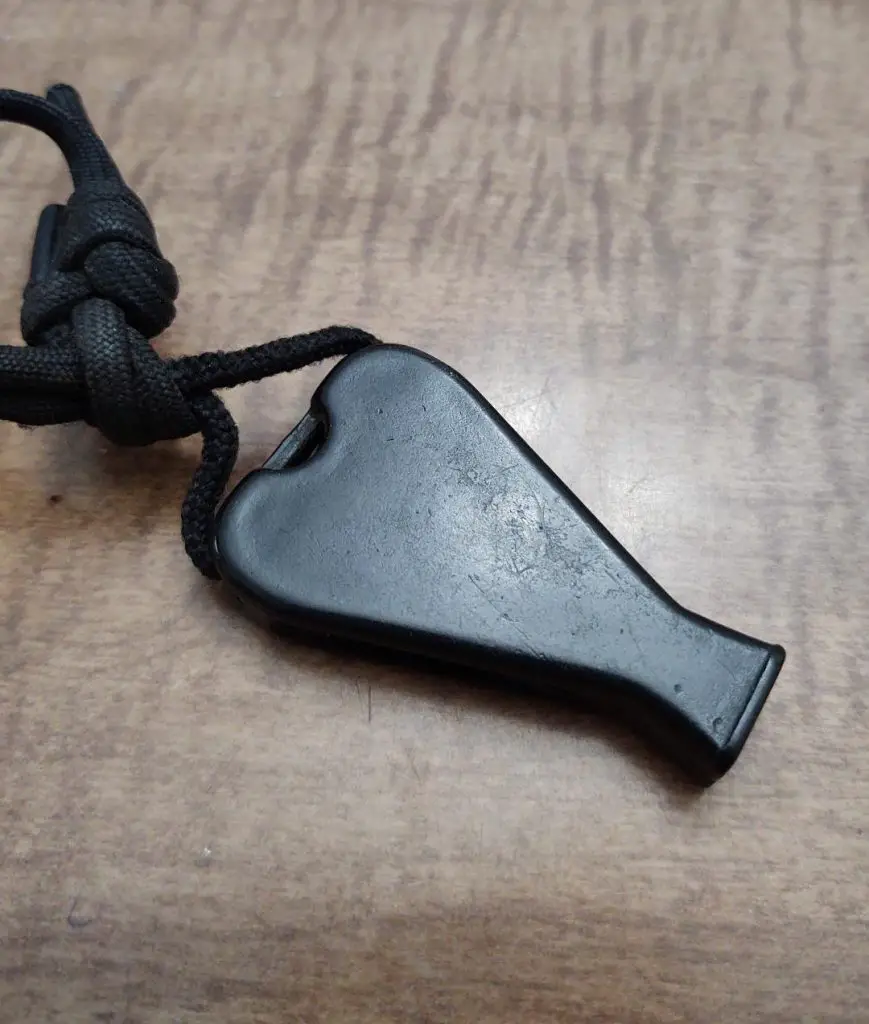
Signal Whistle
A signal whistle is a great tool to call for help and it requires minimal effort to use. It also takes up very little space and weighs next to nothing.
I have always had good luck with JetScream and Hyper Whistles, but that might not be the case with your kid. While Hyper Whistles are ear piercingly loud, but they are large and require a lot of air to use.
Give them a chance to test out various whistles to find the best fit for them before committing one to the kit.
It would also be beneficial to teach them how to properly signal with a whistle. SOS can be signaled by producing three blasts, each lasting a few seconds, followed by three shorter blasts, followed by three longer blasts again.
An SOS signal is not complex, but it can be easily forgotten if a kid does not use it much or when they are stressed and scared during an emergency. A simpler signal of three blasts, each lasting a few seconds, is universally accepted as a distress signal.
Water
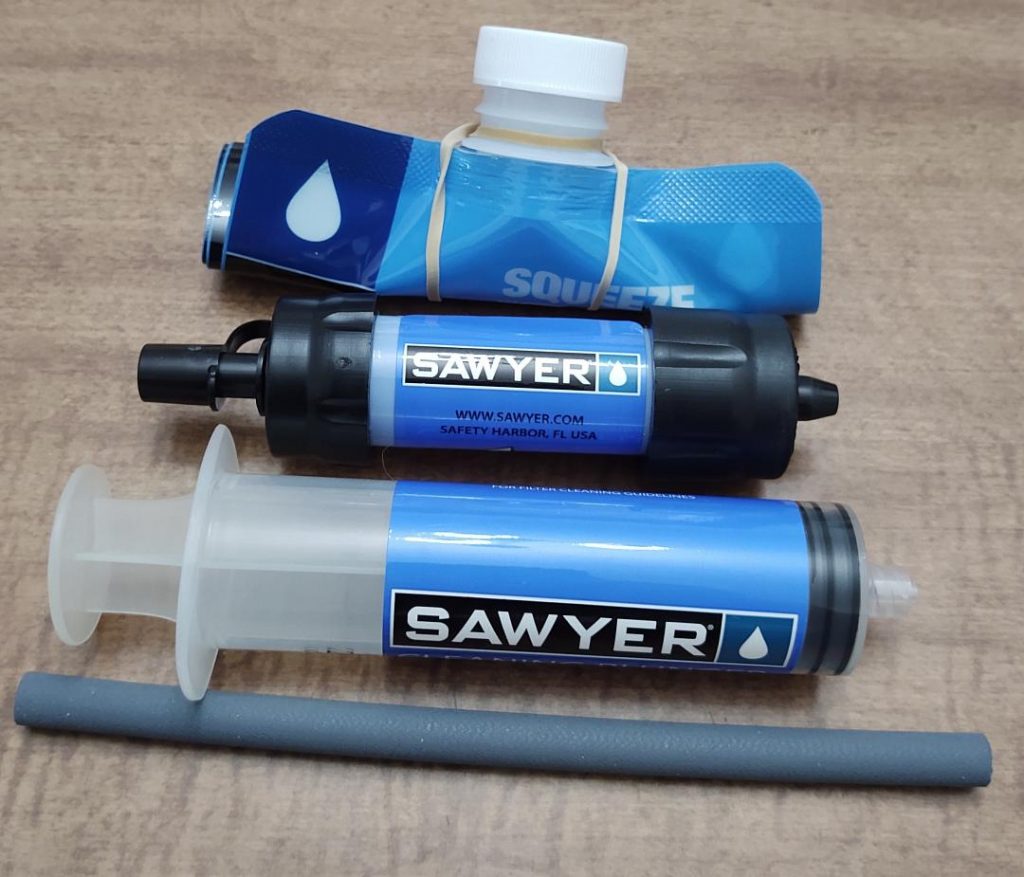
I almost always recommend carrying a metal water bottle because they are more versatile and durable. This type of bottle would be okay to give to an older kid as long as it is also paired with a waterfilter, such as a Sawyer Mini.
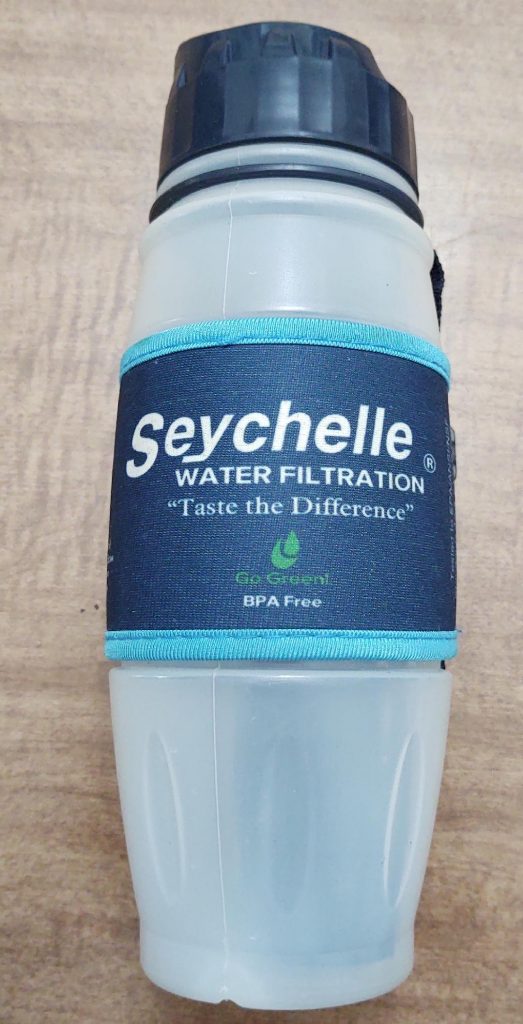
For younger kids, my recommendation would be a Seychelle water bottle. These bottles are plastic, but they come with a built-in filter attached to the drinking straw. This makes them easy to use because all you do is unscrew the lid, fill the bottle with water, and screw the lid (with the straw and filter) back on.
Seychelle bottles are a little more expensive than other bottles but their filter separates far more contaminates than other brands.
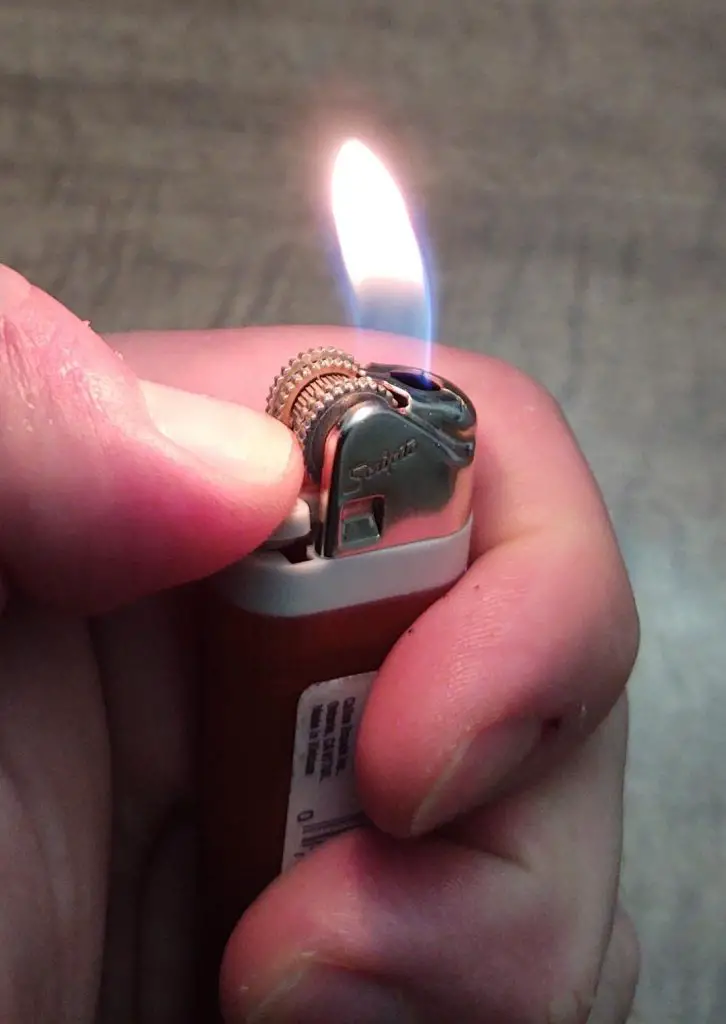
Butane Lighter
A lighter is not only the easiest way of starting a fire, but it is easy to use as well. Depending on the child a miniature lighter may be the most ergonomic option.
You will need to decide whether or not to include a tool for making fire based on the child’s level of maturity.
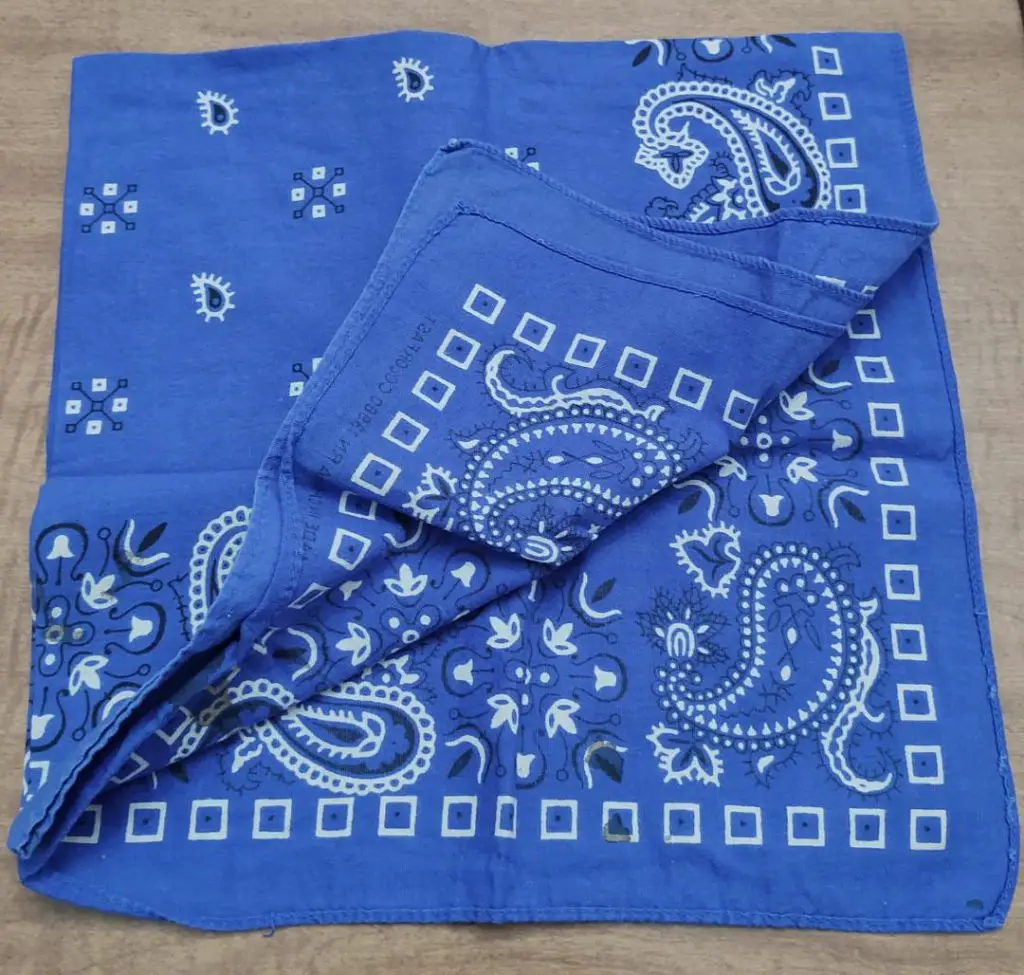
Cotton Bandana
A cotton bandana is one of those items that should be in every kit because it has a multitude of uses. It can be worn as a mask, a head covering, used as a bandage, and as an improvised water collector and filter, just to name a few.
A bandana also makes for a good visual signaling device, whether that be when it is worn or when waving it in the air. For this reason, make sure that the bandana you pack is brightly colored such as orange, blue, or pink.
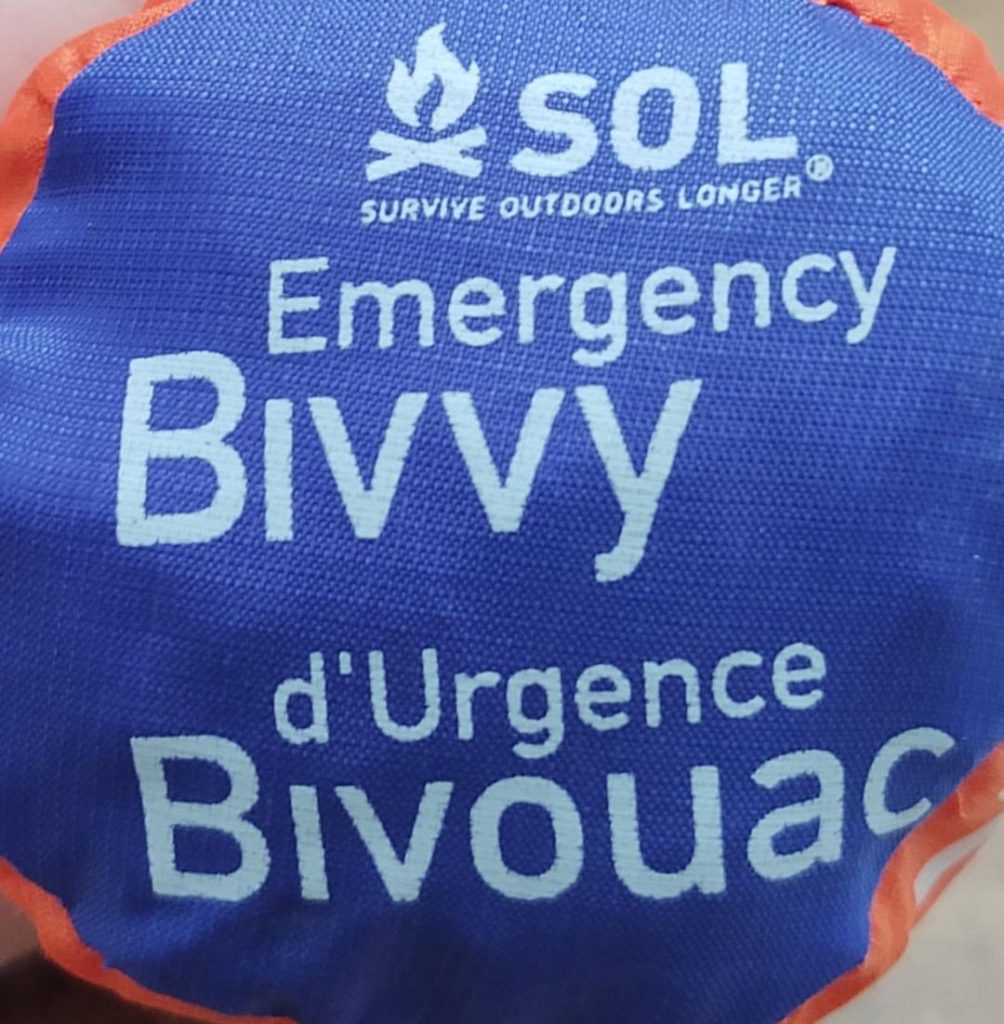
Shelter and Warmth
An emergency blanket or bivvy is lightweight, compact, and can be used to retain body heat in cold temperatures. The material they are made from is also waterproof which means they can be used as an improvised poncho or as shelter material.
Another good option for staying dry is to use large garbage bags. If you take this route, I suggest purchasing contractor bags because they are much thicker and more durable than your standard trash bag.
They are small enough that several can be packed into a kit. This allows one to be worn like a poncho and another one to be used for creating shelter or filled with vegetation for creating a “pillow.”
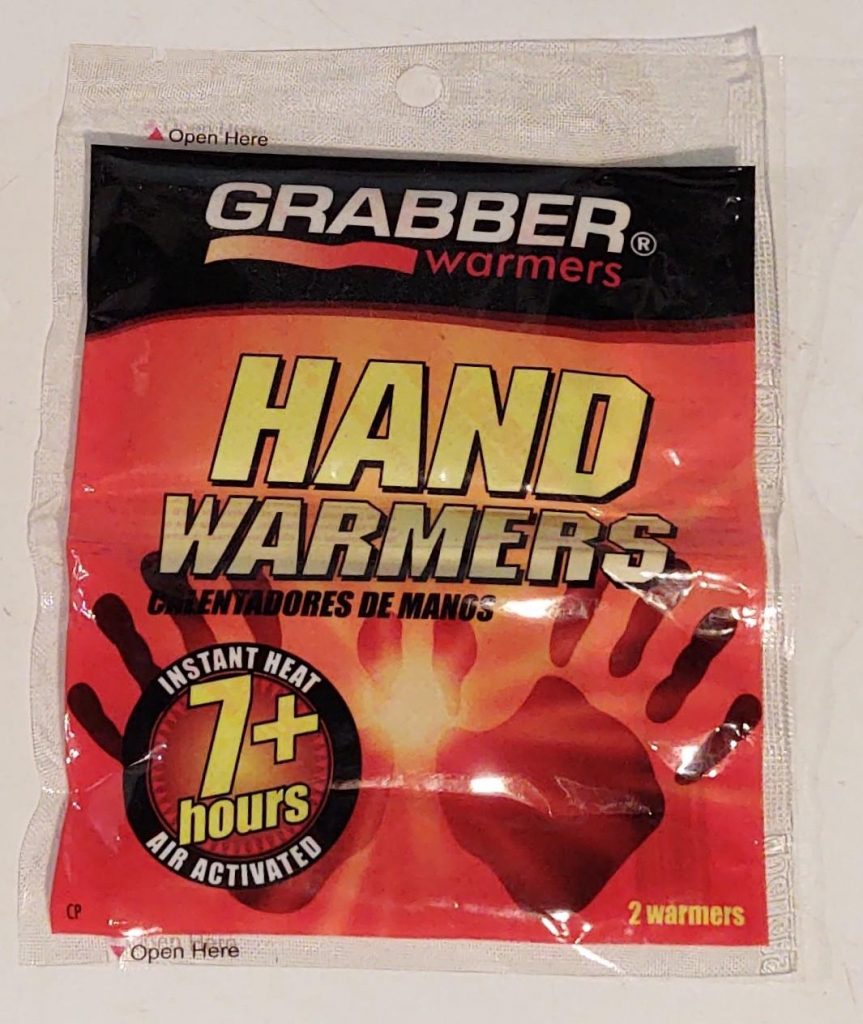
If it can get cold in your region and you decide not to add a lighter in the kit, in its place you should add several chemical hand warmers.
Knife
This is another tool you will need to decide whether or not to include in the kit based on the child’s level of maturity
You know your kid best and therefore you will know what knife is best for them, but I will make one suggestion.
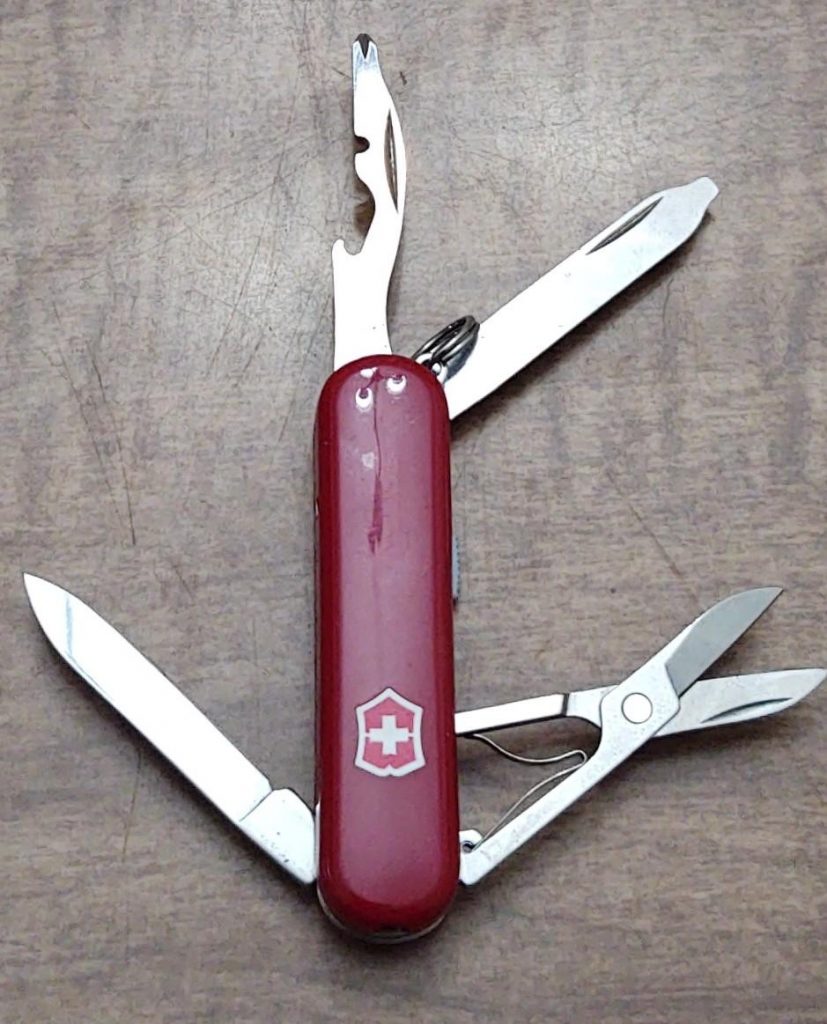
It is still quite common for a kid’s first knife to be a Swiss Army Knife. I do like these pocket knives for myself but I also think they are a good choice for this type of kit.
Its size makes it user-friendly for small hands and they also come with many tools which makes it more versatile than a single blade. The only downside is that most Swiss Army Knives do not have a lockable blade, so that is something to keep in mind.
Light Source
Kids are prone to being a little rough on things and if they are in a survival situation, this item should be tough. So, the light source does not need to be large, but it should be constructed from quality materials. Luckily, modern light sources have become compact and durable.
Many flashlights now also come with multiple light modes such as a strobe function. A strobe light can be particularly useful to signal for help during an emergency.
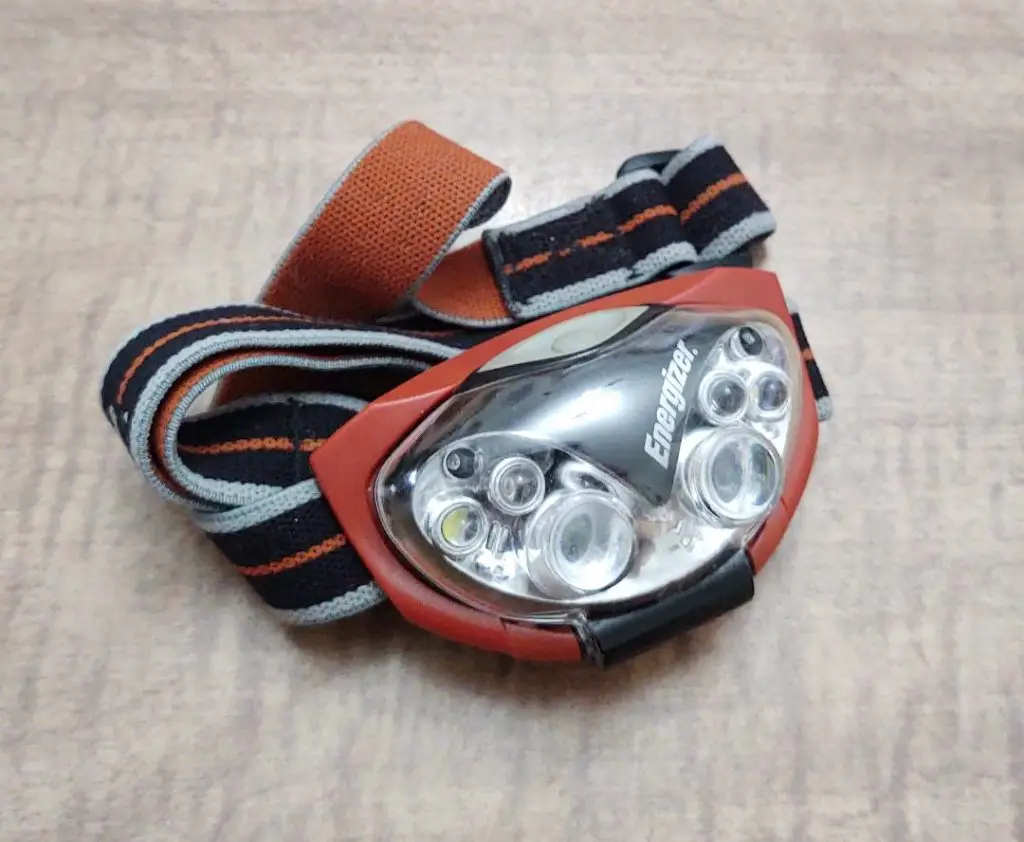
One of my favorite types of light to use in the outdoors and during emergencies is a headlamp. This type of light is attached to headgear or worn around the forehead. What makes a headlamp great is that it automatically shines wherever a person is looking while at the same time allowing both hands to be free.
Another good option is chemlights, like Cylume Sticks. These are small plastic tubes filled with a liquid. When the tube is bent, it releases a chemical that illuminates the liquid and turns it into a “glow stick.” Many glow sticks will remain illuminated for up to twelve hours.
Wrap Up
Putting together a survival kit for a kid is only the first step. Once it is put together it is time to put it to use! Allow the kid to carry the kit as much as possible so that the items are used often.
This will allow them to become comfortable with the contents and as the old saying goes, “practice makes perfect.”
Thanks for reading and keep your little ones prepared!


