Being creative and having the ability to think outside of the box is incredibly useful, especially when it comes to atypical or survival-type situations.
This is because during these times we may not have access to the materials or tools that we would like to.
Thus, thinking outside of the box helps us to create something that we need out of something else.
Why am I bringing this up? Because in this article I will be showing you how to create an arrowhead out of an ordinary kitchen spoon.
SKIP AHEAD
Why Make One?
This is a fun cheap project to do for people that like to stay busy and tinker around in the workshop. But it does have an applicable use for hunting or as a defensive tool.
This is an unlikely project to do in a wilderness survival situation although it can be done as long as a spoon is available. I will talk about this process a little more later in the article.
It is more probably that this will be made in a more urban setting where proper tools, and spoons, are available.
A spoon arrowhead can replace broken arrow tips or provide an arrowhead when other tips are not available.
Also, spoons come in all different shapes and sizes allowing you to make a variety of arrowheads that can be small, large, and of various designs.
Lastly, spoons are incredibly abundant and cheap. A handful of spoon arrowheads can be made for the cost of one manufactured broadhead.
The Design

There are several forms that arrowheads can take, and you can see these by doing a simple online search. However, for this article, I will be using a simple broadhead design because it is the easiest to make.
Once you have become comfortable with this process you can expand your designs and make all sorts of interesting and useful arrowheads.
Small ones can be made for smaller targets while larger ones can be made for larger targets. Prongs or barbs can also be cut into the tip to create a tip more suitable for fishing.
From Spoon to Arrowhead
Approximate time: 1 ½ hour with hands tools but this time can be drastically reduced by using power tools
What you will need:
- A spoon
- A cutting tool such as a hacksaw, grinder, Dremel tool
- Hammer
- Metal file
- Sandpaper (optional)
- Sharpie Marker
- PPE such as gloves, eye protection, and hearing protection
Once you have gathered all your materials it is time to start turning this elegant eating utensil into a tool that can put food on the table.
As with most projects, it is a good idea to wear safety gear. This is especially true when working with and cutting metal. Please use caution because there are a lot of sharp edges in this project.
Step 1.
The first thing to do is to remove the curved bowl shape from the spoon. This is an easy and somewhat stress relieving process.
Place the spoon on a hard, flat surface. An anvil works great for this but if you do not have one then a cinderblock or the surface of a driveway can be used.
Next, take your hammer and start pounding on the spoon until it is nice and flat.

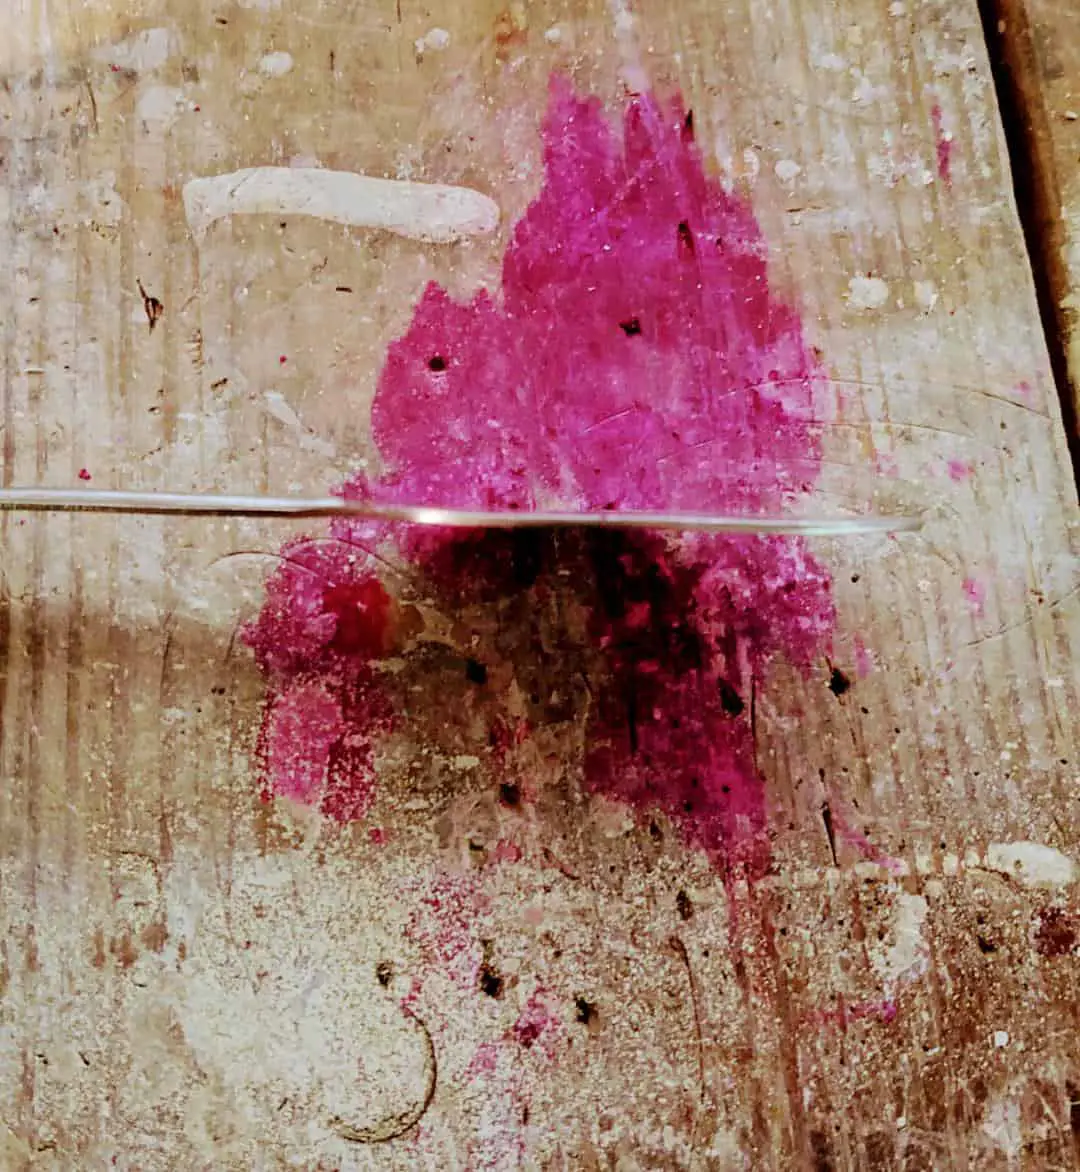
Here is what the spoon looks like before. 
And here is what the spoon looks like after hammering.

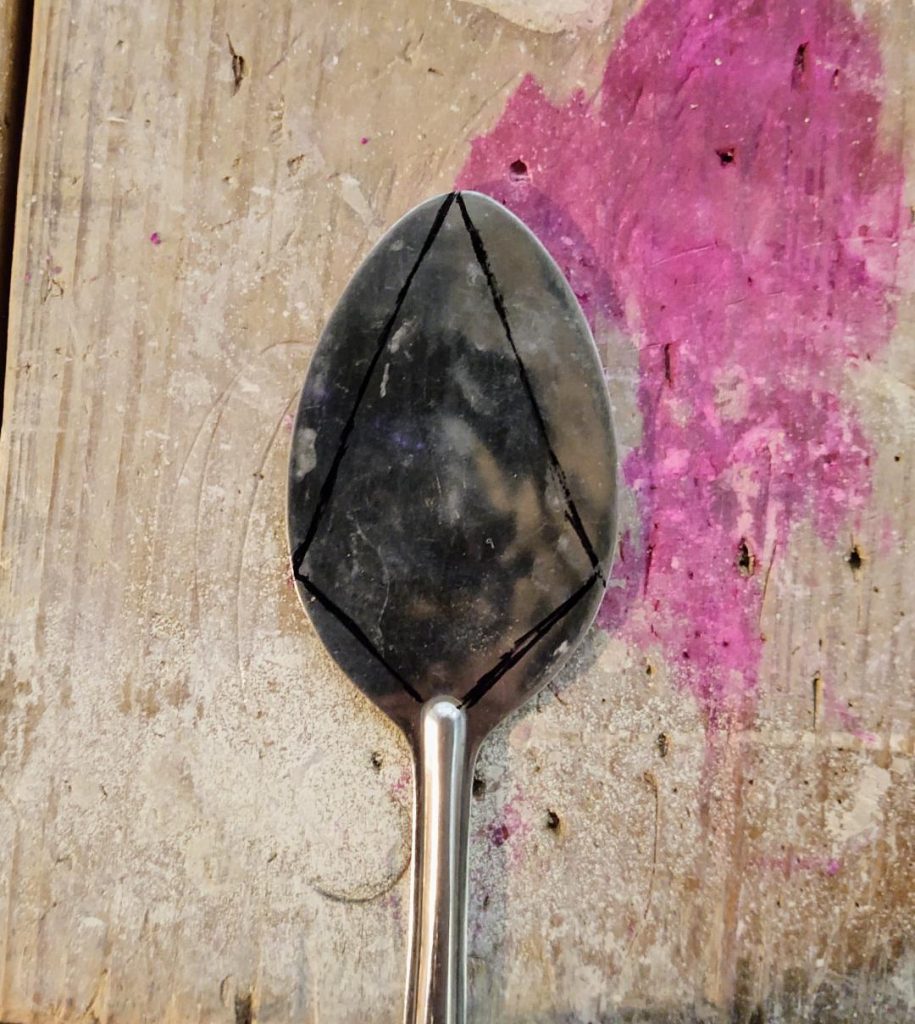
Step 2.
Use the sharpie marker to draw the desired design onto the spoon.
Step 3.
Cutaway the excess material outside of the design markings.
There are a few different options for how this can be done.
First, using power tools is usually the first choice because they are faster and more efficient. You could use something like a power sander, grinder, or Dremel tool.
But if you are learning how to do this project for real-world applications, there may be a good chance that power will not be available in that situation. This brings me to option number two.
The second option is to use hand tools such as a hacksaw, tin snips, or a metal file for removing the excess material.
I have tried using tin snips for this project but since the spoons I use are stainless steel, tin snips do not work well. A hacksaw and metal file works much better.

The Design 
Basic Shape
In a worst-case scenario where none of those tools are available a cinder block, concrete surface, or large rock can be used to grind down the metal.
Rocks or any other abrasive surface you can find will have to do in a survival situation. This method will take more time and effort, but it will work.
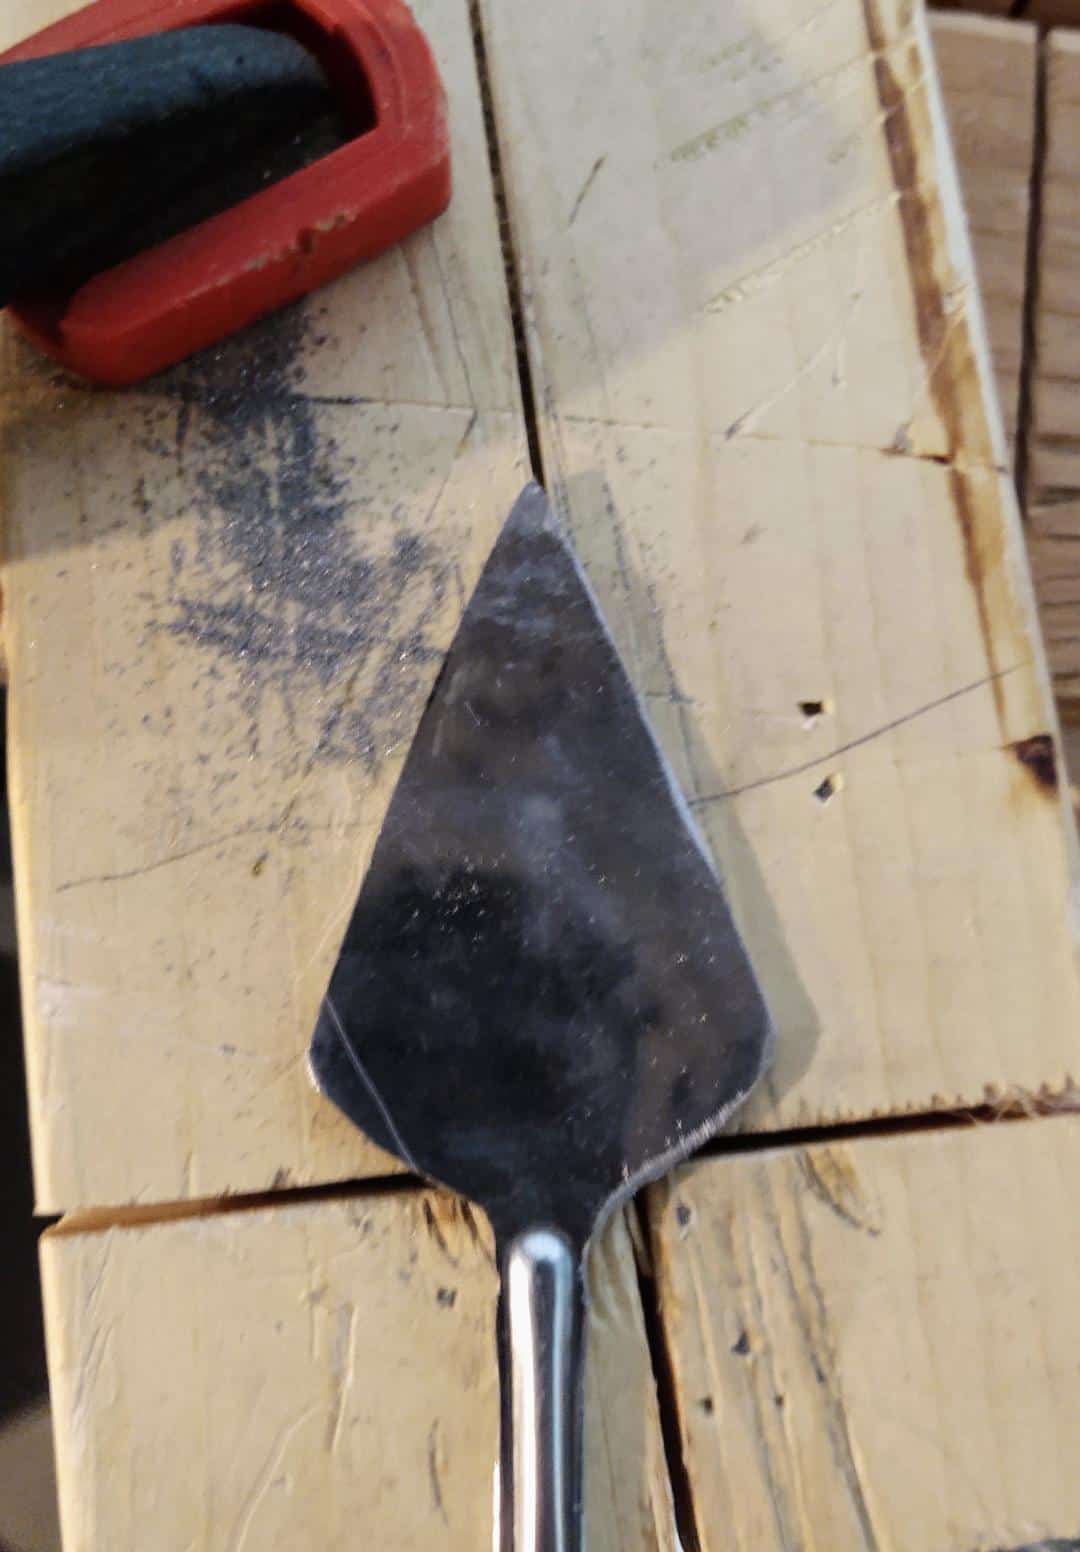
Step 4.
The arrowhead should now have its basic shape and all that is left to do is sharpen it and shorten the handle.
I think having a longer handle helps to secure the arrowhead during the sharpening process which is why I sharpen the edges first.
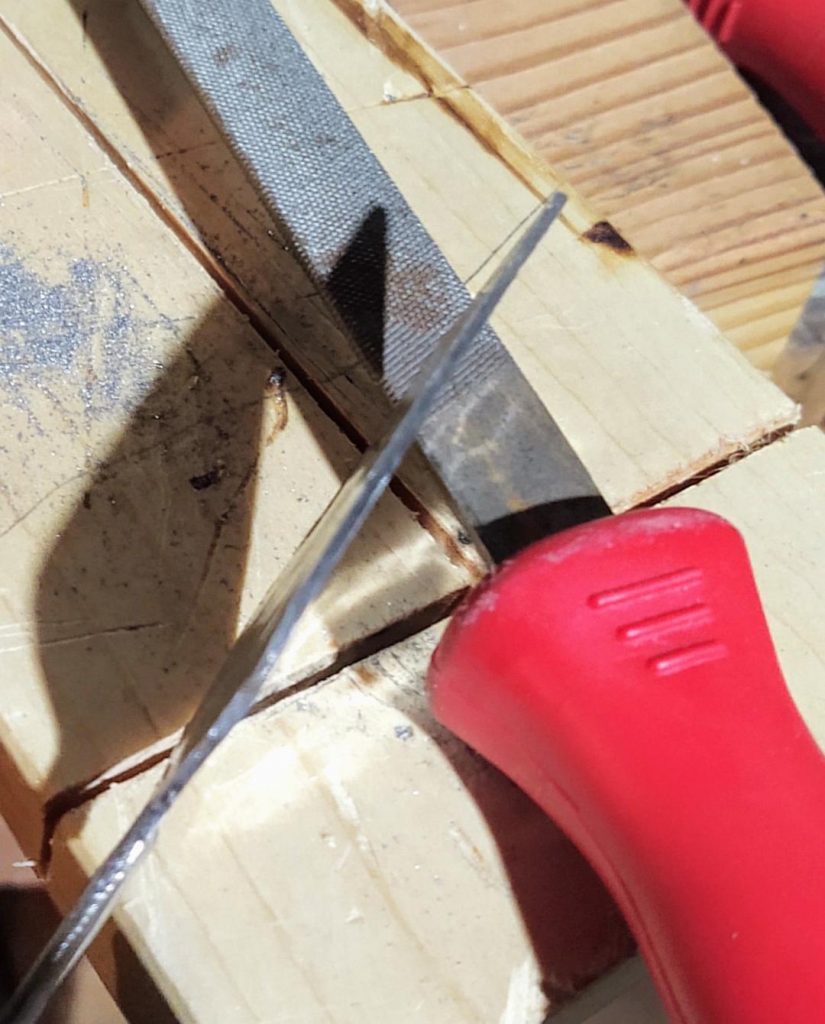
Secure the spoon handle in a vice or by using a clamp. Then take a metal file and begin sharpening the edges and tip.
Once one side has been sharpened turn the spoon over and repeat the sharpening process on the other side.
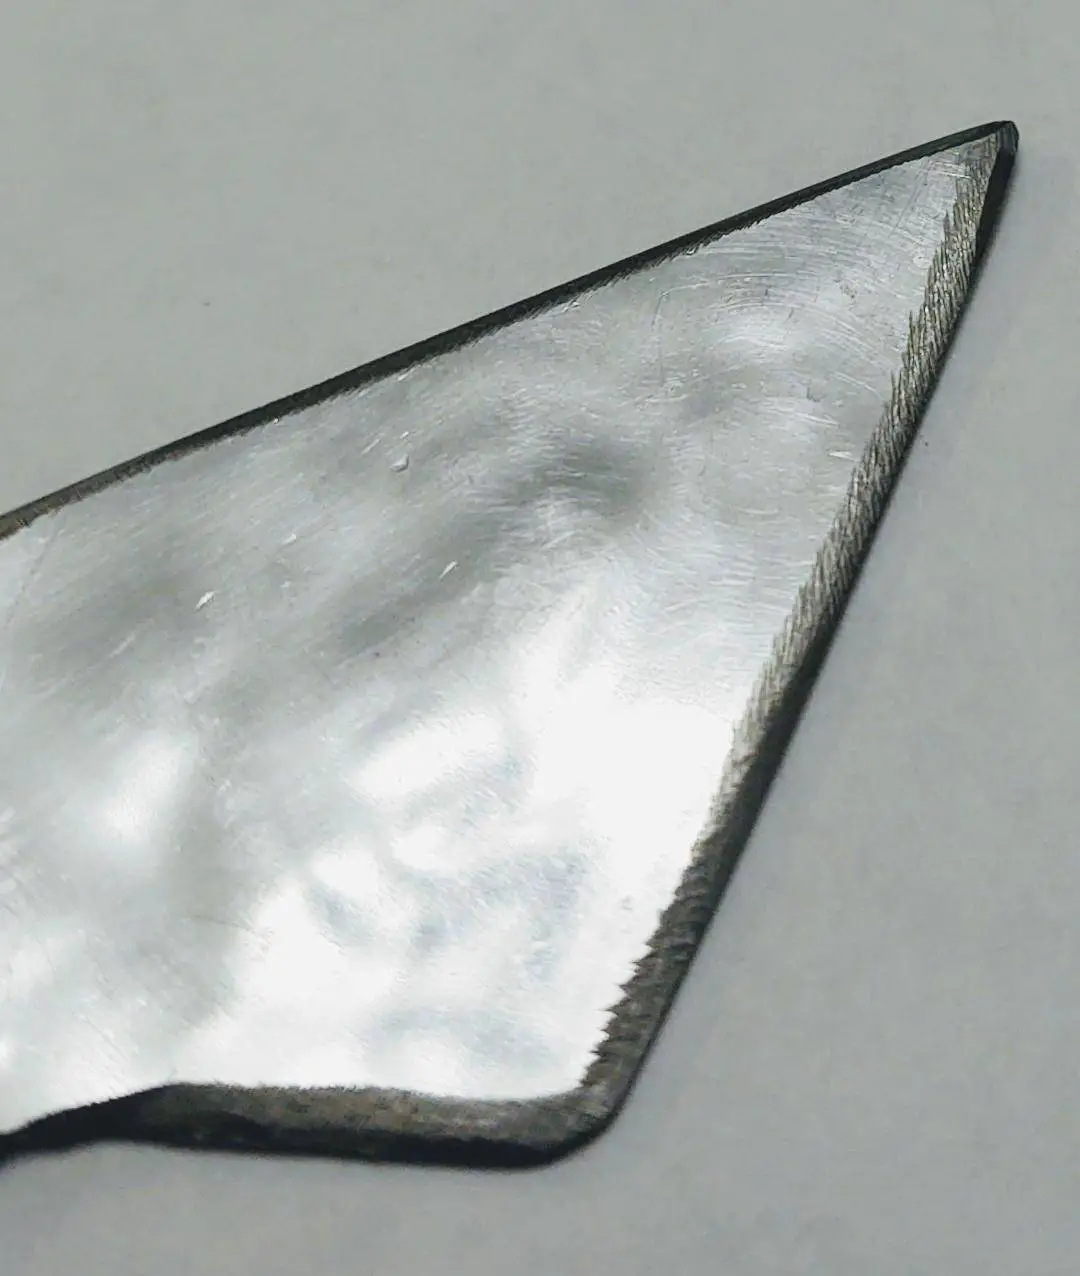
Here is how the edges look after filing.

Before Filing 
After Filing
The edge can be left as it is or you can continue to refine it by using a sharpening stone or sandpaper.
Step 5.

The last step is to remove most of the spoon handle.
How short to cut the handle depends on what the arrowhead will be mounted to.
The handle only needs to be about one inch long if it is going to be mounted to a modern arrow shaft that has a metal insert.
However, if the arrowhead is going to be mounted to a homemade arrow shaft or spear type pole then the handle may need to be slightly longer. This will also depend on if the arrowhead is glued or tied into place.
Modern Arrow Shaft
Most modern arrow shafts have a threaded metal insert at the end of them that are glued into place. They are threaded so that different types of tips can be changed out easily.
Measure the handle of the spoon and cut it so that it is about the same length as this metal insert. The short handle can then be shaped to fit into this insert and subsequently glued into place.
Homemade Shaft
If modern arrow shafts are not available, you may have to make one out of wood or other materials to which the arrowhead will be mounted to.
Additionally, this arrowhead could be mounted to a long pole that could then be used more like a spear.
Either way, it may be beneficial to have more length on the spoon handle for securing it onto a homemade frame.
Wrap Up
Overall, this is a fun cheap project that can easily be completed in a short amount of time. And as I said at the beginning, it helps to keep a person thinking outside of the box.
However, it does produce a practical tool that can be used for target practice, hunting, fishing, and other situations.
If you like doing this project I encourage you to research different arrowhead types and trying your hand at more complex designs, like a barbed tip for fishing.
I hope you enjoyed this article and give the project a try as it is always a fun process to make something with your own two hands. And you never know, you just may need to know how to do this one day.
Thanks for reading and stay prepared!
Have you ever made improvised arrowheads? Sound off in the comment section below and let us know about it!
